A Virtual Private Network (VPN) is a great way to stay secure and keep your data safe from prying eyes. Unfortunately, sometimes VPNs run into trouble with domain name resolution errors. A domain name resolution error occurs when the computer or device you’re using is unable to connect to the remote server via its domain name. Domain name resolution errors are among the most common issues encountered when attempting to access websites. These errors occur when the Domain Name System (DNS) is unable to locate a website’s IP address, meaning that the user’s browser can’t find the correct server to connect with. Resolution errors can be caused by a variety of factors, including incorrect DNS records or an outdated web hosting service. Fortunately, there are a number of steps that users can take in order to troubleshoot and resolve domain name resolution errors. If you’re getting a VPN connection failed due to unsuccessful domain name resolution error, this guide is for you.

How to Fix VPN Connection Failed Due to Unsuccessful Domain Name Resolution
Here, we have shown the solutions to fix VPN isn’t working properly due to DNS issues in detail.
What is Domain Name Resolution in VPN?
Domain name resolution in VPN is an important component of the virtual private network experience. It provides users with a secure way to access network resources using a domain name rather than their IP address. This helps keep users anonymous and allows them to remain connected to remote networks without revealing their true identity. Domain name resolution in VPN works by directing DNS requests through the secure tunnel of the VPN, allowing users to access websites and other online services without revealing their personal information or location. The process is relatively simple but it plays an integral role in providing a safe and private browsing experience for all users. Furthermore, this enables organizations to provide employees with secure access to sensitive data from any location at any time while also protecting their valuable resources from potential attacks or unauthorized access.
What Causes a VPN isn’t working properly due to DNS issues?
While domain name resolution is a vital part of the internet, it can sometimes fail. When this happens, users are unable to access the website they are trying to reach. There are many different reasons why domain name resolution might fail, and understanding them can help you troubleshoot the issue.
- Incorrect Domain Name: The most common reason for the discussed error is an incorrect domain name. If a user enters a domain name incorrectly, or if they mistype it, then the computer won’t be able to find the correct IP address.
- Domain Name Already in Use: Another common reason for the error is that the domain name is already in use. If another website is already using the domain name, then the domain name resolution will fail.
- DNS/VPN Server Issues: Domain name resolution also relies on DNS servers. If the DNS server is down or has other issues, then it won’t be able to resolve the domain name.
- Domain Name Expired: Domain names need to be renewed on a regular basis. If a domain name has expired, then the domain name resolution will fail.
- Network Issues: If there are network issues, then the domain name resolution will fail. Network issues can be caused by a variety of factors, such as a poor connection or a blocked port.
- Firewall Issues: Firewalls can sometimes block domain name resolution. If this happens, then the domain name resolution will fail.
This error can be frustrating, as it prevents users from being able to connect securely and access important files. Fortunately, there are several troubleshooting steps that can quickly fix this issue.
First, check your internet connection and make sure that you have an active internet service with no interruptions or disconnections in the area. If you’re still having trouble connecting after verifying your connection is active and stable, then try restarting your computer or device. Often times this simple step will clear up any temporary errors that may be present in the system.
Method 1: Change DNS Address
DNS is an essential component of the internet because it links IP addresses with domain names so we can easily access websites. When attempting to establish a virtual private network (VPN), which creates a secure connection between two points, having an incorrect or outdated DNS can lead to failure in that connection. Due to this, it is important for users to keep their DNS updated as there are several advantages associated with doing so including improved speed when browsing the web, better security from malicious attacks and enhanced privacy when accessing the web.
Here is our simple guide on How to change DNS settings in Windows 10 that will help you change your DNS addresses on your computer.
![]()
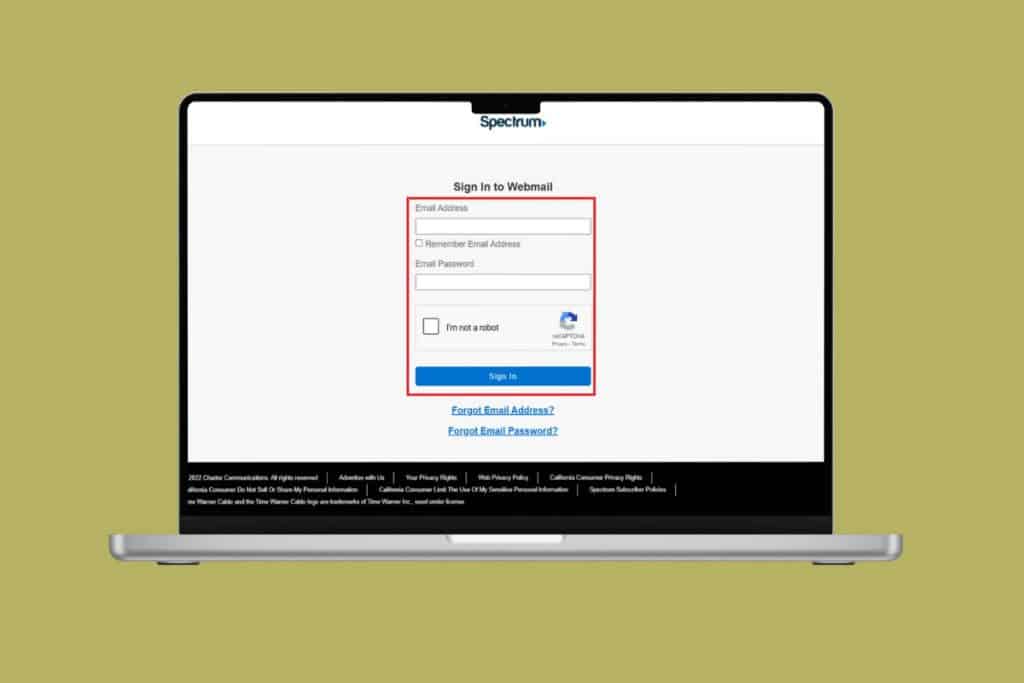
Check if you have fixed VPN isn’t working properly due to DNS issues.
Method 2: Try Different VPN Network
The internet is a powerful tool that connects us to the world, but it can also be a source of danger. To protect yourself and your personal data, using a Virtual Private Network (VPN) is an essential step in keeping you safe online. In recent years, VPN connections have become increasingly popular due to their ability to keep your information secure and anonymous.
Read our guide on 21 Best Free VPN for Windows 10 to find the best alternatives of your VPN network.

Then, check if you have fixed VPN connection failed due to unsuccessful domain name resolution issue.
Also Read: Fix Error Occurred While Trying to Proxy Request
Method 3: Reinstall anyconnect.xml File
It is important to repair the anyconnect.xml file in order for your VPN connection to be successful. This will ensure that all settings are correct and up-to-date so that your computer can communicate properly with the remote host. If this file has been corrupt or tampered with, it could prevent you from being able to successfully establish a VPN connection.
Fortunately, repairing this file is relatively easy and should only take a few minutes of your time. It can be done by deleting the Cisco AnyConnect Client completely from your PC and restart the PC.
1. Go to the Run dialog box and type appwiz.cpl. Hit Enter key.

2. In the Programs and Features menu, scroll down the screen and locate the AnyConnect installation.
3. Now, right-click on the AnyConnect option and click on Uninstall from the context menu.

4. Follow the on-screen instructions to complete the uninstallation process and restart your PC.
5. Then, go to your browser and navigate to the official download page of AnyConnect Security Mobility Client.
6. Scroll down the screen, in the Downloads tab, click on Download Options.
Note: To begin the Download process, you must be signed in to the Cisco client successfully.

7. Run the executable file with admin access from My downloads and follow the on-screen instructions to reinstall the AnyConnect Secure Mobility Client.
Connect to your network and check if you face VPN isn’t working properly due to DNS issues again.
Method 4: Disable Firewall Protection (Not Recommended)
Firewalls protect against malicious attempts by hackers, malware, and other threats over a network connection. Despite its importance, sometimes firewall protection can get in the way of certain online activities like establishing a VPN connection. Recently many users have reported success after disabling their firewall when they encountered the discussed error.
Note: It is important to be aware that turning off your firewall will leave your computer vulnerable to attacks, however it may be necessary to do so in cases where you cannot establish a secure VPN connection without it.
If you do not know how to disable Windows Defender Firewall, our guide How to Disable Windows 10 Firewall will help you do so. You can also allow the app by following our guide Allow or Block Apps through the Windows Firewall

Finally, check if you have fixed VPN connection failed due to unsuccessful domain name resolution issue.
Also Read: Fix Windows could not automatically detect this Network’s Proxy settings
Method 5: Disable Antivirus Temporarily (If Applicable)
Antivirus programs are essential for computer safety, but when it comes to a VPN connection, their presence can sometimes cause more trouble than good. When attempting a connection, virus protection software can interfere with the process resulting in an unsuccessful domain. To ensure successful connections every time, disabling your antivirus program is important before you attempt to establish a secure network link.
Read our guide on How to Disable Antivirus Temporarily on Windows 10 and follow the instructions to disable your Antivirus program temporarily on your PC.

Method 6: Disable VPN & Proxy Server
In this digital age, having a reliable VPN & proxy connection is essential for business and personal use. Unfortunately, if the domain name used is unsuccessful, it can cause the VPN connection to fail. This is why it’s important to disable the VPN & proxy when they are no longer needed and ensure that any domains used are accurate.
If you have installed any VPN service or use proxy servers on your PC, read our How to Disable VPN and Proxy on Windows 10 and implement the steps as instructed in the article to fix VPN isn’t working properly due to DNS issues.

Also Read: Fix Error 523: Origin is Unreachable
Method 7: Disable DNS Error Assist (If Applicable)
Disable DNS Error Assist helps to improve the reliability and stability of VPN connections by allowing users to directly control the process of resolving any unknown or failed domain names. This ensures that all data sent over the network is accurately routed, resulting in improved performance and security. Furthermore, Disable DNS Error Assist also helps reduce issues with connection timeouts and bandwidth usage. By disabling this feature, users can ensure that their VPN connection works reliably without having any extra problems related to domain name resolution failures.
1. Launch your browser and go to the home page of AT&T.
2. Then, click on My AT&T from the right corner and select the Sign In button.

3. Now, type in your account credentials to log in to your account.
4. Once your login is successful, tap on View Profile.
5. Now, go to the Communication Preferences tab and click on the Privacy Settings button.
6. Then, select the DNS Error Assist option and toggle it off.
7. Restart the PC and connect with AnyConnect again.
Check if unsuccessful domain name resolution problem is resolved now.
Method 8: Reinstall Windows
A successful VPN connection relies on having a reliable and up-to-date operating system. Unfortunately, many users experience failed connection attempts due to outdated software or unsuccessful domain names. Reinstalling Windows is an important step to ensure that your computer is running the most updated version of Windows, allowing for a secure and successful VPN connection. Reinstalling Windows can be done in a few easy steps.
Note: Before you begin, you should back up all of your data to an external drive or cloud storage solution so nothing is lost during the process.

Also Read: Fix Computer Stuck on Lets Connect You to a Network
Frequently Asked Questions (FAQs)
Q1. What is DNS failure for VPN?
Ans. A DNS failure for a VPN is a situation where the Domain Name System (DNS) is not working correctly and the VPN is unable to resolve the requested domain names. DNS is a service that translates domain names into IP addresses, allowing users to access websites and other services. When a DNS failure for a VPN occurs, the user will be unable to access the requested website or service.
Q2. How do I fix Cisco VPN connection?
Ans. First, check if your network adapter is enabled and connected. If it’s disabled, right-click it and select Enable. Second, restart your Cisco VPN client. This will ensure that it’s using the latest configuration settings. Third, uninstall and reinstall the Cisco VPN client. Make sure that you’re using the correct server address and that the authentication settings are correct. Fifth, check your firewall settings. Your firewall may be blocking the VPN connection. Finally, make sure that your computer is up to date with the latest Windows updates.
Q3. How do I find my VPN domain name?
Ans. The first step is to determine what type of VPN you have. Many companies provide their own VPN services, and the domain name will be listed in the company’s documentation. If you’re using a third-party VPN provider, you can usually find the domain name on the provider’s website.
Q4. What causes VPN not to connect?
Ans. The most common cause of VPN issues is an incorrect configuration, either on the user’s end or on the VPN provider’s end. This can include incorrect login credentials, incorrect VPN settings, or an incorrect setup of the network connection. If the issue is on the user’s side, they should ensure that the credentials and settings are correct and that the network connection is established correctly.
Q5. Why is my network blocking access to VPN?
Ans. There are several potential reasons why your network might be blocking access to a VPN. The most common is that your network is configured to block certain types of traffic, including VPN traffic. Another potential reason is bandwidth throttling. Finally, it is possible that your network is blocking access to certain types of VPNs. This can also be a security measure, as some networks don’t want to allow access to VPNs that are not highly secure.
Recommended:
- How to Remove Phone Number from Snapchat
- Fix Android System WebView Not Updating Issue
- 9 Ways to Fix Network Change Was Detected Error
- Fix Err Proxy Connection Failed Chrome Error
We hope that this guide was helpful and you could fix VPN connection failed due to unsuccessful domain name resolution issue on your device. Feel free to reach out to us with your queries and suggestions via the comments section below. Also, let us know what you want to learn next.