
While playing games like Genshin Impact, ping issues become inevitable. It can sometimes result in lag which can be annoying for online gamers and make them lose the game. Read our guide to learn why my Genshin ping is so high and how to resolve it if you are experiencing the same issue.

How to Fix Genshin Impact High Ping Issue
High ping in Genshin Impact means that data takes too long to reach game servers, leading to obstructive gameplay. In high-impact games like Genshin Impact, the maximum ping limit is 70. When it extends beyond that, delays can be noticeable. As the game’s performance suffers, the error becomes highly frustrating for gamers. In the next section of this article, we will fix it.
Quick Answer
To fix this error, we would suggest you update the network drivers and revive the Internet connection to the PC. Restart the game and if you still face the issue, shift to a different server using the following steps:
1. Click on the Server button below Start Game.
2. Select the nearest server region and restart the game.
Why is My Genshin Ping So High?
Let us look at some reasons that result in a high ping in the game:
- Weak internet connection
- Wrong region server
- Issues with network drivers
- Outdated game
- VPN interference
- Windows Firewall interference
Methods to Fix Genshin Impact High Ping Issue
From optimizing network settings to allowing Genshin Impact from Windows Firewall, we have gathered different methods that will help you get rid of the high ping issue on your computer.
Method 1: Basic Troubleshooting Methods
To start with, let us discuss some basic troubleshooting methods that are not only easy to attempt but also come in really handy in fixing the error while playing an impactful game.
Method 1A. Restart Game
First, you need to restart Genshin Impact on your PC to resolve a temporary glitch within the game that might be interfering with its servers. Please follow the instructions given below:
1. Launch Task Manager on the PC.

2. Now, in the Process tab, select Genshin Impact and click on the End task button.
3. Now restart the game from the desktop and check if it helped.
Method 1B. Improve Internet Connectivity
A good and stable internet connection is the biggest requirement for running Genshin Impact on a PC. If the requirement is not met, you can come across such ping issues in the game.
1. First, unplug the modem or router from the power source.
2. Then, wait for about 15-20 seconds before plugging it back into the power source.
3. Now, wait for some more time and plug the router back into the power source.
4. Wait for the lights to turn green. Check if the network connection has been restored and speed has improved.
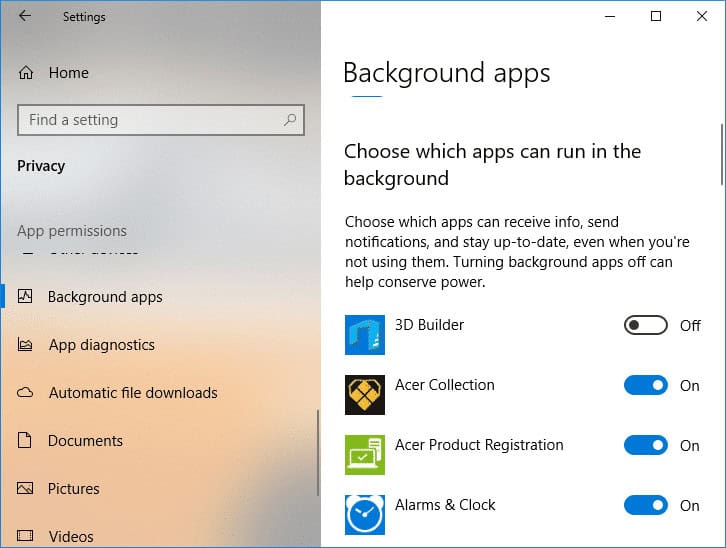
Method 1C. Close Background Applications
This method involves closing all bandwidth-hogging background applications. To know more about how you can attempt this method, check our guide on Stop Apps from running in the background on Windows 10.
Method 1D. Use Right Server Region
Another way to fix Genshin Impact high ping issue is by choosing the right server region for playing the game. While playing the game on a Windows PC, you get an option to select your own server. When you choose a game server away from your region, it occasionally causes lagging and high pings. So, make sure to select the nearest server for your region to reduce network latency as follows:
1. Launch Genshin Impact on your PC.
2. Now, click on the Server button below the Start Game option.
3. Select the nearest server available for your region.

4. Once done, restart the game and check if the high ping issue has been fixed.
Method 2: Update Network Drivers
Updating device drivers like network drivers is necessary for the maximum network connectivity potential of the PC. So, make sure to keep them updated. Follow our guide on How to Update Network Adapter Drivers on Windows 10 to do so.

Also Read: 190+ Best Steam Account Name Ideas
Method 3: Update Game
Bugs present in the current version of the game can also result in Genshin Impact high ping issue. You would need to update the game to ensure the bugs are fixed.
1. First, close Genshin Impact on your desktop.
2. Next, run the Genshin Impact launcher.
3. Click on Version Information on the left.
4. Now, select Game Update.

Once done, you can launch the game and check if the high ping issue has been fixed after it is updated.
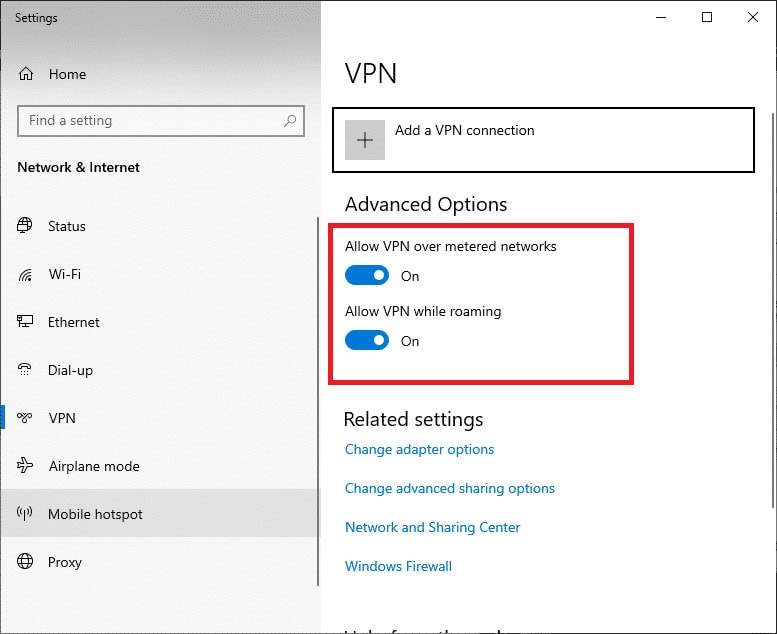
Method 4: Turn Off VPN and Proxy
Most gamers use a VPN to hide their IP address and to keep their network private and hidden. However, the same VPN can also redirect the traffic to a server that is far away from your current location and can make it difficult to establish a stable connection with servers of Genshin Impact. To know more about this method and perform it carefully, check our guide on How to Disable VPN and Proxy on Windows 10.
Also Read: How to Hide My IP Address Without VPN
Method 5: Optimize Network Settings
Network settings are of utmost importance when it comes to maintaining high ping and a better gaming experience. Therefore, you should optimize these settings on your device for lowering ping with the help of the steps listed below:
1. First, right-click on the start menu icon to launch Device Manager.

2. Now, right-click on your network adapter and select Properties.
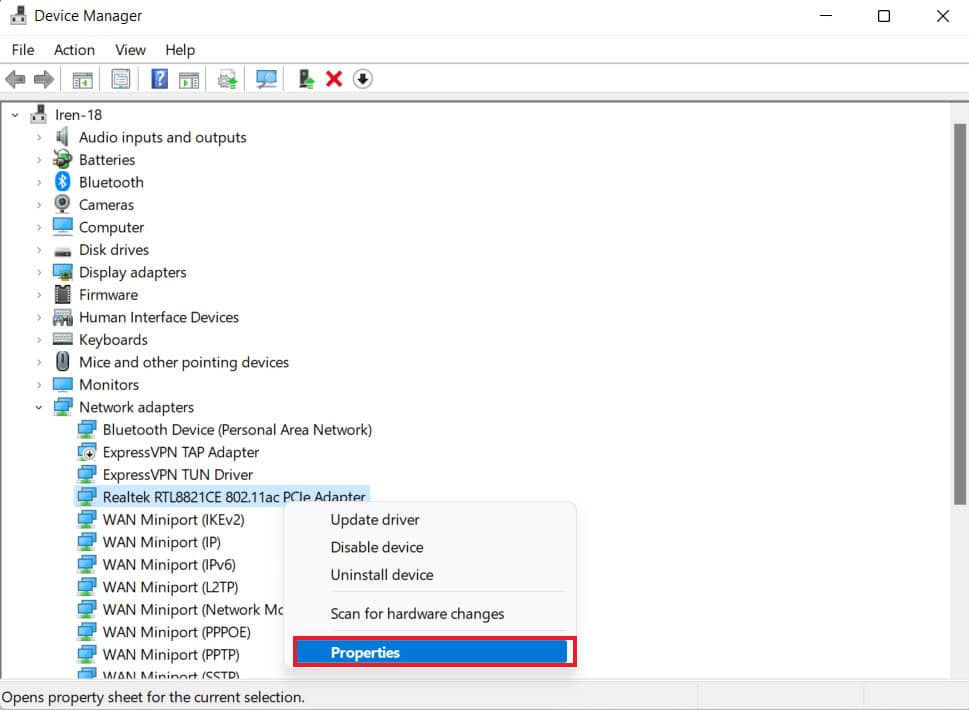
3. Now, open the Power Management tab and uncheck the box for Allow the computer to turn off this device to save power.
4. Next, open the Advanced tab and set the Value of Energy-Efficient Ethernet feature as Disabled.

5. Now, set the Value of Green Ethernet and Power Saving Mode as Disabled too.
6. Further, disable other power-saving features as well.
Method 6: Change DNS Server
You can also fix Genshin Impact high ping issue by changing the DNS server as it does not prioritize gaming traffic. Refer to our guide on 3 Ways to change DNS settings on Windows 10.

Also Read: How to Change DNS Server on Windows 11
Method 7: Disable Windows Auto-Updates
Windows auto-updates is a feature that installs the latest version of the software without any notification or permission. This feature can result in high ping and slow down your game. Therefore, you are advised to disable this feature by following the steps given below:
1. Press Windows + I key to open Windows Settings and then click on Update & Security.

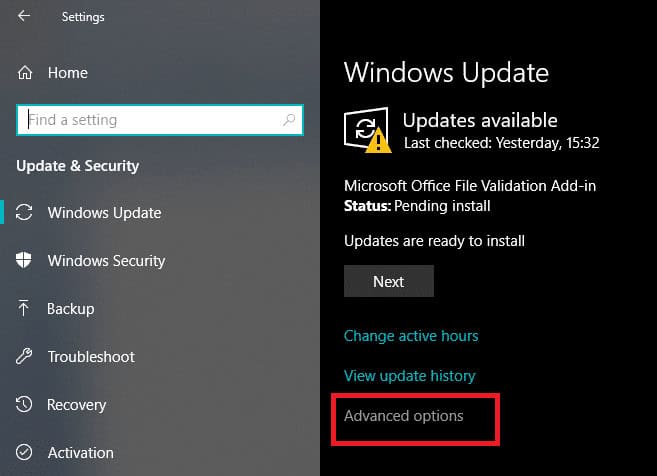
2. Now, select Windows Update from the left pane.
3. Next, click on Advanced options.
4. Locate Delivery Optimization and click on it.

5. Next, click on Advanced options.

6. Now, adjust the bandwidth percentage of the Download and Upload settings.

Method 8: Allow Genshin Through Firewall
Windows Firewall can prevent the game from going online due to security reasons. So, make sure Genshin Impact is allowed through the Firewall by following our dedicated guide on Allow or Block Apps through the Windows Firewall.

Also Read: IDS vs IPS vs Firewall: Definitions and Comparisons
Method 9: Reset Network Connection
Resetting the network connection of your computer can also help to fix the error. Get high ping problems resolved and lagging issues fixed with the help of our guide on How to Reset Network Settings on Windows 10.

Method 10: Disable Wi-Fi Sense
Wi-Fi Sense is a feature on the Windows operating system that can make Wi-Fi connections on your computer automatically allowing users to quickly go online. Disabling this feature can be of help to you as it can lower ping.
1. Open Windows Settings and click on Network & Internet.

2. Next, click on Wi-Fi from the left pane and Disable every option under Wi-Fi sense.

3. In addition, disable Hotspot 2.0 networks and Paid Wi-Fi services.
Also Read: 20 Best WiFi Hacking Tools for PC
Method 11: Disable Network Throttling Using Registry
You can also try to disable the network throttling using the registry to resolve the Genshin Impact high ping issue with the help of the given steps.
Note: Make a backup of registry keys to restore to previous settings in case of manual errors during modification.
1. Open the Run box with Windows key + R key and enter regedit in it.

2. Now, navigate to the given registry path
HKEY_LOCAL_MACHINE\SOFTWARE\Microsoft\Windows NT\CurrentVersion\Multimedia\SystemProfile
3. Now, open SystemProfile and double-click on NetworkThrottlingIndex.

4. Next, select the Base as Hexadecimal, set the Value data as FFFFFFFF, and click OK.

5. Then, navigate to this key:
HKEY_LOCAL_MACHINE\SYSTEM\CurrentControlSet\Services\Tcpip\Parameters\Interfaces
6. Now, select a subkey folder that represents your network connection.
7. Next, right-click on the subkey, select the New option from the menu, and then click on DWORD (32-bit) Value option in the next.

8. Now, name this new subkey as TCPackFrequency and press enter.

9. Follow the same steps to create a new DWORD as TCPNoDelay.

10. Now, set the Value data of TCPNoDelay to 1 and then click OK.

11. Then, navigate to this registry key: HKEY_LOCAL_MACHINE\SOFTWARE\Microsoft\MSMQ
12. Next, right-click on MSMQ to select New option from the menu, and then DWORD (32-bit) Value in the next.

13. Now, name it TCPNoDelay and press enter.

14. Double-click on it to change the Value Data of TCPNoDelay to 1 and hit OK.

15. Then, expand MSMQ key and ensure it has the Parameters subkey.
Note: In case, it doesn’t have a Parameter subkey, create one by following the steps given above and reboot your PC.
Method 12: Reach Out to Genshin Community
You can also try reaching out to your fellow Genshin gamers. You can access Genshin Impact Community Page and ask other gamers if they have ever faced the same issue while playing Genshin Impact.

Recommended:
- Artificial Intelligence in Fashion
- What Parts Are Needed to Build a Gaming PC?
- 24 Best Artificial Intelligence Games
- How Much Does Steam Charge to Sell a Game?
This brings us to the end of our guide on the Genshin Impact high ping issue. We hope that our methods helped you fix high ping and lag issues on your PC. Leave your comments and other queries in the box below.


