Connections errors are the most dreaded messages you can receive while surfing the net. These errors pop up when you least expect them and disrupt your entire workflow. Unfortunately, no browser has completely gotten rid of connection issues. Even Chrome, which is perhaps the fastest and most efficient browser out there, has occasional problems while loading websites. If you find yourself struggling with the same issue, you are at the right place. We bring to you a helpful guide that will teach you how to fix NET::ERR_CONNECTION_REFUSED in Chrome.

Fix NET::ERR_CONNECTION_REFUSED in Chrome
What Causes the ERR_CONNECTION_REFUSED Error in Chrome?
There are various reasons behind network errors on your PC. These include inoperational servers, faulty DNS, incorrect Proxy configuration, and meddlesome firewalls. However, the ERR_CONNECTION_REFUSED error on Chrome is not permanent and can be fixed by following a few simple steps.
Method 1: Check Status of Servers
In recent years, as internet usage has gone up, the number of server errors has increased. Before you meddle with the configuration of your PC, it is better to check the server status of the website causing the trouble.
1. Go to the “Down for Everyone or Just Me” website.
2. Type the name of the site that won’t load in the text field.
3. Click on “or just me” to check the status of the website.

4. Wait for a few seconds and the website will confirm the status of your domain.

If the website servers are down, then wait for a few hours before trying again. However, if all the servers are up and running, proceed with the following methods.
Method 2: Restart your Router
One of the best ways to fix faulty electronic equipment is by restarting it. In this case, your router is the device that facilitates your internet connection. Press the power button on the back of your router and unplug it from its electrical source. Wait for a few minutes and plug it back in. Fire up your router and see if the error is resolved. A quick restart may not always fix the problem, but it is harmless and hardly takes a few minutes to execute.

Method 3: Flush DNS Cache
Domain Name System or DNS is responsible for connecting your IP address to the domain names of various websites. Over time, DNS gathers up cached data that slows down your PC and causes connectivity issues. By flushing the DNS cache, your IP address will reconnect to the internet and fix the NET::ERR_CONNECTION_REFUSED error on Chrome.
1. Right-click on the Start menu and select Command Prompt (Admin).
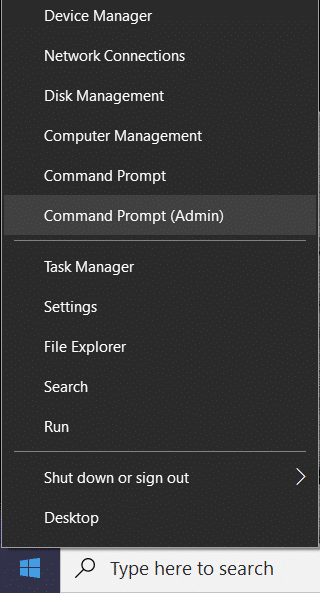
2. Type ipconfig /flushdns and press Enter.

3. The code will run, cleaning DNS resolver cache and speeding up your internet.
Also Read: Fix ERR_CONNECTION_TIMED_OUT Chrome error
Method 4: Clear Browsing Data
The cached data and history of your browser can slow down your PC and interfere with other internet services. Clearing your browsing data resets your search settings and fixes most bugs on your browser.
1. Open your browser and click on the three dots on the top right corner of the screen.
2. Click on Settings.

3. Go to the Privacy and Security panel and click on “Clear Browsing Data.”

4. Open the Advanced Panel.
5. Checkmark all the categories of data you want to delete from your browser.

6. Click on Clear data button to delete your entire browser history.
7. Reload the website on Chrome and see if it fixes the NET::ERR_CONNECTION_REFUSED message.
Method 5: Disable Antivirus and Firewall
Firewalls are perhaps the most important feature of a computer. They analyze the data entering your PC and block malicious websites. While Firewalls are essential for system security, they tend to interfere with your searches and cause connection errors.
1. On your PC, open the Control Panel.
2. Click on System and Security.

3. Select Windows Defender Firewall.

4. Click on “Turn Windows Defender Firewall on or off” from the panel on the left.

5. Turn off the Firewall and see if the NET::ERR_CONNECTION_REFUSED error in Chrome is fixed.
If a third-party antivirus software manages your PC’s security, you might have to disable the service. Click on the small arrow on the bottom right corner of your screen to show all apps. Right-click on your antivirus app and click on ‘Disable Firewall.’ Based on your software, this feature might have a different name.

Method 6: Disable Unnecessary Extensions
Extensions on Chrome offer plenty of features enriching your browsing experience. However, they can also interfere with your search results and cause network errors on your PC. Try disabling a few extensions that interfere with your connectivity.
1. Open Chrome and click on the three dots in the top right corner.
2. Click on More Tools and select Extensions.

3. Find extensions such as antivirus and adblockers that could interfere with your connectivity.
4. Temporarily disable the extension by clicking on the toggle switch or click on Remove for more permanent results.

5. Restart Chrome and see if the ERR_CONNECTION_REFUSED issue is solved.
Also Read: Fix Unable to connect to the proxy server in Windows 10
Method 7: Use the Public DNS Addresses
Many organizations have public DNS addresses that are accessible through your PC. These addresses ramp up your net speed and improve your connection.
1. On your PC, right-click on the Wi-Fi option in the bottom right corner of your screen.
2. Select Open Network and Internet Settings.

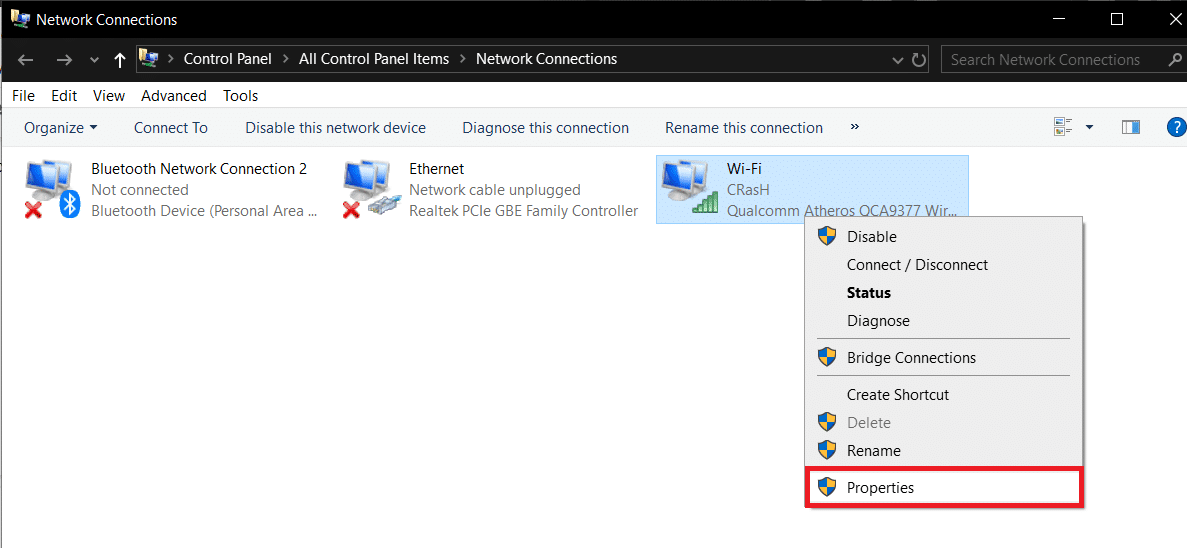
3. Scroll down and click on Change adapter options under Advanced network settings.

4. Right-click on the active internet provider and select Properties.
5. Go to the “This connection uses the following items” section, select the Internet protocol version 4 (TCP /IPv4).
6. Then click on the Properties button.

7. Enable “Use the following DNS server addresses”.
8. Now enter the Public DNS addresses of the website you want to access. For Google-related websites, the preferred DNS is 8.8.8.8 and the alternate DNS is 8.8.4.4.

9. For other services, the most popular DNS addresses are 1.1.1.1 and 1.0.0.1. This DNS is created by Cloudflare and APNIC and is considered the fastest open DNS in the world.
10. Click on ‘Ok’ after both the DNS codes have been entered.
11. Open Chrome and the NET::ERR_CONNECTION_REFUSED error should be fixed.
Method 8: Check Proxy Settings
Proxy servers help you connect to the internet without revealing your IP address. Similar to the Firewall, a proxy protects your PC and ensures risk-free browsing. However, some websites tend to block proxy servers resulting in connection errors. It is important to ensure that your Proxy settings are configured correctly to fix network issues.
1. Open Chrome and click on the three dots in the top right corner.
2. Click on Settings.
3. Scroll down to the bottom and click on Advanced Settings.

4. Under the System Panel, click on “Open your computer’s proxy settings”.

5. Make sure that “Automatically detect signals” is enabled.

6. Scroll down and ensure that “Don’t use proxy servers local (intranet) addresses” is disabled.

Also Read: Fix The proxy server isn’t responding
Method 9: Reinstall Chrome
If despite all the methods mentioned above, you are unable to solve the fix NET::ERR_CONNECTION_REFUSED error in Chrome, it is time to reinstall Chrome and start anew. Fortunately, you can backup all your Chrome data by signing in with your Google Account. This way the reinstallation process will be harmless.
1. Open the Control Panel and click on ‘Uninstall a program.’

2. From the list of applications, select ‘Google Chrome’ and click on ‘Uninstall.’

3. Now through any other browser, navigate to Google Chrome’s installation page.
4. Click on Download Chrome to download the app.
5. Open the browser again and the error should be resolved.
Recommended:
- Fix There is no internet connection, something went wrong with the proxy server
- How to Block or Unblock Programs In Windows Defender Firewall
- Fix Google Chrome error He’s Dead, Jim!
- How to Fix Uplay Fails to Launch
We hope this guide was helpful and you were able to fix NET::ERR_CONNECTION_REFUSED in Chrome. If you have any queries regarding this article, then drop them in the comments section.