Discovering that Google Photos isn’t backing up your precious memories can be a concerning hiccup in your digital storage strategy. If you’ve found yourself puzzled by the absence of your photos in the cloud, fear not. In this guide, we’ll dive into troubleshooting steps to address and fix the issue of Google Photos not backing up.

How to Fix the Problem of Google Photos Not Backing Up
As mentioned earlier, sometimes Google Photos stops backing up your photos and videos on the cloud. It either get stuck on “Waiting for sync” or “Backing up 1 of XYZ” and it takes forever to upload a single photo.
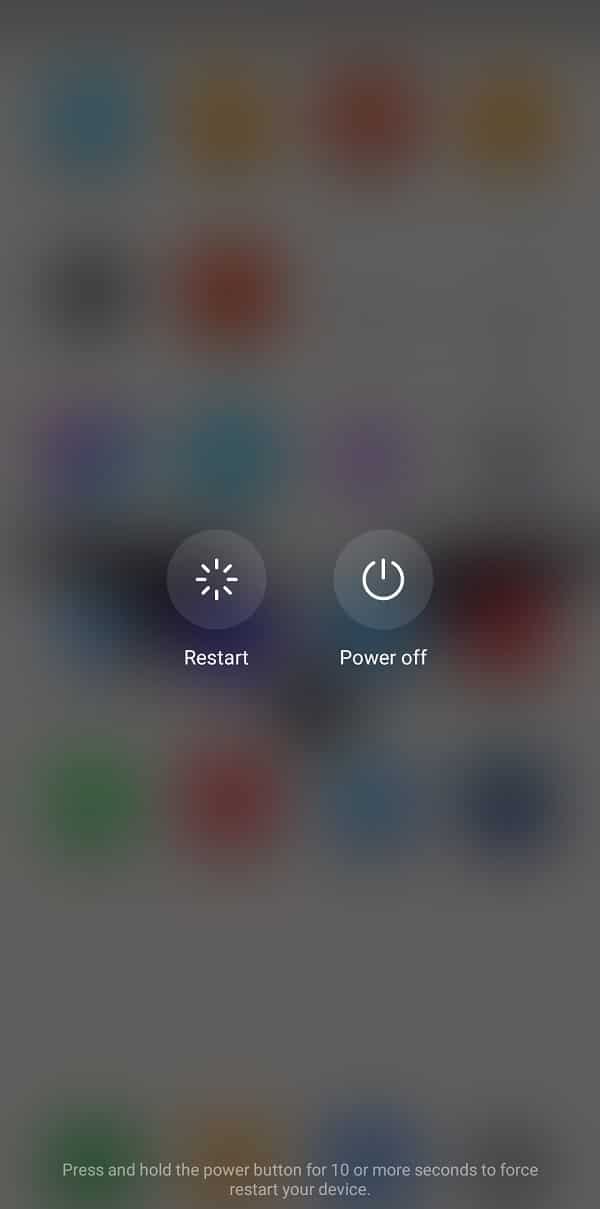
Solution 1: Restart your device
If your Google photos app gets stuck while uploading a photo or video, it could be the result of a technical glitch. The easiest solution to this problem is to reboot/restart your device. The simple act of turning it off and on has the potential to fix any technical problem.
Solution 2: Check your Backup Status
In order to fix the problem, you need to figure out what is actually preventing your photos and videos from getting backed up. To get a clear idea of the exact nature of the problem, you need to check the status of your backup. Follow the steps given below to see how:
1. Firstly, open Google Photos on your device.
2. Now tap on your profile picture on the top right-hand corner.

3. Here, you will find the Backup status just under the “Manage your Google Account” option.

These are some of the messages that you can expect and the quick fix for them.
- “Waiting for connection” or “Waiting for Wi-Fi” – Try reconnecting to the Wi-Fi network or switching to your mobile data.
- “A photo or video was skipped” – There is an upper limit to the size of photos and videos that can be uploaded on Google Photos. Photos larger than 75 MB or 100 megapixels and videos larger than 10GB cannot be saved on the cloud.
- “Back up and sync is off” – You must have accidentally disabled the auto-sync and back upsetting for Google Photos; all that you need to do is turn it back ON.
- “Backup up photos” or “Back up Complete” – Your photos are videos are getting uploaded at the moment or have already been uploaded.
Solution 3: Enable Auto-Sync Feature for Google Photos
By default, the automatic sync setting for Google Photos is always enabled. However, it is possible that you might have accidentally turned it off. This will prevent Google Photos from uploading photos to the cloud.
1. Firstly, open Google Photos on your device.
2. Now tap on your profile picture on the top right-hand corner and click on the Photos Settings option.

3. Here, tap on the Backup & sync option.
4. Now toggle ON the switch next to the Backup & sync setting to enable it.

5. If this solves your problem, then you are all set, otherwise, proceed to the next solution in the list.
Solution 4: Make sure the Internet is working properly
The function of Google Photos is to automatically scan the device for photos and upload it on the cloud storage, and it needs a stable internet connection to do so. Make sure that the Wi-Fi network that you are connected to is working properly. The easiest way to check internet connectivity is to open YouTube and see if a video plays without buffering.
1. Open Google Photos on your device.
2. Now tap on your profile picture on the top right-hand corner.
3. After that, click on the Photos Settings option then tap on the Back up & sync option.
4. Now select the Mobile data usage option.

5. Here, select the Unlimited option under the Daily limit for the Backup tab.
Solution 5: Update the App
Whenever an app starts acting out, the golden rule says to update it. This is because when an error is reported, the app developers release a new update with bug fixes to solve the different types of problems. It is possible that updating Google Photos will help you fix the issue of photos not being uploaded. Follow the steps given below to update the Google Photos app.
1. Go to the Play Store.
2. On the top left-hand side, you will find three horizontal lines. Click on them.
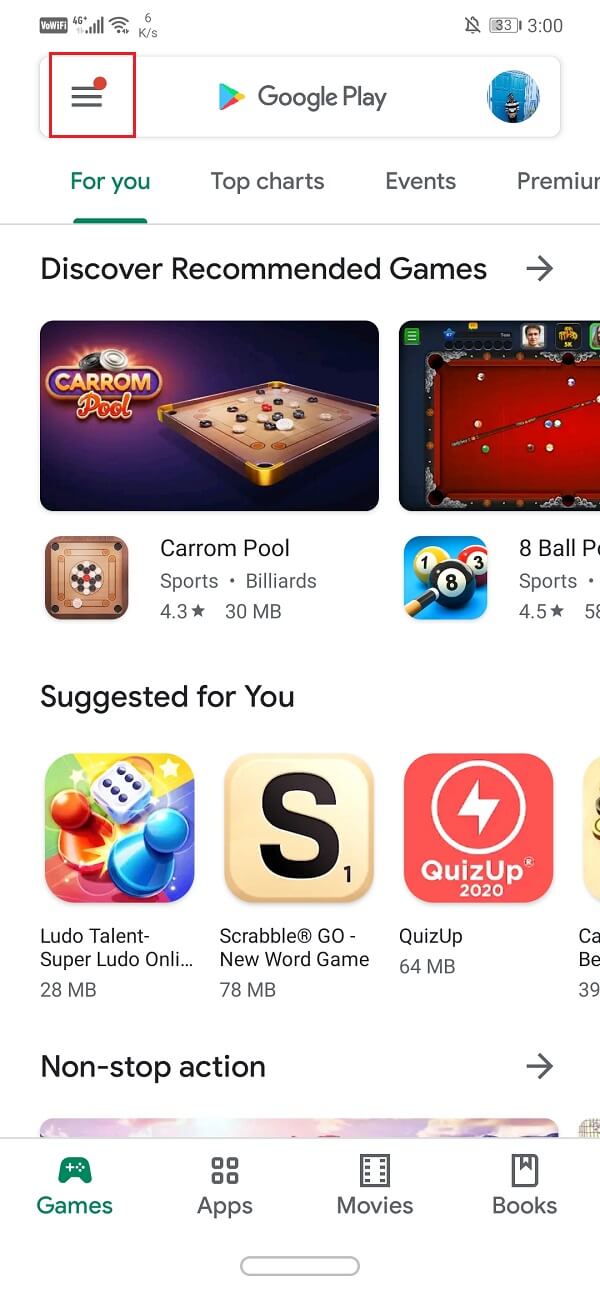
3. Now, click on the My Apps and Games option.
4. Search for Google Photos and check if there are any pending updates.

5. If yes, then click on the update button.
6. Once the app gets updated, check if photos are getting uploaded as usual or not.
Solution 6: Clear Cache and Data for Google Photos
Cache files are generated by every app to reduce screen loading time and make the app open faster. Over time the volume of cache files keeps increasing. These cache files often get corrupted and cause the app to malfunction. It is a good practice to delete old cache and data files from time to time.
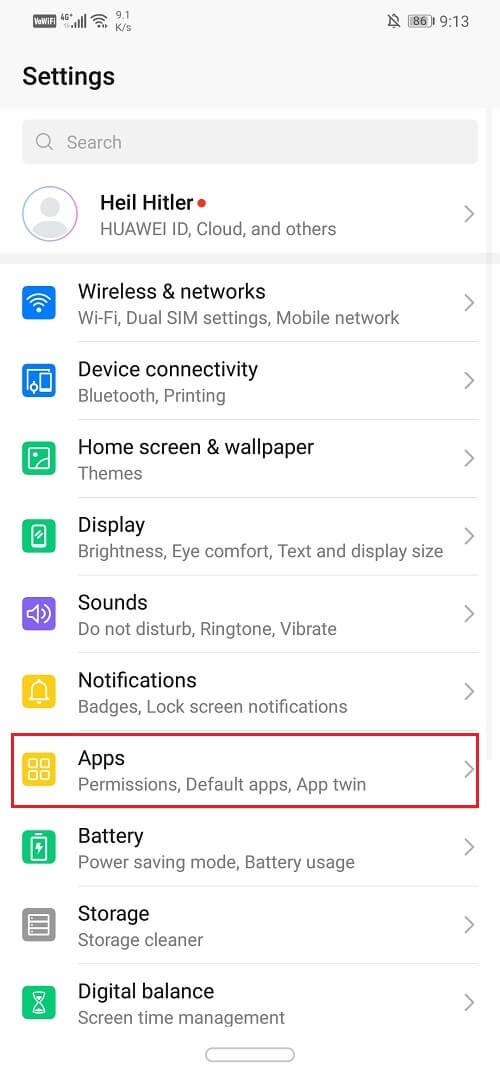
1. Go to Settings on your phone.
2. Click on the Apps option to view the list of installed apps on your device.
3. Now search for Google Photos and tap on it to open the app settings. Then, click on the Storage option.
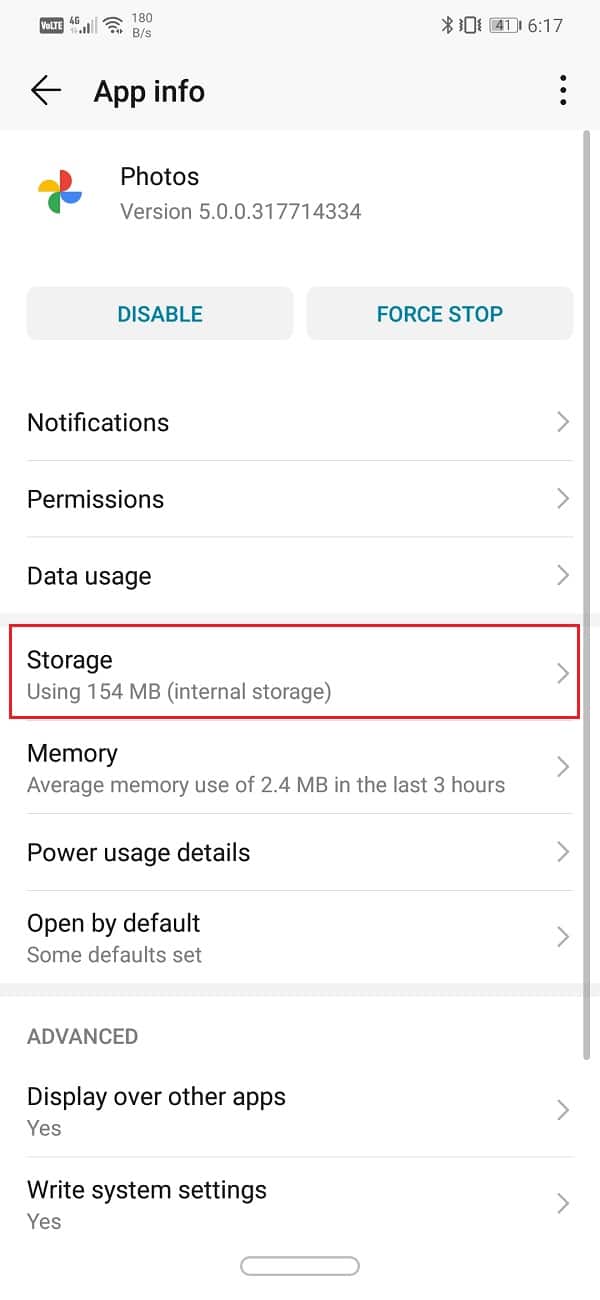
4. Here, you will find the option to Clear Cache and Clear Data. Click on the respective buttons, and the cache files for Google Photos will get deleted.
Now again try to sync Photos to Google Photos and see if you’re able to fix Google Photos backup stuck issue.
Also Read: Restore Apps and Settings to a new Android phone from Google Backup
Solution 7: Change the Upload Quality of Photos
Just like every other cloud storage drive, Google Photos has certain storage restrictions. Beyond this, you need to pay for any additional space that you wish to use. Follow the steps given below to alter your preference for the upload quality on Google Photos.
1. Open Google Photos on your device then tap on your profile picture on the top right-hand corner.
2. After that, click on the Photos Settings option.
3. Here, tap on the Backup & sync option.
4. Under Settings, you will find the option called “Upload size”. Click on it.

5. Now, from the given options, select High Quality as your preferred choice for future updates.

6. This will grant you unlimited storage space and solve the problem of photos not uploading on Google Photos.
Solution 8: Force Stop the App
Even when you exit from some app, it keeps running in the background. Apps like Google Photos which have an auto-sync feature are constantly running in the background, searching for any new photos and videos that need to be uploaded on the cloud. Sometimes, when an app is not working properly, the best way to fix it is by completely stopping the app and then starting again.
1. First, open Settings on your phone then tap on the Apps option.
2. From the list of apps look for Google Photos and tap on it.
3. This will open the app settings for Google Photos. After that, tap on the Force stop button.

4. Now open the app again and see if you’re able to fix Google Photos not backing up issue.
Solution 9: Sign Out and then Sign In to your Google Account
If none of the above methods, try removing your Google account that is linked to Google Photos and then sign-in again after rebooting your phone. Doing so might set things straight, and Google Photos might begin backing up your photos like it used to earlier. Follow the steps given below to remove your Google Account.
1. Open the Settings on your phone.
2. Now click on the Users & accounts.
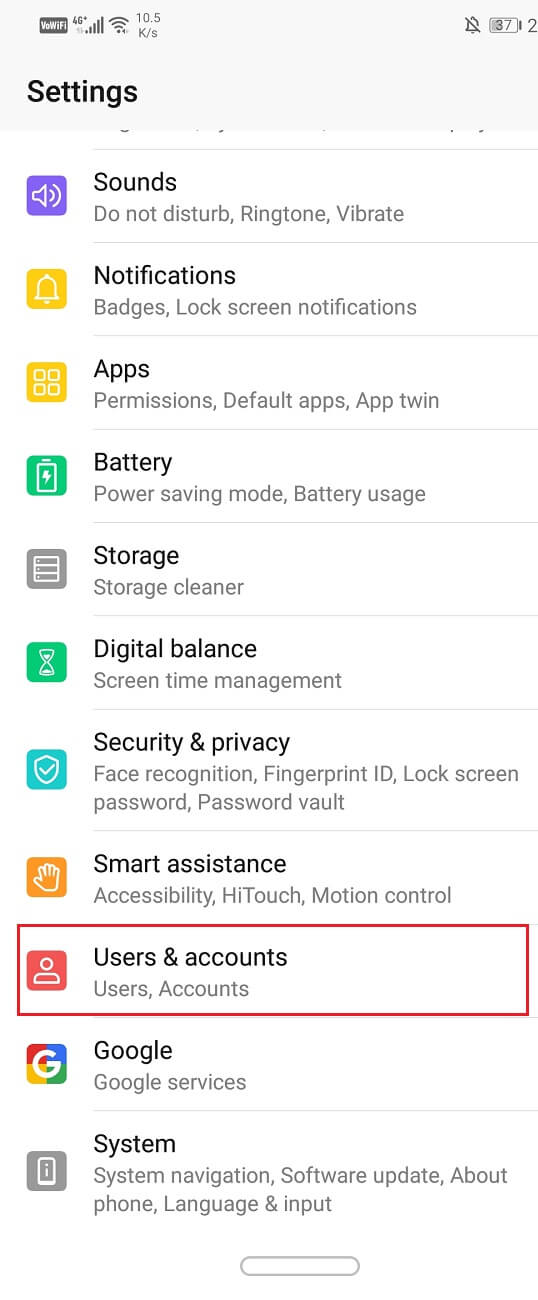
3. Now select the Google option.
4. At the bottom of the screen, you will find the option to Remove account, click on it.
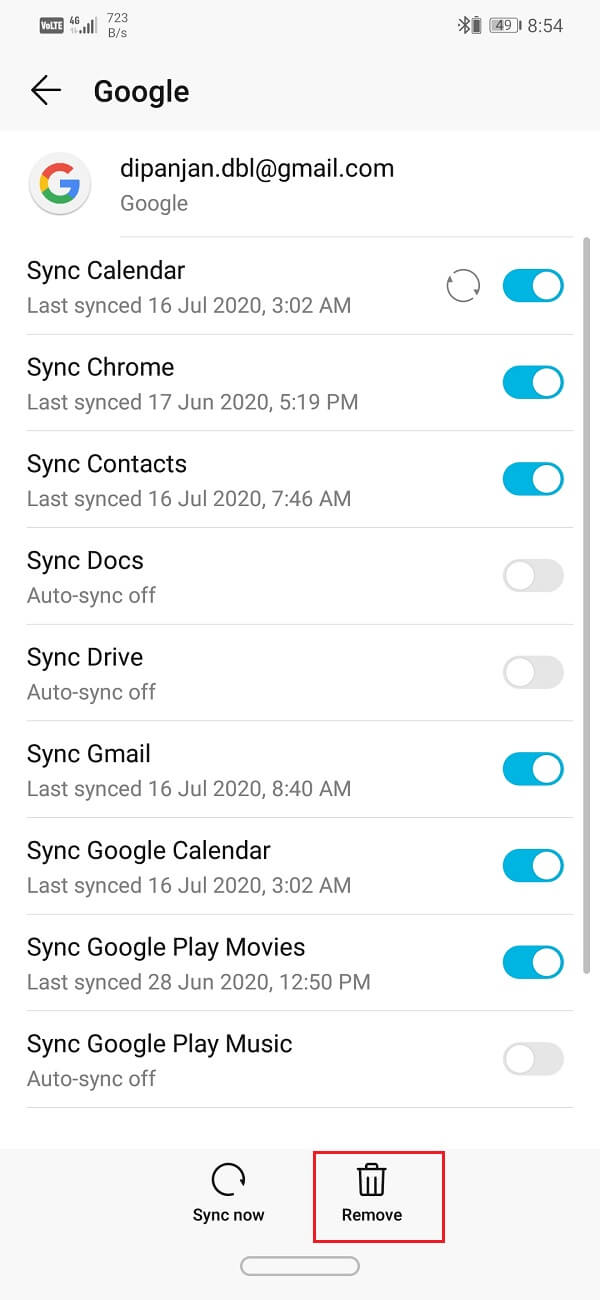
5. This will sign you out of your Gmail account.
6. Reboot your device.
7. When your device starts again, head back to the Users and Settings section and tap on the add account option.
8. From the list of options, select Google and sign in with your username and password.

9. Once everything has been set up again, check the backup status in Google Photos, and see if you’re able to fix the Google Photos backup stuck issue.
Solution 10: Manually Upload Photos and Videos
Although Google Photos is meant to upload your media files on the cloud automatically, there is an option to do so manually as well. If none of the above methods work and Google Photos still refuses to back up your photos and videos, this is the last resort. Manually backing up your files is at least better than losing them. Follow the steps given below to upload your photos and videos to the cloud manually.
1. Open the Google Photos app.
2. Now tap on the Library option at the bottom of the screen.

3. Under the “Photos on Device” tab, you can find the various folders that contain your photos and videos.
4. Look for the folder that contains the photo that you wish to upload and tap on it. You will notice an offline symbol on the bottom right corner of the folder that indicates some or all pictures in this folder has not been uploaded.
5. Now select the image that you wish to upload and then tap on the menu button (three vertical dots) on the top right corner.
6. After that, click on the Back up now option.
7. Your photo will now be uploaded on Google Photos.
Recommended:
- Fix Can’t Connect Securely to this Page Error in Microsoft Edge
- 15 Best Google Play Store Alternatives (2020)
- How do I know if my phone is unlocked?
With that, we come to the end of this article; we hope that these solutions prove to be helpful, and the problem of Google Photos not backing up is fixed. However, as mentioned earlier, sometimes the problem lies with Google servers, and there is nothing that you can do to fix it. All you need to do is wait as they fix the problem on their end. You can write to Google support if you want an official acknowledgment of your problem. If the issue isn’t resolved even after a long time, you can try switching to an alternate cloud storage app like Dropbox or One Drive.