CapCut, the widely acclaimed video editing app, has captivated users with its advanced features. You can add the very popular and mesmerizing shake effect to your videos using this app. If you want to learn how to apply it to your recordings using CapCut, this guide is here for your help. So, let’s begin the creative journey!

How to Do the Shake Effect on CapCut
Shake effects, also known as wiggly effects, add visual flair to your videos by creating a shaky appearance. If you are using CapCut for video editing, adding this unique and fun effect is a breeze. Discover how in this article!
Where is Auto Shake Effect in CapCut?
You can find the auto-shake effect in the Effects section of the app.
Method 1: Using Automatic Shake Effect
The shake effect automatically shakes your video at a consistent rate based on the configured settings. Here’s how to add a camera shake effect on CapCut:
1. Open the CapCut application on your device.
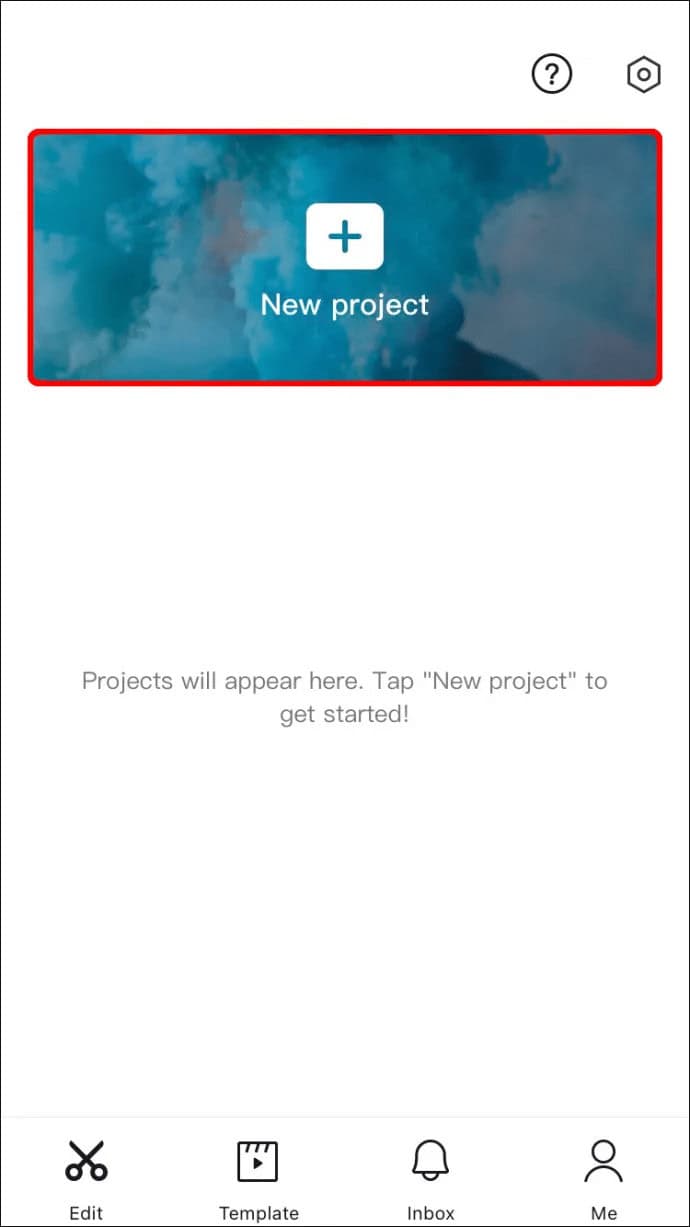
2. Create a New project on the home screen.
3. Import the video clip you want to give the Shake effect to.

4. At the bottom of the screen, tap on Effects.
5. Select Basic and scroll down to choose the Shake effect.
6. Tap on the Small tick icon to apply the Shake effect.
7. Lastly, adjust the settings of the added Shake effect to your liking.
That’s it! Now you can play your video to see how Shake Effect works.
Also Read: How to Edit in CapCut
Method 2: Using Shake Effect Manually
You can manually apply the shake effect in CapCut using Keyframe. To know how, follow these steps:
1. Create multiple clips in CapCut and add keyframes to each clip.
![]()
2. Set the orientation for the first keyframe and a different orientation for the next keyframe. Group two keyframes and repeat for the rest of the video.
3. Enhance your video with an overlay and split each beat. Adjust background color and opacity to suit your preferences.
4. Preview the shake effect and export your final video.
How to Get a Slow Shake Effect in CapCut
You can get a slow shake effect by adjusting the settings. Here are the steps given to get a slow camera shake effect on CapCut:
1. Follow Steps 1-4 from the above-given heading.
2. Now, tap on the Frame option.
3. Select the Electric light and tap on Adjust.
4. Now, put the size all the way up, set intensity between 0-15, horizontal Shift at anywhere between 20-50, and rotate at 50.
Note: Keep these set effects throughout the whole video or photo clip.
5. Then, save the video or share it using the Share icon.
![]()
Once you have adjusted the settings, preview the effect to see if it meets your expectations or not.
We hope this article was helpful for you and you can now add the shake effect in CapCut with ease. If you still have any queries or suggestions drop them in the comment section below. Also, let us know what you want to learn next from us.