
In Windows 7 users have the option to turn off sticky corners when using more than one monitor, but it seems like Microsoft have disabled that feature in Windows 10. The problem is that there is some part of the screen where your mouse cursor will be stuck, and the mouse movement is not permitted in that part when using more than one monitors. This feature is called sticky corners, and when users were able to disable this feature in Windows 7, the mouse could move freely across the top of the screen between any number of monitors.

Windows 10 also got sticky corners where there are a few pixels at the top corners of each monitor (display) where the mouse cannot cross over to the other monitor. One must move the cursor away from this region to transition to the next display. So without wasting any time let’s see how to actually Disable Sticky Corners in Windows 10 with the below-listed guide.
Note: In Windows 8.1, 8 and 7 changing the value of MouseCornerClipLength registry key from 6 to 0 was able to disable Sticky corners, but unfortunately this trick doesn’t seem to work in Windows 10
How To Disable Sticky Corners In Windows 10
Make sure to create a restore point just in case something goes wrong.
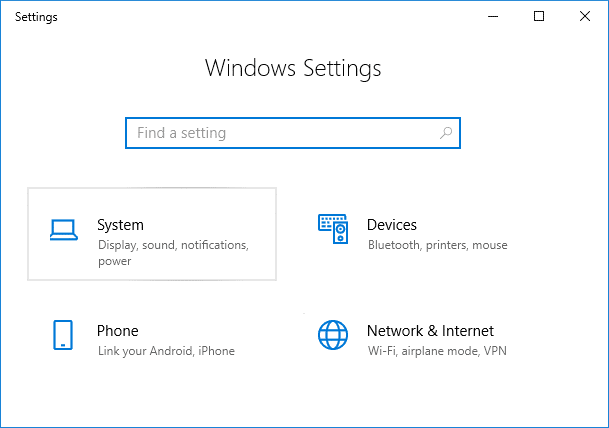
1. Press Windows Key + I together to open Settings then click on System.
2. From the left-hand menu, click on Multitasking and in the right window pane, you would see a category called Snap.
3. Disable the toggle under “Arrange windows automatically by dragging them to the sides or corners of the screen.”

4. Press Windows Key + R then type regedit and hit Enter to open Registry Editor.

5. In the Registry Editor navigate to the following key:
HKEY_CURRENT_USER\Software\Microsoft\Windows\CurrentVersion\ImmersiveShell\EdgeUi
Note: If EdgeUi key is not present then right-click on ImmersiveShell then select New > Key and name it as EdgeUi.
6. Right-click on EdgeUi then select New > DWORD (32-bit) value.

7. Name this new DWORD as MouseMonitorEscapeSpeed.
8. Double click on this key and set it’s value to 1 and click OK.

9. Reboot your PC to save changes.
Recommended:
- Fix Mail, Calendar, and People Apps not working
- Fix losing internet connection after installing Windows 10
- How to Fix Network Adapter Missing in Windows 10
- Fix MSVCP100.dll is missing or not found an error
That’s it you have successfully learned How To Disable Sticky Corners In Windows 10 but if you still have any questions regarding this post then feel free to ask them in the comment’s section.


This DOES NOT remove the ~6-10 pixel ‘sticky’ edge between multiple monitors, top or bottom.
Only the registry edit is necessary. Turning off Snap has the unintended consequence of not being able to use Win- to move windows around your multiple monitors.
21 century, super new Windows, and we need to regedit it… Great. Just… M$h… Congrats.
When I navigate all the way out the tree to Immersiveshell, there is no EdgeUI under my Windows 10? Is there another area for it?
Nothing works
This doesn’t work lol, are you sure you tried this out yourself author?
thanks man, you are a legend and I couldn’t find any other way to disable this. It was driving me mad.