The Timeline is one of the very useful features that was recently added to Windows 10. The timeline feature allows you to continue your work from wherever you have left it on one device on another device. You can pick up any web activity, document, presentation, application, etc. from one device to another. Now, the question arises, how to use this Web Activities extension to use the Timeline feature? In this article, you will find the step-by-step process on how to add Chrome extension Web Activities and how to use it to resume your work.

Easily View Chrome Activity On Windows 10 Timeline
In order to start using Web Activities extension for Google Chrome, first of all, you need to install the extension. To install the Web Activities Chrome extension to support the Timeline feature, follow the below steps:
1. Visit the official Chrome Web store.
2. Search for the official Chrome timeline extension called the Web Activities.
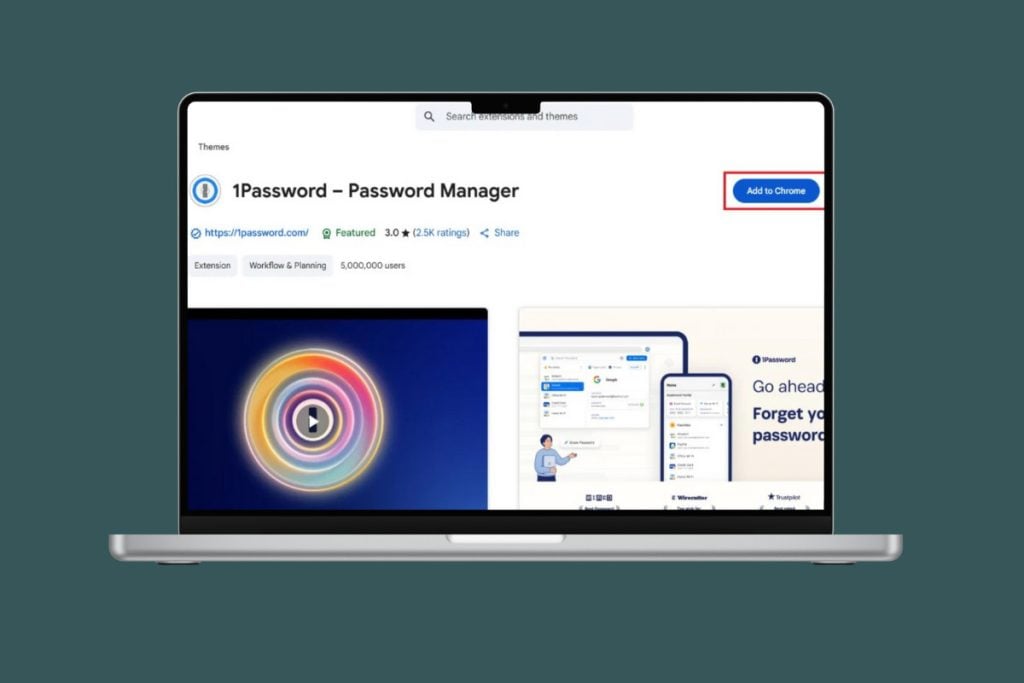
3. Click on the “Add to Chrome” button to add the extension to Google Chrome.

4.The below pop up box will appear, then click on Add extension to confirm that you want to add the extension web Activities.

5. Wait for a few moments for the extension to be downloaded and installed.
6. Once the extension is added, the below screen will appear, which will now show the option ‘Remove for Chrome‘.
7. A Web Activities extension icon will appear on the right side of the Chrome address bar.
![]()
Once the Web Activities extension appears at the Google Chrome address bar, it will be confirmed that the extension is added, and now Google Chrome can start working with Windows 10 Timeline support.
To start using the Google Chrome Web Activity extension for Timeline support, follow the below steps:
1. Click on the Web Activities icon that is available on the right side of the Google Chrome address bar.
![]()
2. It will prompt you to sign in with your Microsoft Account.
3. Click on the Sign-in button to log in with your Microsoft account. The sign-in window as shown below will appear.
3. Enter your Microsoft email or phone or skype id.
4. After that, password screen will appear. Enter your password.

5. After entering your password, click on the Sign in button.
6. When you are successfully logged in, the below dialog box will appear asking your permission to let the Web Activities extension to access your info like profile, activity, etc on your timeline. Click on the Yes button to continue and to grant access.

7. Once you grant all the permissions, the Web Activities icon will turn blue, and you will be able to use Google Chrome with the from Windows 10 Timeline, and it will start tracking your websites and will make the activities available to your Timeline.
8. After completing the above steps, you will be ready to access your timeline.
9. To quickly access the timeline on Windows 10, there are two methods:
- You can access the timeline using the Taskbar button
- You can access the timeline on Windows 10 using the Windows key + tab key shortcut.
Recommended: How To Setup Network Files Sharing On Windows 10
By default, your activities will be opened using your default browser. Still, you can change the browser anytime to Microsoft Edge by clicking on the Web Activities icon and by selecting the Microsoft Edge option from the drop-down menu. So, by following the above steps, you will be able to install and use the Google Chrome Web Activities extension for Windows 10 Timeline support.