
In recent years, Android smartphones have dominated the global market, with more and more consumers shifting to this Google-based operating system. While these devices are usually backed by a powerful specification sheet, their performance is limited due to software restrictions. Thus, to unlock the full potential of the Android operating system, the developers added the Bootloader which opens up a whole new world of possibilities for your Android device. Continue reading to know more about this tool and how to unlock Bootloader via Fastboot on Android phones.

How to Unlock Bootloader on Android Devices
The Bootloader is an image that flashes when your phone boots up. It is the doorway between an ordinary Android device and one that breaks the shackles of normalcy. The bootloader was initially, a part of the Android open-source project that allowed small-scale developers and programmers to make modifications to their Android devices.
Advantages of Bootloader Unlock Android
While unlocking the bootloader by itself, makes no significant changes to your device; it basically paves the way for other major reforms. The unlocked bootloader allows the user to:
- Root Android devices
- Install custom ROMs and recoveries
- Increase storage of the device
- Uninstall system apps.
Disadvantages of Bootloader Unlock Android
An unlocked bootloader, although revolutionary, comes with its downsides.
- Once a bootloader has been unlocked, the warranty of the Android device becomes null and void.
- Moreover, bootloaders provide an extra layer of security to your Android device. Hence, unlocked bootloaders make it easy for hackers to break into your system and steal information.
If your device has slowed down and you want to step up its operational capacity, knowing how to unlock bootloader via Fastboot on Android will prove to be an added feather in your cap.
Also Read: 15 Reasons to root your Android phone
Fastboot: Bootloader Unlock Tool
Fastboot is an Android Protocol or Bootloader Unlock Tool that allows users to flash files, alter Android OS and write files directly to their phone internal storage. The fastboot mode allows users to make modifications on their devices that cannot be made normally. Major Android phone manufacturers like Samsung make it very difficult for users to unlock the bootloader, to maintain device security. Whereas, you can get a relevant token for unlocking the bootloader on LG, Motorola, and Sony smartphones. Hence, it is clear that the process to unlock the bootloader via Fastboot on Android will vary for each device.
Note: The steps mentioned in this guide will work for most Android devices that do not possess multiple layers of security.
Step 1: Install ADB and Fastboot on your Computer
ADB and Fastboot are essential to connect and then, root your Android device with your computer. ADB utility tool allows your PC to read your smartphone when it is in Fastboot mode. Here’s how to unlock Bootloader via Fastboot on Android devices:
1. On your laptop/desktop, Download the Automatic ADB Installer from the internet. You can also directly download the ADB from this website.
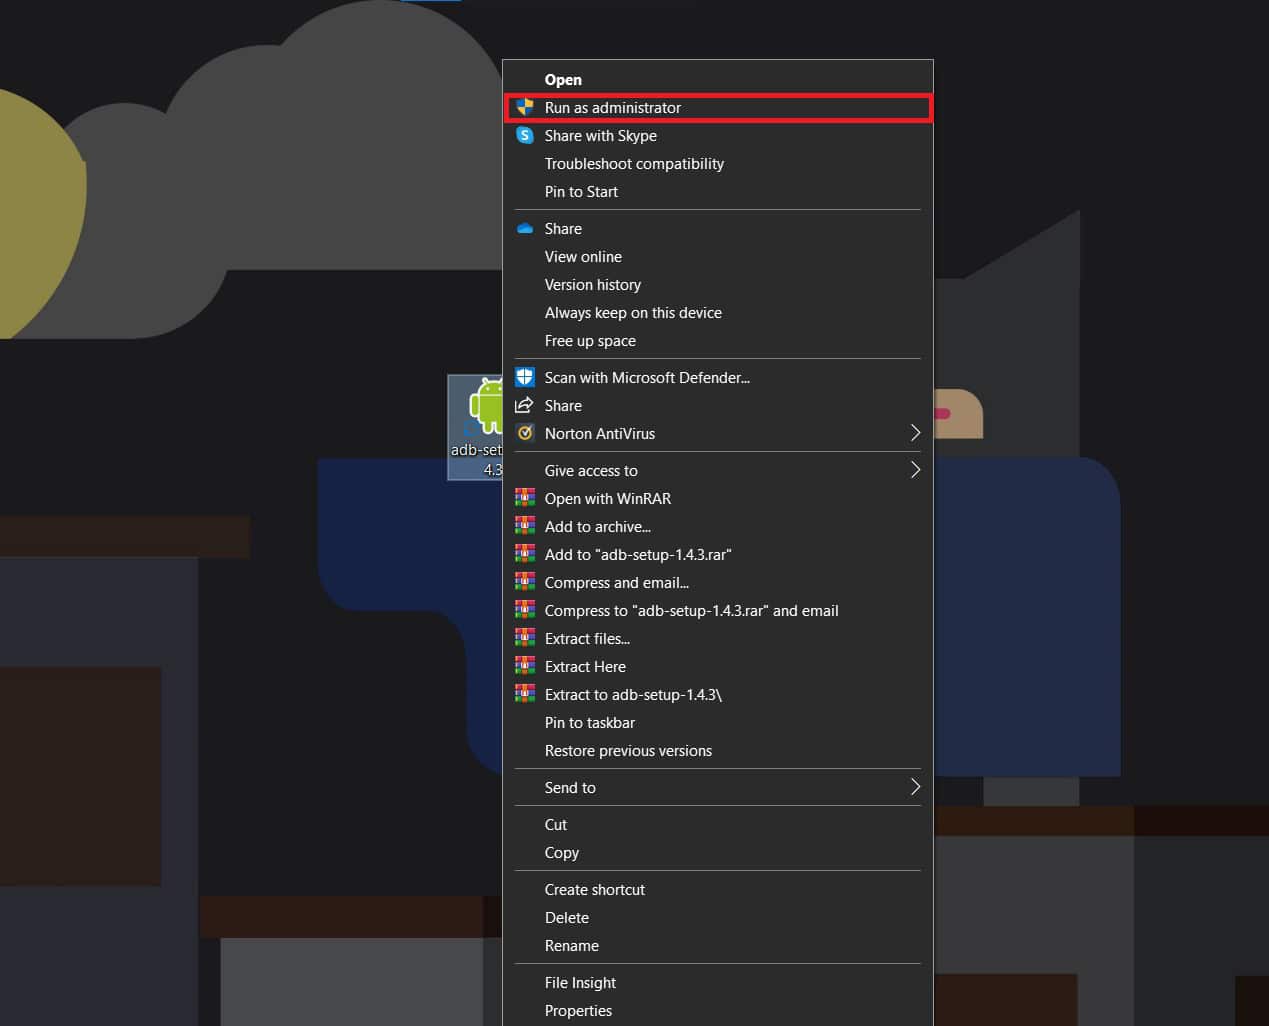
2. Right-click on the downloaded file and click on Run as administrator.
3. On the command window that pops up, type Y and hit Enter when asked Do you want to install ADB and Fastboot?

ADB and Fastboot will be installed on your computer. Now, move to the next step.
Also Read: How to Root Android without a PC
Step 2: Enable USB debugging & OEM unlock on Android Device
USB debugging and OEM unlock options allow your phone to be read by your PC, while the device is in Fastboot mode.
Note: Since smartphones don’t have the same Settings options, and they vary from manufacturer to manufacturer hence, ensure the correct settings before changing any.
1. Open the Settings application.
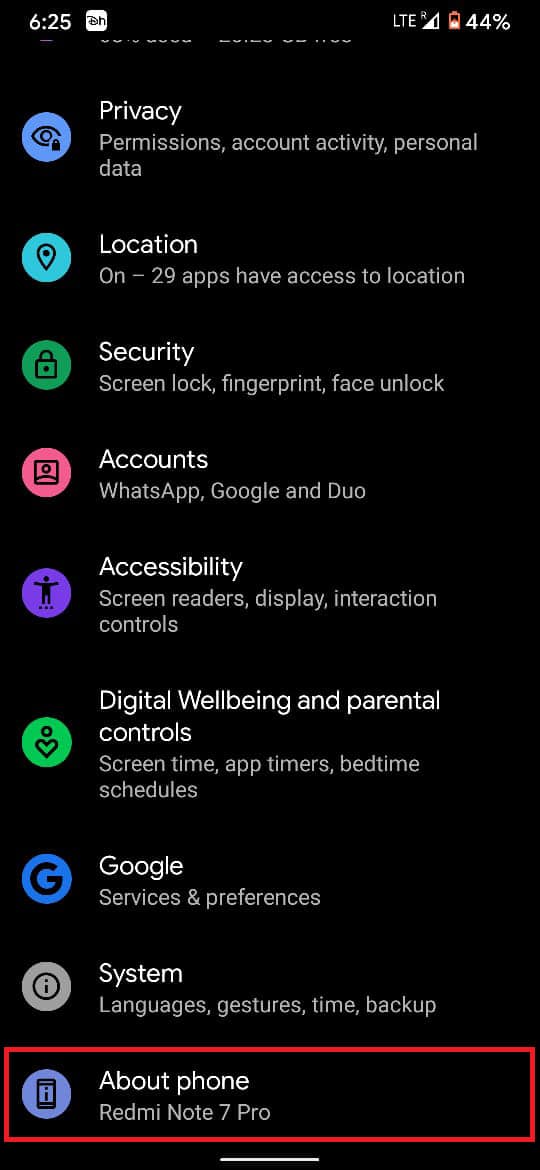
2. Scroll down and tap on About phone, as shown.
3. Here, find the option titled Build number, as depicted.

4. Tap on Build number 7 times to unlock developer options. Refer given pic. A message will appear confirming your status as a Developer.

6. Next, tap on System settings, as shown below.

7. Then, tap on Advanced, as highlighted.

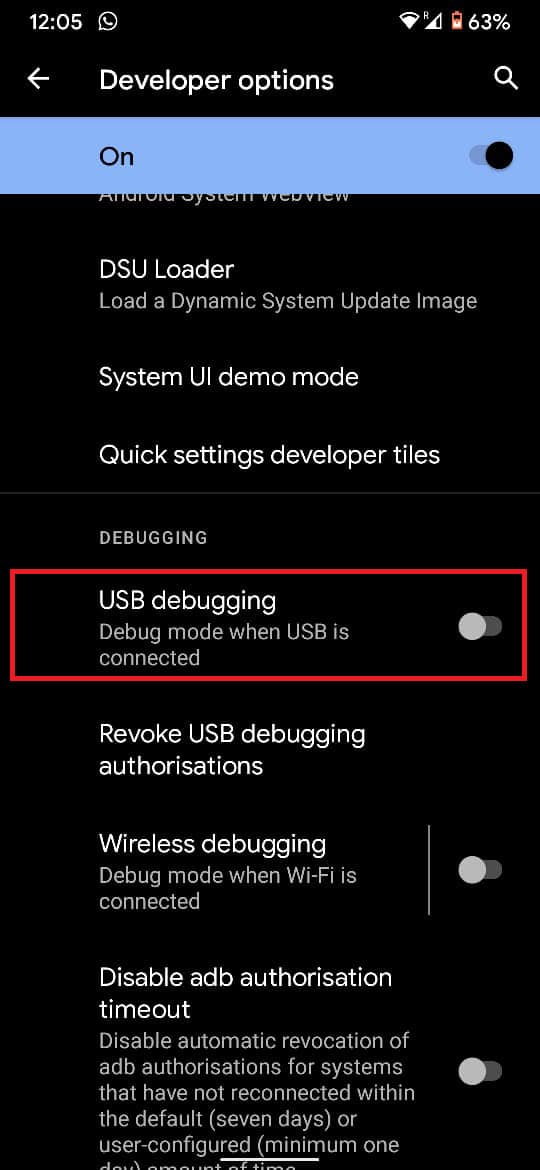
8. Tap on Developer options to continue further.

9. Turn ON the toggle for USB debugging, as shown.
10. Do the same for OEM Unlock as well to enable this feature too.
Also Read: How to hide Apps on Android?
Step 3: Reboot Android in Fastboot mode
Before unlocking the bootloader, backup all your information as this process completely wipes off all your data. Then, follow the given steps to boot your Android phone in Fastboot mode:
1. Using a USB cable, connect your smartphone to your PC.
2. Launch Command Prompt by searching for it in the Windows search bar.
3. Type ADB reboot bootloader and hit Enter.
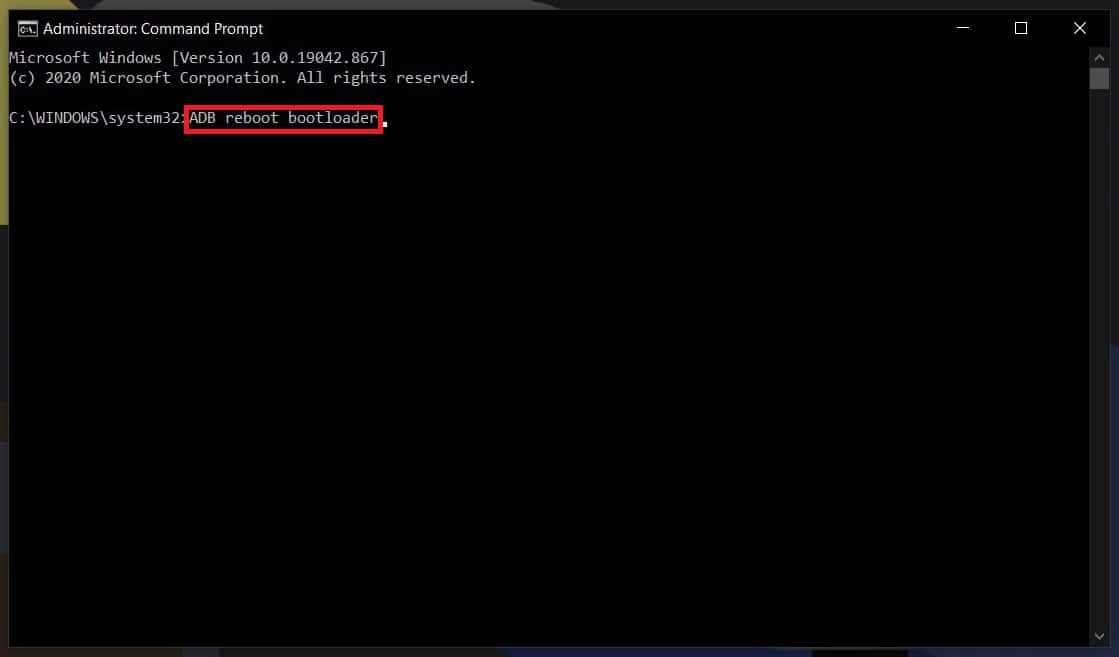
4. This will reboot your device to its Bootloader. Based on your device, you may get a confirmation message.
5. Now, type the following command and hit Enter to unlock the bootloader:
fastboot flashing unlock
Note: If this command does not work, try using fastboot OEM unlock command.
6. Once Bootload is unlocked, your phone will reboot to its Fastboot mode.
7. Next, type fastboot reboot. This will reboot your device and delete your user data.
Recommended:
- 6 Ways to Unlock a Smartphone Without the PIN
- How to check if your Android phone is rooted?
- What does fruit Mean on SnapChat?
- How to use Emojis on Windows 10?
We hope the above guide was helpful and you were able to unlock Bootloader via Fastboot on Android. But if you still have any queries regarding this guide, feel free to ask them in the comment section.


