In Outlook, managing time zones is important to ensure that all important deadlines, meetings, or appointments are accurately reflected in your schedule. By setting the correct time zone, you can avoid any confusion or missed opportunities. In today’s blog, we will explore how to change the time zone in Outlook.

How to Change Time Zone in Outlook Desktop
Changing the outlook time zone setting can help you stay organized and on time, especially if you have recently moved to a different time zone or have a client in a different time zone. By adjusting that you can ensure that you and your clients never miss an important appointment.
Here’s what you can do:
- Open the Outlook app then click on the File option.
- Click on Options then click on Calendar.
- From the Time zones section, click on the down-arrow given next to the current time zone.
- Find and select the new time zone you wish to utilize.
- To save your changes, click on the OK button.

How to Change Time Zone in Outlook Web
To change the time zone in Outlook Web, follow these given step-by-step:
- Open Outlook.com in your Desktop browser and sign in to your Outlook account.
- Now, click on the Gear icon then navigate to the Calendar tab.
- Under Display my calendar in time zone click on the down-arrow given next to the current time zone.
- Select the time zone you want to use.
- Lastly, click on the Save option.

How to Add Multiple Time Zones to Outlook Calendar
Follow these steps to add multiple time zones to Outlook calendar:
On Desktop
- Open the Outlook app then click on the File option.
- Click on Options then click on Calendar.
- Scroll down to the Time zones section.
- Check the Show a second time zone option.
- If you want, you can also check the Show a third time zone option.
- Click on OK.

On Web Browser
- Open Outlook.com in your Desktop browser and sign in to your Outlook account.
- Now, click on the Gear icon then navigate to the Calendar tab.
- Click on the + Add time zone.
- Click on the down-arrow icon given next to the Search for a city option or simply search for a city’s name.
- Input a label for every zone for clearness.
- If you want to add more time zone, repeat the process.
- Lastly, click on the Save button.

How to Stop Outlook from Changing Time Zone Automatically
Follow these straightforward steps to stop Outlook from changing the time zone automatically.
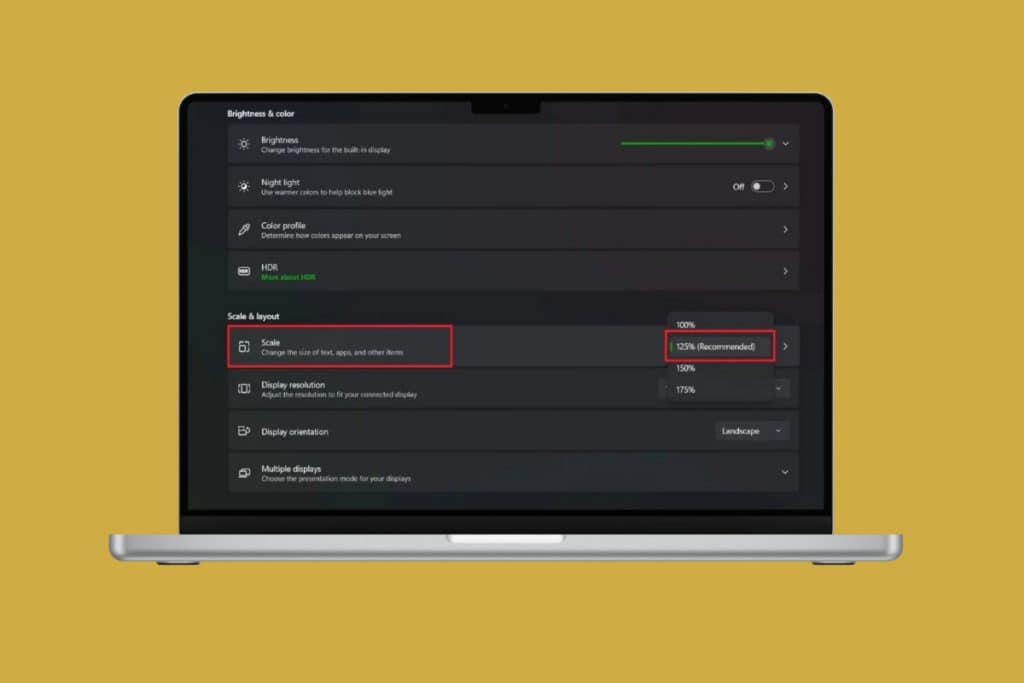
- On your Desktop, click on the Menu icon then select the Gear icon.
- Click on the Time & Language option.
- Turn off the Set time zone automatically option.

How to Change the Time Zone in Outlook Meeting
Here’s how you can change the time zone in Outlook meeting:
- Open Outlook then Click on the Calendar option.
- Then click either on future meeting or create a new meeting.
- Click on the Time zones option.
- Now, click on the down-arrow given next to the current time zone.
- Finally, click on the Save option.

Why is My Time Zone Changing Automatically in Outlook?
If you’re finding that your time zone in Outlook automatically changes, there could be a few potential reasons for this including:
- Outlook may be set to automatically detect and adjust the time zone.
- The Set time zone automatically option is enabled in your Windows settings app.
- Sometimes there may be a bug or glitch in the Outlook software
Also Read: How to Change Time Zone on Facebook App or PC
Being mindful of time zones can ensure smooth communication with clients around the world. We hope this blog helps you learn how to change time zones in Outlook. Feel free to share your feedback with us in the comments section below. Also, keep visiting our website for more helpful blogs.