
Fix Windows Store Error The Server Stumbled: The main cause of this error is corrupted OS files, invalid registry, virus or malware, and outdated or corrupted drivers. The error “The Server Stumbled or Error Code 0x801901F7” pops up when trying to open Windows 10 Store and it doesn’t let you access the store which seems a serious problem. Sometimes this can only be because of the Microsoft overloaded server but if you continue to experience this kind of problem then follow the below-mentioned troubleshooting steps to fix this issue.

Fix Windows Store Error The Server Stumbled
It’s recommended to create a restore point just in case something goes wrong.
Method 1: Reset Windows Store cache
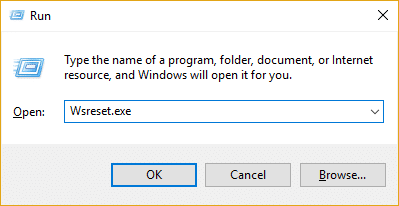
1.Press Windows Key + R then type “Wsreset.exe” and hit enter.
2.One the process is finished restart your PC.
Method 2: Remove Windows Store Database Files
1.Navigate to the following directory:
C:\Windows\SoftwareDistribution\DataStore\
2.Locate the DataStore.edb file and delete it.

3.Reboot your PC to save changes.
4.Again check Windows store to see if you’re able to Fix Windows Store Error The Server Stumbled.
Method 3: Disable Proxy
1.Press Windows Key + I then click Network & Internet.

2.From the left-hand side menu, select Proxy.
3.Make sure to turn off the Proxy under ‘Use a proxy server.’
‘
4.Again check if the issue is resolved or not.
5.If the Windows store again displays the error ‘The server Stumbled‘ then press Windows Key + X then select Command Prompt (Admin).

6.Type the command ‘netsh winhttp reset proxy‘ (without quotes) and hit enter.

7.Let the above process finish and then reboot your PC to save changes.
Method 4: Make sure Windows is Up to Date.
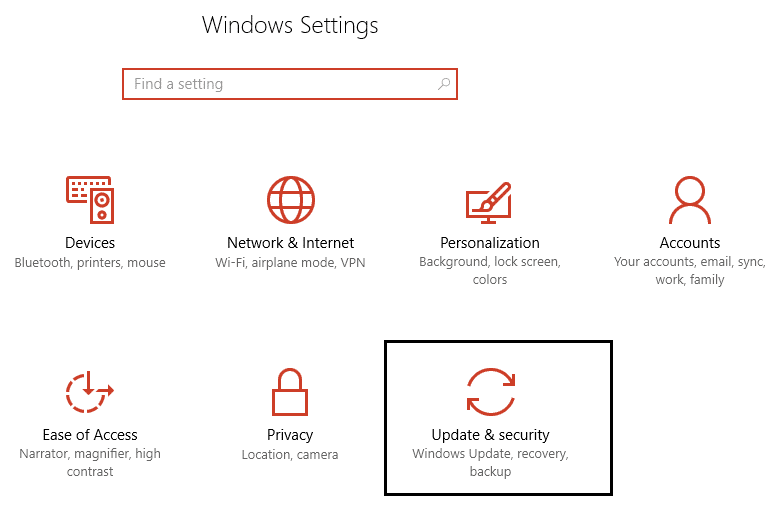
1.Press Windows Key + I then select Update & Security.
2.Next, click Check for updates and make sure to install any pending updates.

3.Press Windows Key + R then type services.msc and hit enter.

4.Find Windows Update in the list and right-click then select Properties.

5.Make sure startup type is set to Automatic or Automatic (Delayed Start).
6.Next, click Start and then click Apply followed by OK.
Again check to see if you’re able to Fix Windows Store Error 0x80240024 The Server Stumbled .
Method 5: Turn off Automatic Time Settings
1.Press Windows Key + I then select Time & Language.

2.Turn off ‘Set time automatically‘ and then set your correct date, time, and timezone.

3.Reboot your PC to save changes.
Method 6: Re-register Store app
1.Open command Prompt as an Administrator.
2.Run below PowerShell command
PowerShell -ExecutionPolicy Unrestricted -Command “& {$manifest = (Get-AppxPackage Microsoft.WindowsStore).InstallLocation + ‘\AppxManifest.xml’ ; Add-AppxPackage -DisableDevelopmentMode -Register $manifest}”

3.Once done, close command prompt and Restart system
Open windows store and check if your problem has solved.
Method 7: Run Windows Repair install
This method is the last resort because if nothing works out then this method will surely repair all problems with your PC. Repair Install just using an in-place upgrade to repair issues with the system without deleting user data present on the system. So follow this article to see How to Repair Install Windows 10 Easily.
That’s it, you have successfully Fix Windows Store Error The Server Stumbled but if you still have any queries regarding this guide then feel free to ask them in the comment’s section.


My savior. Thank you. windows store has started working again.
GILLLAAA HEBAT SUDAH BISA DIPAKAI, SAYA PAKE METODE 4. Terimakasih banyak
thank you bro, it is worked
how far guy, my own update is not working