The display is a major factor that affects our decision to purchase a particular smartphone. The difficult part is choosing between AMOLED (or OLED) and LCD. Although in recent times most of the flagship brands have made the shift to AMOLED, it does not mean that it is flawless. One point of concern with AMOLED display is that of screen burn-in or ghost images. AMOLED displays are much more likely to face the problem of screen burn-in, image retention, or ghost images when compared to LCD. Thus, in the debate between LCD and AMOLED, the latter has a clear disadvantage in this field.
Now, you may not have experienced screen burn-in first hand, but a lot of Android users have. Instead of being puzzled and confused by this new term and before allowing it to affect your final decision, it is better if you get to know the complete story. In this article we are going to discuss what screen burn-in actually is and whether or not you can fix it. So, without any further ado let’s get started.

Fix Screen Burn-in on AMOLED or LCD display
What is Screen Burn-in?
Screen burn-in is the condition where the display suffers from permanent discoloration due to irregular pixel usage. It is also known as a ghost image as in this condition a blurred image lingers on the screen and overlaps with the present item being displayed. When a static image is used on a screen for a long time then the pixels struggle to switch to a new image. Some pixels still emit the same color and thus a faint outline of the previous image can be seen. It is similar to a human leg feeling dead and unable to move after a prolonged period of sitting down. This phenomenon is also known as image retention and is a common problem in OLED or AMOLED screens. To better understand this phenomenon, we need to know what causes it.
What causes Screen Burn-in?
A smartphone’s display is made up of numerous pixels. These pixels illuminate to form a part of the picture. Now the various colors that you see are formed by mixing colors from three subpixels of green, red, and blue. Any color that you see on your screen is produced by a combination of these three subpixels. Now, these subpixels decay over time, and each sub-pixel has a different life span. Red is most durable followed by green and then blue which is the weakest. Burn-in occurs due to the weakening of the blue sub-pixel.
Apart from that pixels that are more extensively used take for example the ones responsible to create the navigation panel or navigation buttons decay faster. When a burn-in starts it usually starts from the navigation region of the screen. These worn-out pixels aren’t able to produce colors of an image as good as others. They are still stuck on the previous image and this leaves behind a trace of the image on the screen. Areas of the screen that are usually stuck with a static image for a long time tend to wear out as the sub-pixels are in a state of constant illumination and do not get an opportunity to change or switch off. These areas are no longer as responsive as others. The worn-out pixels are also responsible for variation in color reproduction among different parts of the screen.
As mentioned earlier, the blue light subpixels wear out faster than red and green. This is because in order to produce light of a particular intensity, blue light needs to glow brighter than red or green and this requires extra power. Due to the continuous intake of excess power, blue lights wear out faster. Over the course of time OLED display begins to acquire a reddish or greenish tint. This is another aspect of burn-in.
What are the Preventive Measures against Burn-in?
The problem of burn-in has been acknowledged by all smartphone manufacturers that use OLED or AMOLED display. They know that the problem is caused because of the faster decay of the blue sub-pixel. They have thus tried various innovative solutions to avoid this problem. Samsung for example started using pentile subpixel arrangement in all their AMOLED display phones. In this arrangement, the blue sub-pixel is made bigger in size as compared to red and green. This means that it would be able to produce higher intensity with less power. This in turn will increase the life span of blue sub-pixel. High-end phones also use better-quality long-lasting LEDs that ensure that burn-in does not occur any time soon.
Apart from that, there are in-built software features that prevent burn-in. Android Wear products come with a “burn protection” option that can be enabled to prevent burn-in. This system shifts the image displayed on the screen by a few pixels from time to time to make sure there isn’t too much pressure on any one particular pixel. Smartphones that come with Always-on feature also use the same technique to increase the life-span of the device. There are also certain preventive measures that you can take on your end to avoid screen burn-in from happening. We are going to discuss this in the next section.
How to Detect Screen Burn-in?
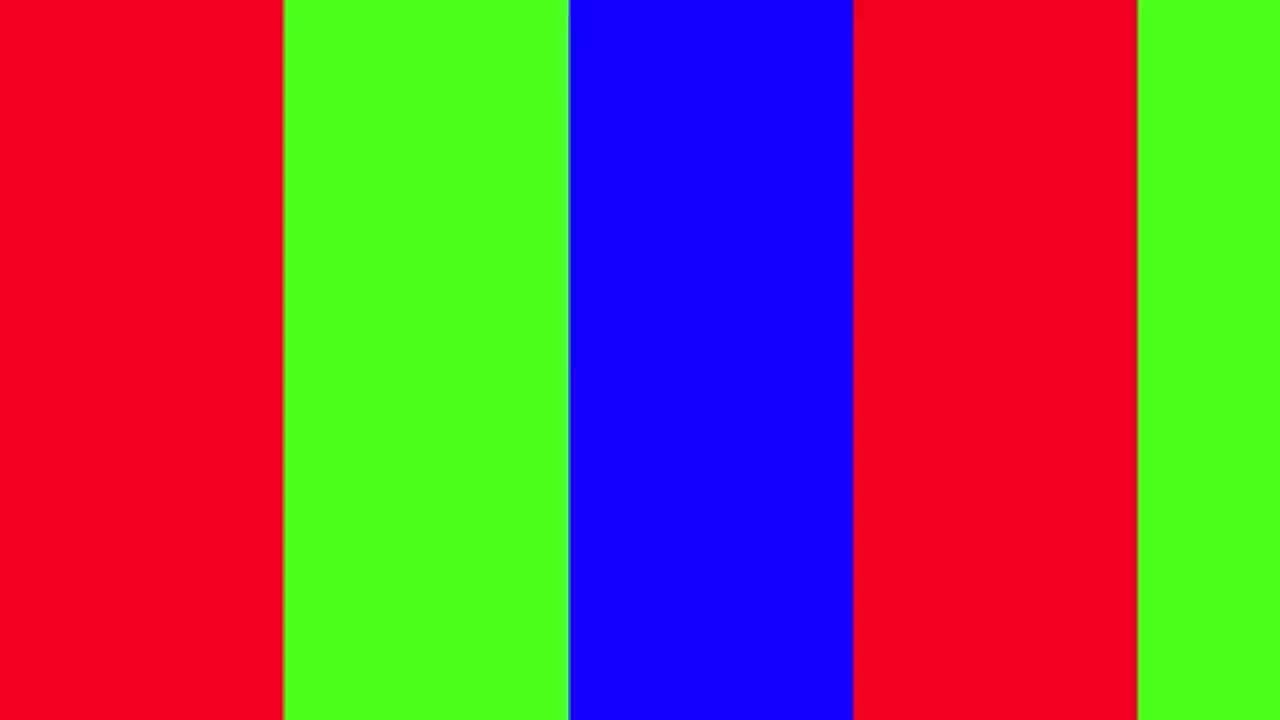
Screen Burn-in takes place in stages. It starts with a few pixels here and there and then gradually more and more areas of the screen get damaged. It is nearly impossible to detect burn-in in the early stages unless you are viewing a solid color on the screen with maximum brightness. The easiest way to detect screen burn-in is by using a simple screen-testing app.
One of the best apps available on Google Play Store is Screen Test by Hajime Namura. Once you download and install the app you can start the test right away. Your screen will be completely filled with a solid color that changes when you touch the screen. There are also a couple of patterns and gradients in the mix. These screens allow you to check if there is any lingering effect when the color changes or if there is any section of the screen that is less bright than the rest. Color variations, dead pixels, botched screen are some of the other things to look out for while the test is taking place. If you do not notice any of these things then your device does not have burn-in. However, if it does show signs of burn-in then there are certain fixes that can help you prevent further damage.
What are the various Fixes for Screen Burn-in?
Although there are multiple apps that claim to reverse the effects of screen burn-in, they rarely work. Some of them even burn the rest of the pixels to create a balance, but that is not good at all. This is because screen burn-in is permanent damage and there isn’t a lot that you can do. If certain pixels are damaged then they can’t be repaired. However, there are certain preventive measures that you can take to prevent further damage and restrict screen burn-in from claiming more sections of the screen. Given below is a list of measures that you can take to increase the life-span of your display.
Method 1: Lower the Screen’s Brightness and Timeout
It is simple math that higher the brightness, the higher is the energy supplied to the pixels. Lowering your device’s brightness will reduce energy flow to the pixels and prevent them from wearing out soon. You can also decrease the screen timeout so that the phone’s screen turns off when not in use saving not only power but also boosting the longevity of pixels.
1. To lower your brightness, simply drag down from the notification panel and use the brightness slider on the quick access menu.
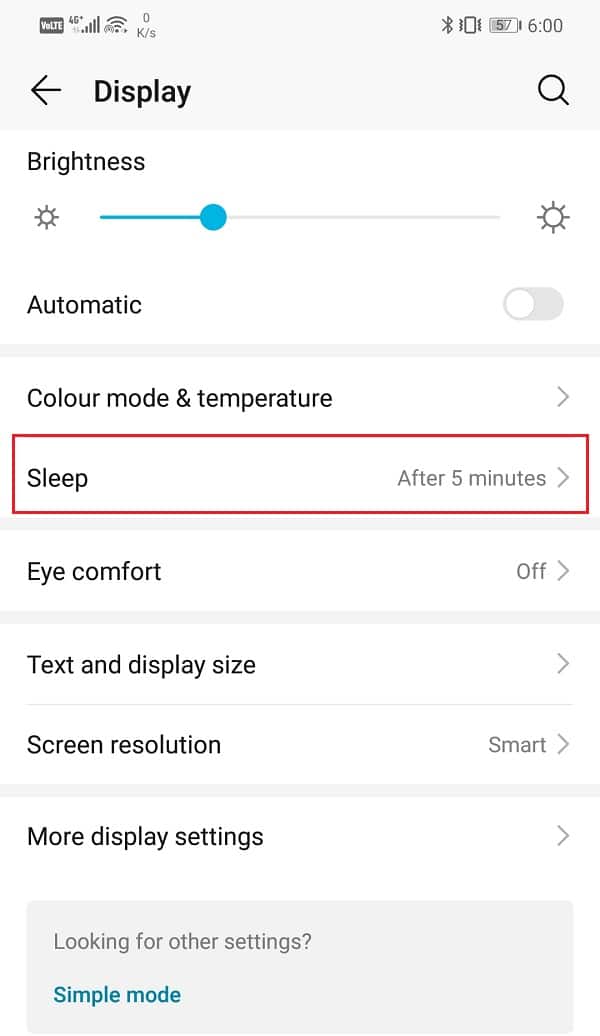
2. In order to reduce screen timeout duration, open the Settings on your phone.
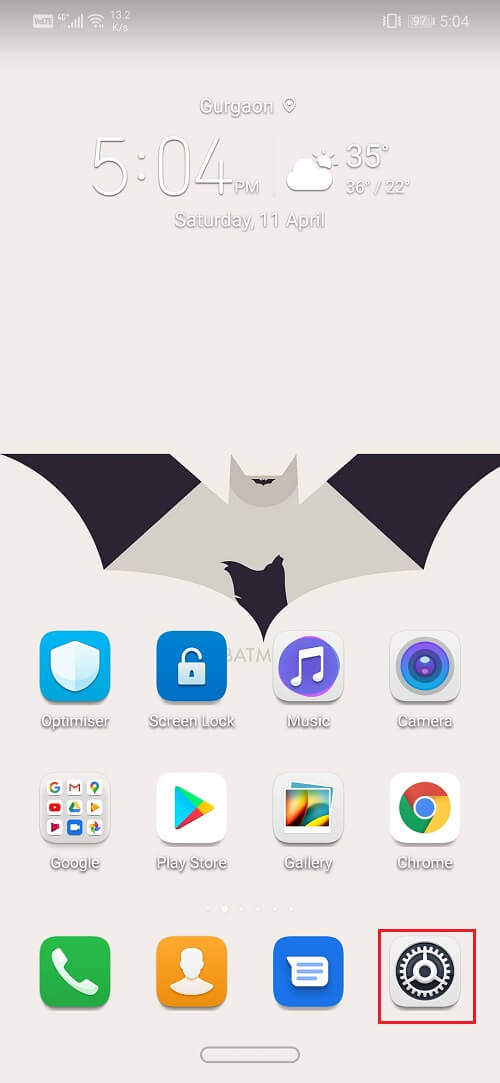
3. Now, tap on the Display option.
4. Click on the Sleep option and select a lower time duration option.

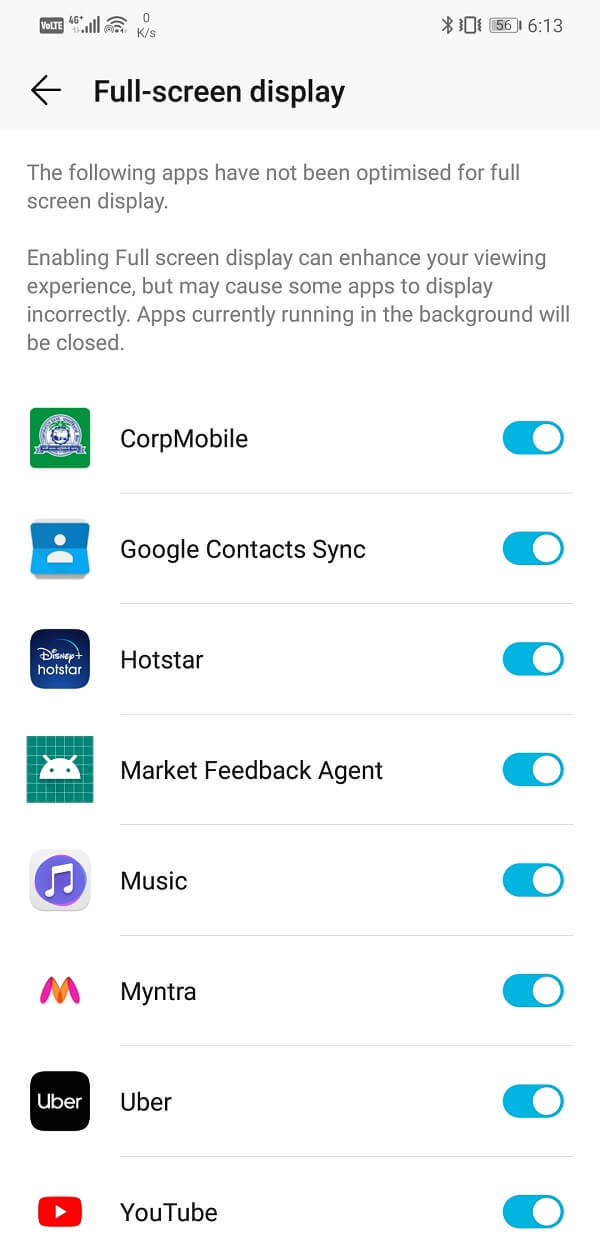
Method 2: Enable Full-Screen Display or Immersive Mode
One of the regions where burn-in occurs first is the navigation panel or region allocated for navigation buttons. This is because the pixels in that region constantly display the same thing. The only way to avoid screen burn-in is to get rid of the persistent navigation panel. This is possible only in Immersive mode or Full-screen display. As the name suggests, in this mode the entire screen is occupied by whichever app is currently running and the navigation panel is hidden. You need to swipe up from the bottom to access the navigation panel. Enabling a Full-screen display for apps allows the pixels in the top and bottom regions to experience change as some other color replaces the fixed static image of the navigation buttons.
However, this setting is only available for selective devices and apps. You need to enable the setting for individual apps from the Settings. Follow the steps given below to see how:
1. Open the Settings on your phone then tap on the Display option.
2. Here, click on More display settings.

3. Now, tap on the Full-screen display option.

4. After that, simply toggle the switch on for various apps listed there.
If your device does not have the setting in-built, then you can use a third-party app to enable a full-screen display. Download and install GMD Immersive. It is a free app and will allow you to remove the navigation and notification panels when using an app.
Method 3: Set a Black Screen as your Wallpaper
The color black is the least harmful to your display. It requires minimum illumination and thus increases the lifespan of the pixels of an AMOLED screen. Using a black screen as your wallpaper greatly reduces the chances of burn-in on AMOLED or LCD display. Check your wallpaper gallery, if the solid color black is available as an option then set it as your wallpaper. If you are using Android 8.0 or higher then you will probably be able to do this.
However, if that is not possible, then you can simply download an image of a black screen and set it as your wallpaper. You can also download a third-party app called Colors developed by Tim Clark that allows you to set solid colors as your wallpaper. It is a free app and extremely simple to use. Simply select the black color from the list of colors and set it as your wallpaper.
Method 4: Enable Dark Mode
If your device is running Android 8.0 or higher, then it might have a dark mode. Enable this mode to not only save power but also reduce the pressure on pixels.
1. Open the Settings on your device then tap on the Display option.
2. Here, you will find the setting for Dark mode.
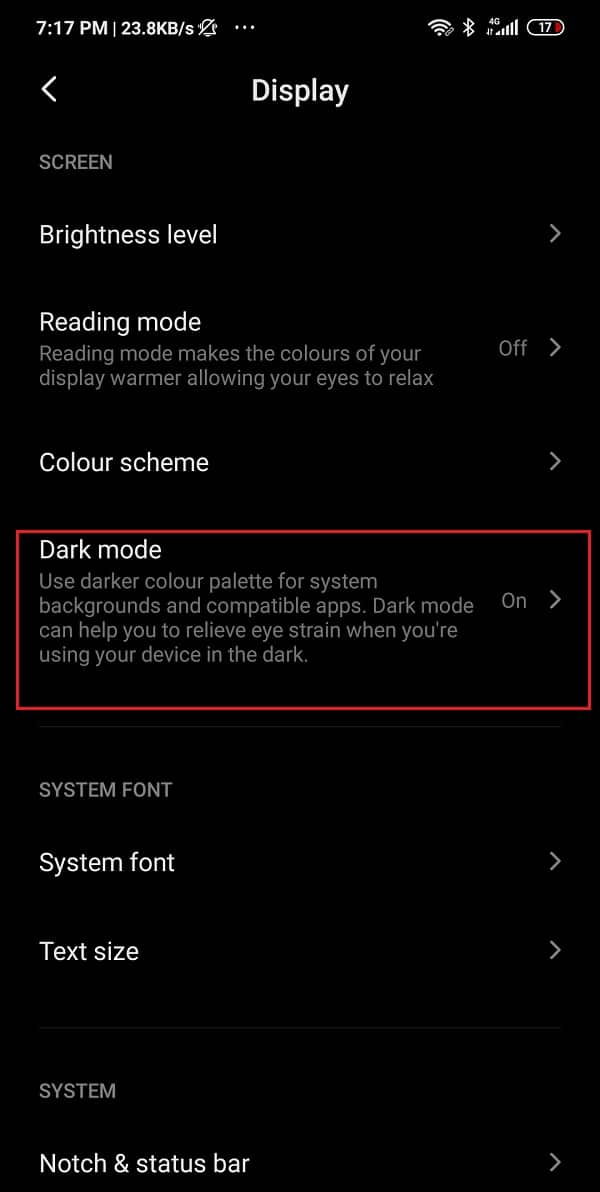
3. Click on it and then toggle the switch on to enable dark mode.

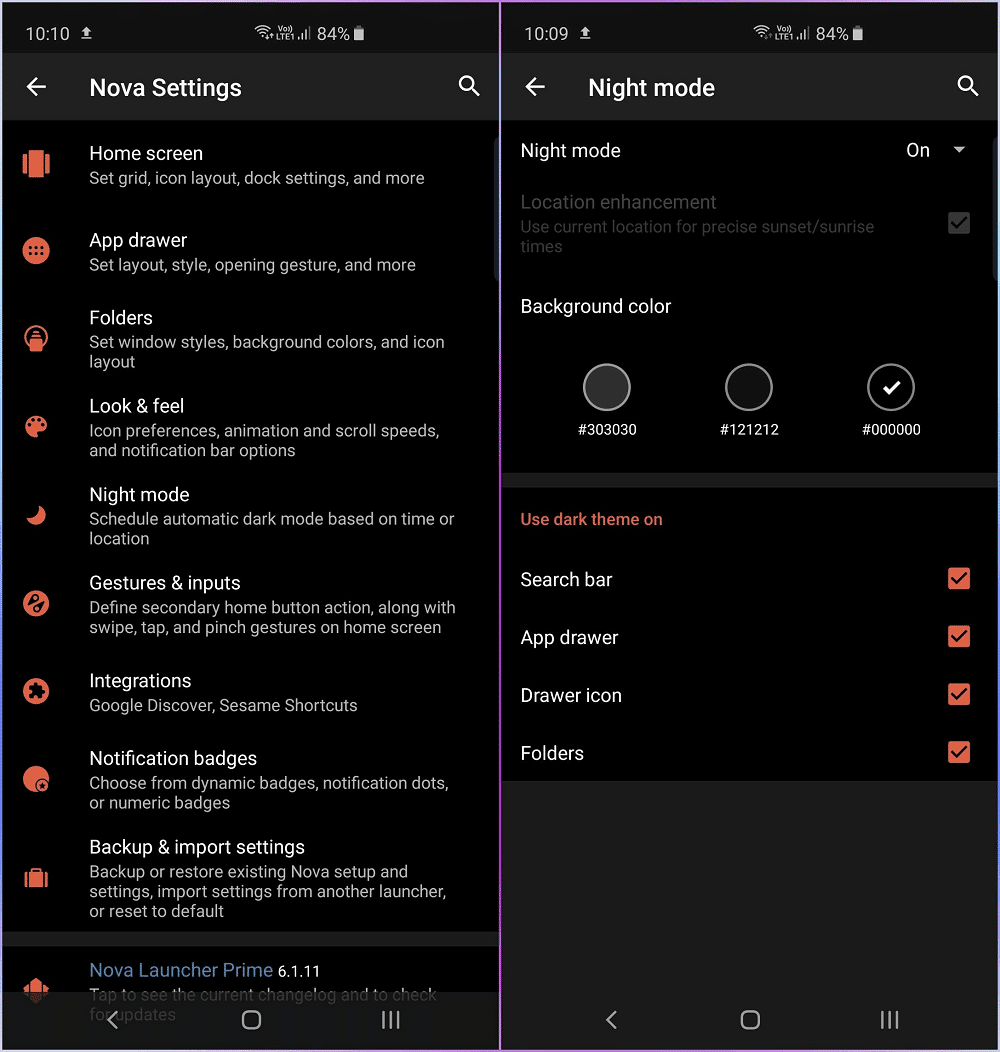
Method 5: Use a Different Launcher
If dark mode is not available on your device, then you can opt for a different launcher. The default launcher installed on your phone isn’t the best suited for AMOLED or OLED display especially if you are using stock Android. This is because they use the color white in the navigation panel region which is the most harmful for pixels. You can download and install Nova Launcher on your device. It is absolutely free and has a lot of attractive and intuitive features. Not only can you switch to darker themes but also experiment with a variety of customization options available. You can control the appearance of your icons, app drawer, add cool transitions, enable gestures and shortcuts, etc.
Method 6: Use AMOLED Friendly Icons
Download and install the free app called Minima Icon Pack that allows you to convert your icons to dark and minimalistic ones which are ideal for AMOLED screens. These icons are smaller in size and have a darker theme. This means that a smaller number of pixels are now being used and this reduces the chances of screen burn-in. The app is compatible with most Android launchers so feel free to give it a try.
Method 7: Use an AMOLED Friendly Keyboard
Some Android keyboards are better than others when it comes to impact on the display pixels. Keyboards with dark themes and neon-colored keys are best suited for AMOLED displays. One of the best keyboard apps that you can use for this purpose is SwiftKey. It is a free app and comes with a lot of in-built themes and color combinations. The best theme that we would recommend is called Pumpkin. It has black-colored keys with a neon orange typeface.

Method 8: Using a Corrective App
A lot of apps on the Play Store claim to be able to reverse the effects of screen burn-in. They are supposedly capable of fixing the damage that is already done. Although we did state the fact most of these apps are useless there are a few that might be of some help. You can download an app called OLED Tools from the Play Store. This app has a dedicated tool called Burn-in reduce that you can use. It re-trains the pixels on your screen to try and restore the balance. The process includes cycling the pixels on your screen through different primary colors at peak brightness to reset them. Sometimes doing so actually fixes the error.
For iOS devices, you can download Dr.OLED X. It pretty much does the same thing as its Android counterpart. However, if you do not wish to download any app then you can also visit the official site of ScreenBurnFixer and use the colored slides and checkered pattern provided on the site to re-train your pixels.
What to do in case of Screen burn-in on an LCD Screen?
As mentioned above it is unlikely that screen burn-in will take place on an LCD screen but it is not impossible. Also, if a screen burn-in does happen on an LCD screen then the damage is mostly permanent. However, there is an app called LCD Burn-in Wiper that you can download and install on your device. The app only works for devices having an LCD screen. It cycles the LCD pixels through various colors at different intensities to reset the effect of burn-in. If it does not work then you need to visit a service center and consider changing the LCD display panel.
Recommended:
I hope the above tutorial was helpful and you were able to fix screen burn-in on the AMOLED or LCD display of your Android phone. But if you still have any queries then feel free to ask them in the comment section.