
Nothing can beat the happiness we feel after buying new things. For some, it might be new clothes and accessories but for us, members of the techcult, it is any piece of computer hardware. A keyboard, mouse, monitor, RAM sticks, etc. any and all new tech products put a smile on our faces. Although, this smile can easily turn into a frown if our personal computer doesn’t play well with the newly bought hardware. The frown can further transpose into anger and frustration if the product took a heavy toll on our bank account. Users often buy and install a new internal or external hard disk to expand their storage space but many Windows users have been reporting that their new hard drive fails to show up in the Windows 10 File Explorer and the Disk Management applications.
The Hard Drive not showing up in the Disk Management issue is encountered equally on all Windows versions (7, 8, 8.1, and 10) and can be prompted by a variety of factors. If you are lucky, the issue might be arising due to an imperfect SATA or USB connection which can be easily fixed and if you are on the other side of the luck scale, you might need to worry about a faulty hard drive. Other possible reasons why your new hard drive isn’t being listed in Disk Management include the hard drive hasn’t been initialized yet or doesn’t have a letter assigned to it, outdated or corrupt ATA and HDD drivers, the disk is being read like a foreign disk, the file system is not supported or corrupt, etc.
In this article, we will share the various solutions you can implement in order to get your new hard drive recognized in the Disk Management application.

How to fix the ‘New hard drive not showing in disk management’ issue?
Depending on whether the hard drive is listed in File Explorer or Disk Management, the exact solution will vary for every user. If the unlisted hard drive is an external one, try using a different USB cable or connecting to a different port before moving to the advanced solutions. You can also try connecting the hard drive to a different computer altogether. Virus and malware can prevent your computer from detecting the connected hard drive, so perform an antivirus scan and check if the issue prevails. If none of these checks resolved the problem, continue with the advanced solutions below to fix hard drive not showing up in Windows 10 issue:
Method 1: Check in the BIOS Menu and the SATA Cable
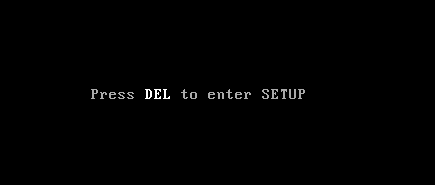
Firstly, we need to ensure that the issue isn’t arising due to any faulty connections. The easiest way to confirm this is to check if the hard drive is being listed in the computer’s BIOS menu. To enter BIOS, one simply needs to press a predefined key when the computer boots on, although the key is specific and different for each manufacturer. Perform a quick Google search for the BIOS key or restart your computer and on the bottom of the boot screen look for a message that reads ‘Press *key* to enter SETUP/BIOS’. The BIOS key is usually one of the F keys, for example, F2, F4, F8, F10, F12, the Esc key, or in the case of Dell systems, the Del key.
Once you manage to enter BIOS, move to the Boot or any similar tab (the labels vary based on manufacturers) and check if the problematic hard drive is listed. If it is, replace the SATA cable you are currently using to connect the hard drive to your computer’s motherboard with a new one and also try connecting to a different SATA port. Of course, power off your PC before you make these changes.
If the Disk Management application still fails to list the new hard disk, move to the other solutions.
Method 2: Uninstall IDE ATA/ATAPI controller drivers
It is quite possible that corrupt ATA/ATAPI controller drivers are causing the hard drive to go undetected. Simply uninstall all ATA channel drivers to force your computer to find and install the latest ones.
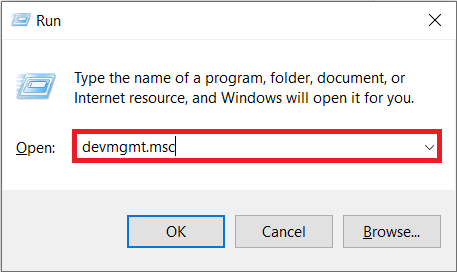
1. Press Windows key + R to open the Run command box, type devmgmt.msc, and press enter to open the Device Manager.
2. Expand IDE ATA/ATAPI controllers by clicking on the arrow to its left or double-clicking on the label.
3. Right-click on the first ATA Channel entry and select Uninstall device. Confirm any pop-ups you might receive.
4. Repeat the above step and delete drivers of all ATA Channels.
5. Restart your computer and check if now the hard drive shows up in Disk Management.
Similarly, if the hard disk drivers are faulty, it will not show up in Disk Management. So once again open the Device Manager, expand Disk drives and right-click on the new hard disk you have connected. From the context menu, click on Update driver. In the following menu, select “Automatically search for driver software online”.

In case of an external hard drive like WD My Passport Ultra, try uninstalling the current USB drivers and replacing them with updated ones.
Also Read: 4 Ways to Format an External Hard Drive to FAT32
Method 3: Run the Hardware Troubleshooter
Windows has a built-in troubleshooting tool for various issues that users may encounter. A hardware and device troubleshooter is also included which scans for any issues with connected hardware and resolves them automatically.
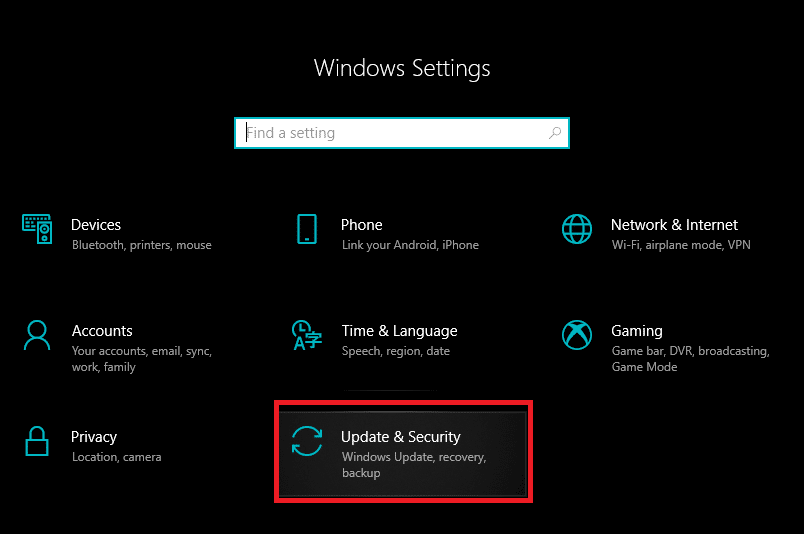
1. Press Windows Key + I to open Settings then click on the Update & Security tab.
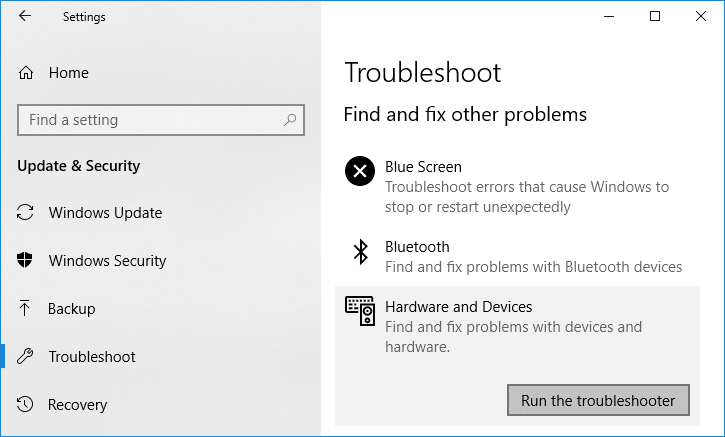
2. Switch to the Troubleshoot page and expand Hardware and Devices on the right panel. Click on the ‘Run the troubleshooter’ button.
On certain Windows versions, the Hardware and Devices troubleshooter is not available in the Settings application but can be run from the Command Prompt instead.
1. Open Command Prompt with Administrative rights.
2. In the command prompt, type the below command and press enter to execute.
msdt.exe -id DeviceDiagnostic

3. On the Hardware and Device troubleshooter window, enable Apply repairs automatically and click on Next to scan for any hardware issues.

4. Once the troubleshooter finishes scanning, you will be presented with all the hardware related issues it detected and fixed. Click on Next to finish.
Method 4: Initialize the Hard Drive
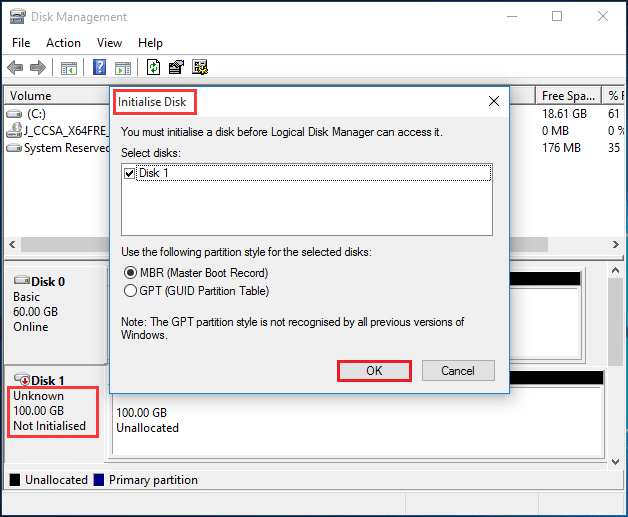
A few users will be able to see their hard drives in the Disk Management tagged with a ‘Not Initialised’, ‘Unallocated’, or ‘Unknown’ label. This often is the case with brand new drives which need to be initialised manually before being used. Once you initialize the drive, you will also need to create partitions (6 Free Disk Partition Software For Windows 10).
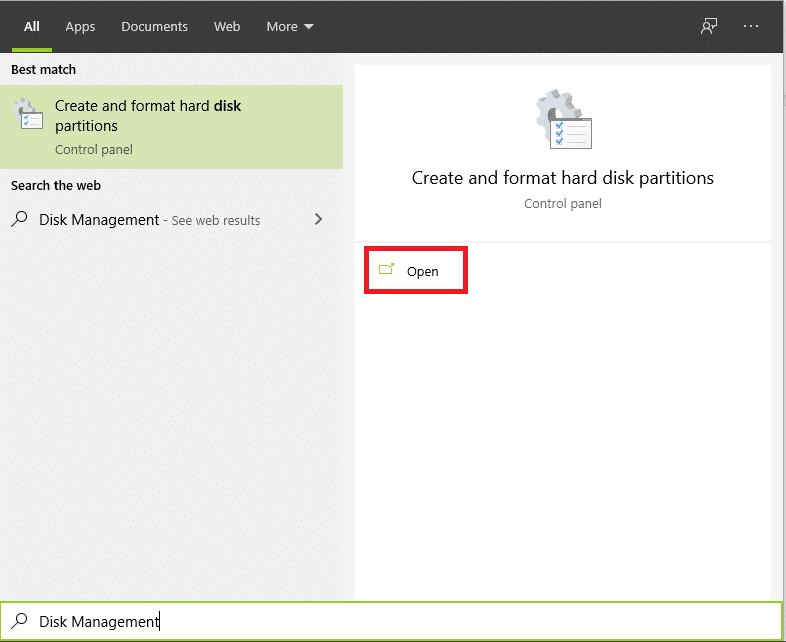
1. Press Windows key + S to activate the Cortana search bar, type Disk Management, and click on Open or press enter when search results arrive.
2. Right-click on the problematic hard disk and select Initialize Disk.
3. Select the disk in the following window and set the partition style as MBR (Master Boot Record). Click on Ok to start initializing.
Method 5: Set a New Drive Letter for the Drive
If the drive letter is the same as one of the existing partitions, the drive will fail to show up in File Explorer. An easy fix for this is to simply change the drive’s letter in Disk Management. Ensure no other disk or partition is also assigned the same letter.
1. Right-click on the hard drive that fails to show up in File Explorer and select Change Drive Letter and Paths…

2. Click on the Change… button.

3. Select a different letter from the drop-down list (all letters that have already been assigned won’t be listed) and click on OK. Restart your computer and check if the issue continues.

Method 6: Delete Storage Spaces
Storage space is a virtual drive made using different storage drives which appears inside the File Explorer as a normal drive. If the faulty hard drive was used to create storage space previously, you will need to remove it from the storage pool.
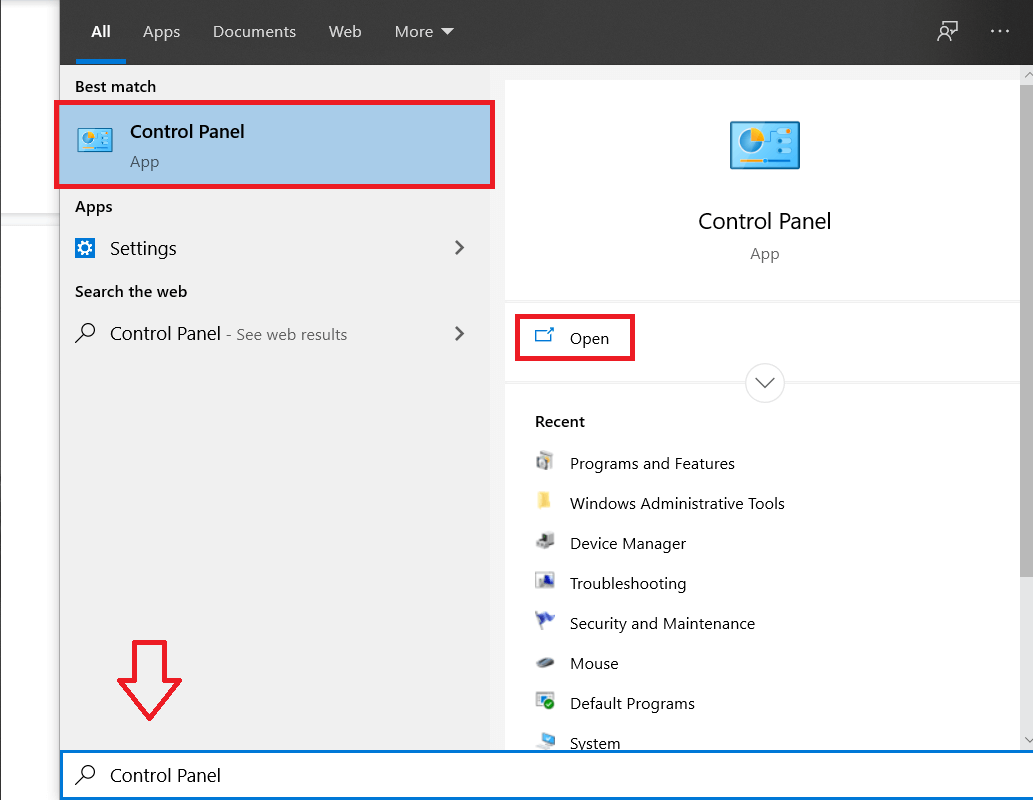
1. Search for the Control Panel in the start search bar and press enter to open it.
2. Click on Storage Spaces.

3. Expand the Storage Pool by clicking on the downward-facing arrow and delete the one that includes your hard drive.

Method 7: Import Foreign Disk
Sometimes the computer detects hard drives as a foreign dynamic disk and thus fails to list it in the File Explorer. Simply importing the foreign disk solves the problem.
Open Disk Management once again and look for any hard drive entries with a tiny exclamation mark. Check if the disk is being listed as foreign, if it is, simply right-click on the entry and select Import Foreign Disks… from the ensuing menu.
Method 8: Format the drive
If the hard drive has unsupported file systems or if it is labelled ‘RAW’ in the Disk Management, you will need to format the disk first in order to use it. Before you format, ensure you have a backup of data contained in the drive or recover it using one of the Best Free Data Recovery Software.
1. Find the hard drive that has the text RAW underneath its letter and right-click on it. Select Format from the menu.

2. In the following dialogue box, set the File System to NTFS and tick the box next to ‘Perform a quick format’ if it isn’t already. You can also rename the volume from here.
3. Click on Ok to start the formatting process.

Recommended:
- 10 Ways to Free Up Hard Disk Space On Windows 10
- How to Prevent Hard Disk from going to Sleep in Windows 10
- View Saved WiFi Passwords on Windows, macOS, iOS & Android
- 5 Ways to Stop Automatic Updates on Windows 10
Those were all the methods to make a new hard drive show up in Windows 10 Disk Management and File Explorer. If none of them worked for you, contact the service center for help or return the product as it may be a faulty piece. For any more assistance regarding the methods, contact us in the comments below.


