
Google Play Services is an essential component of Android devices that facilitates app updates, cloud saves, location services and more. However, many users experience Google Play Services draining their battery faster than expected, severely limiting device usage when not connected to a charger.
Excessive wake locks, location tracking, and background processes can all lead to Google Play Services eating up more battery than necessary. In this blog post, we will outline the main culprits behind Google Play Services battery drain issues and provide applicable solutions to extend your device’s battery life.
How to Detect Google Play Services’ Battery Draining Percentage
Detecting the sum of Battery that Google Play Services is draining out of your Android phone is very easy. Interestingly, you do not even need to download any third-party app for that. All you need to do is follow these basic steps:
1. Go to the Settings icon of the App Drawer and tap on it.
2. Find Apps & notifications and select it.
3. Now, tap on the Manage Applications button.

4. From the scroll-down list, find the “Google Play Services” option and then click on it.
5. Moving forward, click on the ‘Advanced’ button then take a glance at what percentage is mentioned under the “Battery” section.

Fix Google Play Services Draining Phone’s Battery? Here’s How to Fix it
Now that we know the cause of the battery drain is Google Play services its time to see how to fix the issue with the below-listed methods.
Method 1: Clear Cache of Google Play Services
The first and foremost method that you should practice is clearing the Cache and data history of Google Play Services. Cache basically helps to store data locally because of which the phone can speed up the loading time and cut data usage. It’s like, every time you access a page, the data gets downloaded automatically, which is kind of irrelevant and unnecessary.
Method 2: Turn Off Auto Sync Feature
As we know that Google Play Services has to track your location in order to look for new events in your current area, it is unknowingly running in the background constantly, without a break. So basically, that means even more memory is consumed.
But, of course, you can fix this. You simply just have to turn the Auto Sync feature for other accounts off, for example, your Gmail, Cloud Storage, Calendar, other third-party applications, which include Facebook, WhatsApp, Instagram, etc.
1. Tap on the ‘Settings’ icon and then scroll down until you find ‘Accounts and Sync’.
2. Then, simply click on each account and check whether the Sync is turned off or on.
3. Supposedly, the account says “Sync on”, then click on the “Account sync” option and go to the app and control all the major syncing options for that specific App.

However, it is not a necessity. If auto-sync is really very crucial for a given app then you can leave it as it is and try turning off auto-sync for the apps, which are a little less important.
Method 3: Fix Sync Errors
Sync errors arise when Google Play Services try to sync data but does not necessarily succeed. Because of these errors, you might have to charge your Android Device. Check whether your contact numbers, calendar, and Gmail account have any major issues. If it is possible, remove any emojis or stickers next to your contact names as Google does not really dig that.
Method 4: Turn Off Location Services for certain apps
Many default and third-party apps require your Location in order to work. And the problem is that they ask for it through the Google Play Services, which later uses the GPS system to collect this data and information. In order to turn off Location for a particular app, follow these simple steps:
1. Go to the Settings option and tap on the Apps section.
2. Tap on the Manage Applications button and then look for the App that is causing this trouble and select it.
3. Now, select the Permissions button and check whether the Location syncing toggle is turned on.
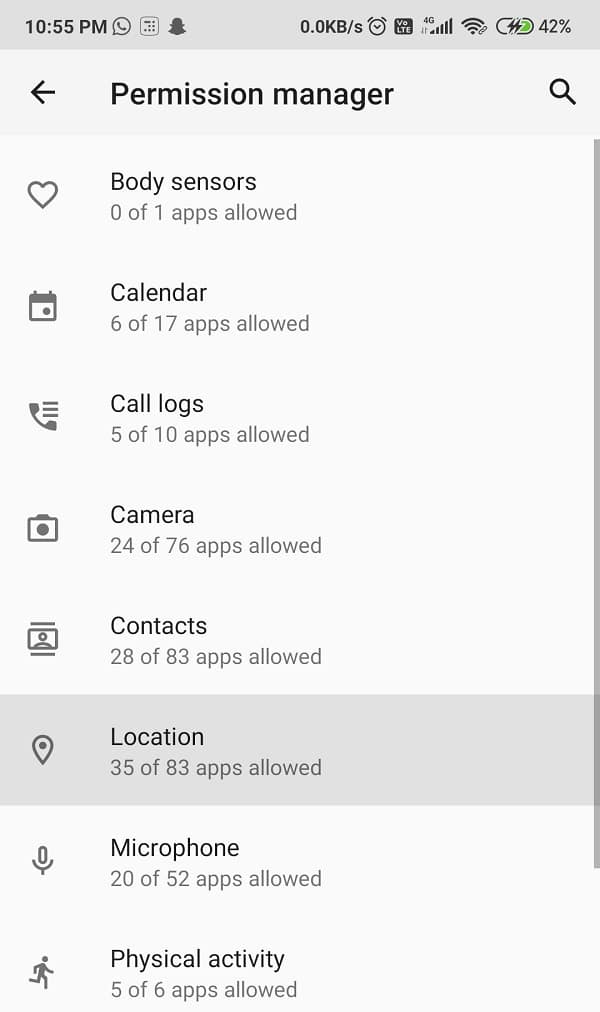
4. If yes, turn it off immediately. This will help in the reduction of battery drainage.

Method 5: Remove and re-add all your Account(s)
Removing the current Google and other application accounts and then adding them back again can also help you overcome this issue. Sometimes syncing and connectivity errors can cause such problems.
1. Tap on the Settings option and then navigate the Accounts and Sync button. Click on it.
2. Now, click on Google. You will be able to see all the accounts you have linked with your Android device.
Note: Make sure you remember the user ID or username and password for each of the accounts that you are planning to remove; otherwise, you won’t be able to log in again.
3. Tap on the account and then select the More button present at the bottom of the screen.

4. Now, tap on Remove account. Repeat the process with the other accounts as well.
5. To remove the Application Accounts, click on the App of which you want to remove the account and then press on More button.
6. Finally, select the Remove Account button, and you are good to go.

7. To add back these accounts, go back to the Settings option and click on Accounts & Sync again.
8. Scroll down the list until you find the Add Account option. Tap on it and follow the further instructions.
Method 6: Update Google Play Services
If you are not using an up to date version of the Google Play Services, this might be the reason behind your problem. Many such issues can be fixed by just updating the App as it fixes the problematic bugs. So, at last, updating the App might be your only option. To update your Google Play Services, follow these steps:
1. Go to the Google Play Store and click on the three lines icon present at the top left corner of the screen.
2. From that, select My apps and games. In the drop-down list, find the Google Play Services app and check whether it has any new updates. If yes, download them and wait for Installation.

If you’re still unable to update Google Play services then it might best to update Google Play Services manually.
Method 7: Try Uninstalling Google Play Services Updates
This might sound a little odd, but yes, you heard it right. Sometimes, what happens is that with a new update, you might invite a bug as well. This bug can create many major or minor issues, such as this one. So, try uninstalling Google Play Services’ updates, and maybe it will make you happier. Remember, removing updates may also take away some of the additional features and improvements that were added.
1. Go to the Settings of your phone.
2. Tap on the Apps option.
3. Now select the Google Play Services from the list of apps.
4. Now tap on the three vertical dots on the top right-hand side of the screen.
5. Click on the Uninstall updates option.
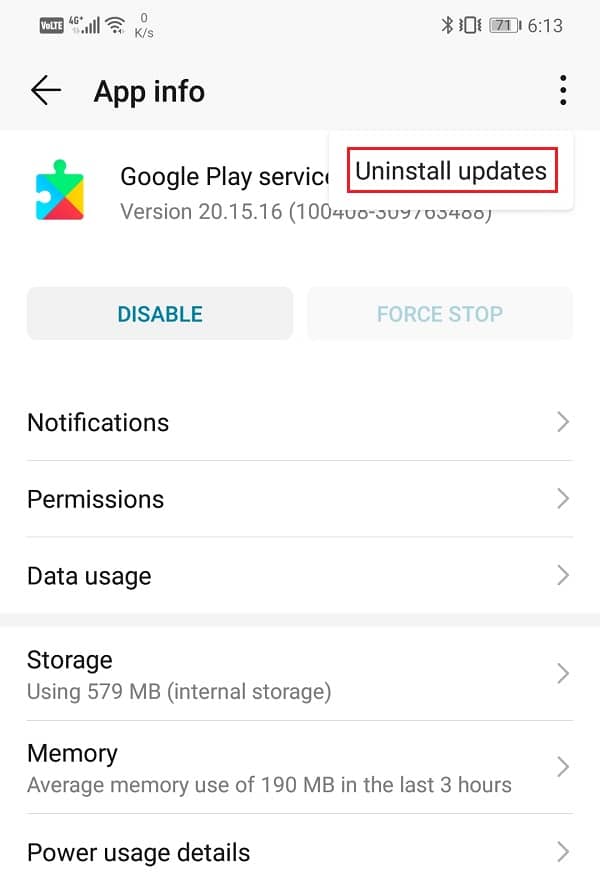
6. Reboot your phone, and once the device restarts, open Google Play Store, and this will trigger an automatic update for Google Play Services.
Also Read: 3 Ways to Update Google Play Store [Force Update]
Method 8: Enable Battery Saver Mode
If your Android device’s battery is draining as fast as a river, you should definitely worry about it & check Battery health right away.. Google Play Services can trigger the Battery’s working ability and decrease its capacity. It can be quite frustrating as you cannot carry your chargers everywhere, every time. To optimize your Battery, you can switch ON the Battery Saver Mode, and it will make sure that your Battery survives long.
1. Go to Settings and navigate the Battery option.
2. Now, locate the ‘Battery & Performance’ option and click on it.
3. You will see an option saying ‘Battery Saver.’ Turn on the toggle next to Battery Saver.

4. Or you can locate the Power Saving Mode icon in your Quick Access Bar and turn it On.
Method 9: Change Google Play Services Access to Mobile Data & WiFi
Google Play Services often tends to sync in the background. If in case, you have set your Wi-Fi network on Always On, it is a possibility that Google Play Services might be misusing it. In order to put it on Never or On Only during charging, follow these steps thoroughly:
1. Go to the Settings option and find the Connections icon.
2. Tap on Wi-Fi and then select Advanced.
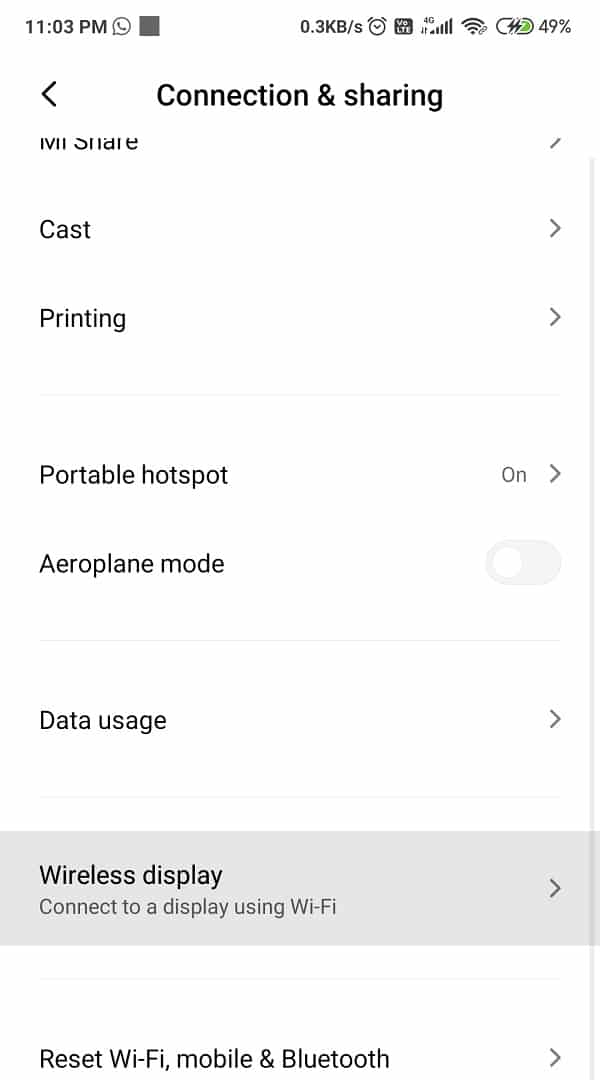
3. Now, click on View More, and amongst the three options, choose Never or Only during charging.
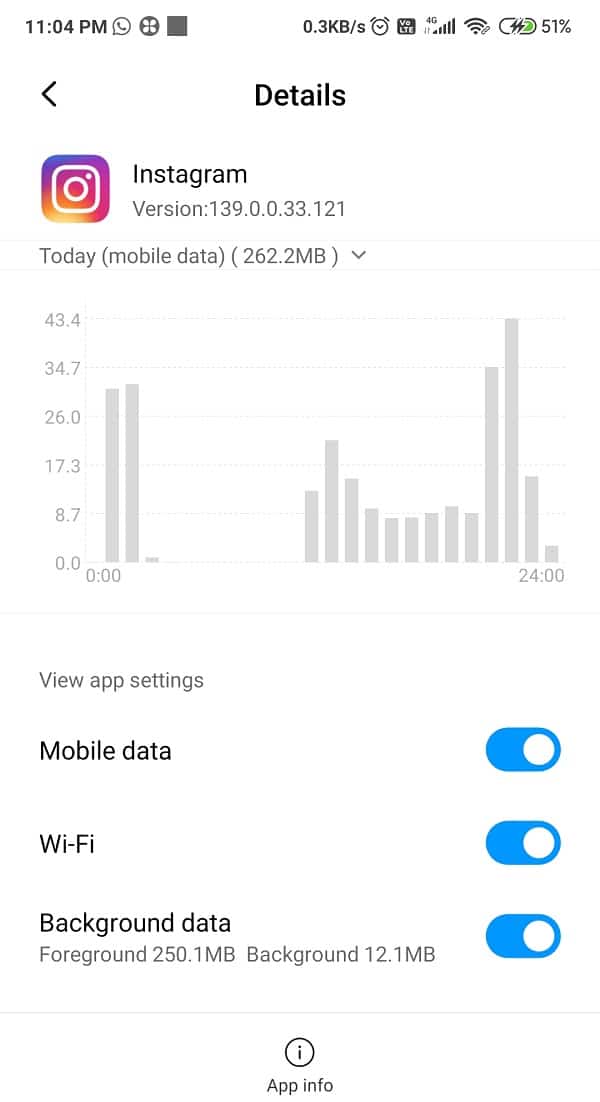
Method 10: Turn Off Background Data Usage
Turning off the background data is a perfect move. You can save not only the phone’s Battery but also secure some Mobile Data. You should really give this trick a try. It is worth it. Here are steps to turn off background Data Usage:
1. As always, go to the Settings option and find the Connections tab.
2. Now, look for the Data usage button and then click on Mobile Data Usage.

3. From the list, find Google Play Services and select it. Turn off the option saying Allow background data usage.
Also Read: How to Kill Android Apps Running in the Background
Method 11: Uninstall Unwanted Apps
We are aware that except for Android One devices and Pixels, all the other devices come with certain bloatware applications. You are lucky that you can disable them as they tend to consume a large amount of memory and Battery as well. In some phones, you can also uninstall the bloatware applications as they are not of any use.
Method 12: Update Android OS
It is true that keeping your device up to date plays a major role in fixing any issues or bugs. Your device manufacturers come up with new updates from time to time. These updates help in improving the performance of your device as they introduce new features, fix any previous bugs, and betters the overall user experience. These updates keep Android Devices safe from any vulnerability.
1. Navigate to Settings and then tap on About Phone option.
2. Tap on System Update under About phone.
3. Tap on Check for Update.
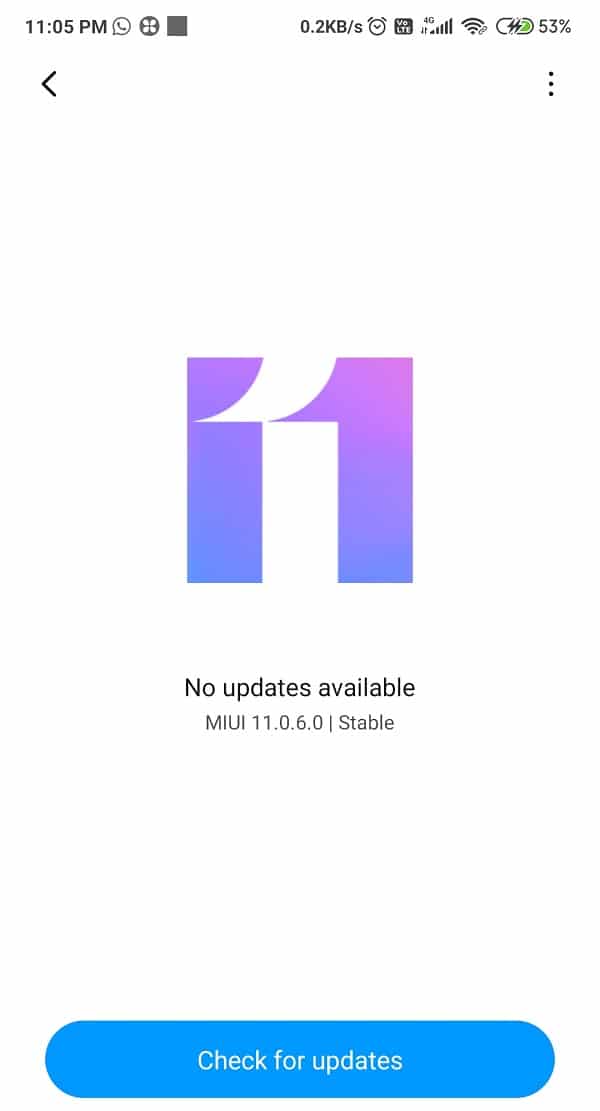
4. Download it and wait for its Installation.
5. Wait for the installation to complete and restart your device.
Recommended: Fix Android Wi-Fi Connection Problems
Unhealthy battery life could a person’s worst nightmare. Google Play Services might be the reason behind this, and to figure that out, we have listed these hacks for you. Hopefully, you were able to fix the Google Play Services Battery Drain issue once and for all. Let us know which method worked for you in the comment section.


Method 12 working for me. Helpful article. Keep writting