
A Blue screen of death (BSOD) error occurs when your system fails, which causes your PC to shut down or restart unexpectedly. Since the screen is only visible for a fraction of a second, it is impossible to take note of the error code or understand the nature of the error. This is where the Dump Files come into the picture. Wwhenever a BSOD error occurs, a crash dump file is created by Windows 10 that contains a copy of the computer’s memory at the time of the crash. In short, the crash dump files contain debugging information about the BSOD error. Let’s see how to Configure these with the help of the below-listed tutorial.

How to Configure Windows 10 to Create Dump Files on Blue Screen of Death
The Crash dump file is stored in a specific location that can be easily accessed by the administrator of that PC to start further troubleshooting. Different types of dump files are supported by Windows 10 like Complete memory dump, Kernel memory dump, Small memory dump (256 kb), Automatic memory dump and Active memory dumps which are explained at the end of this guide. By default Windows 10 creates Automatic Memory dump files which we will configure.
Note: Make sure to create a restore point just in case something goes wrong.
Method 1: Configure Dump File Settings in Startup and Recovery
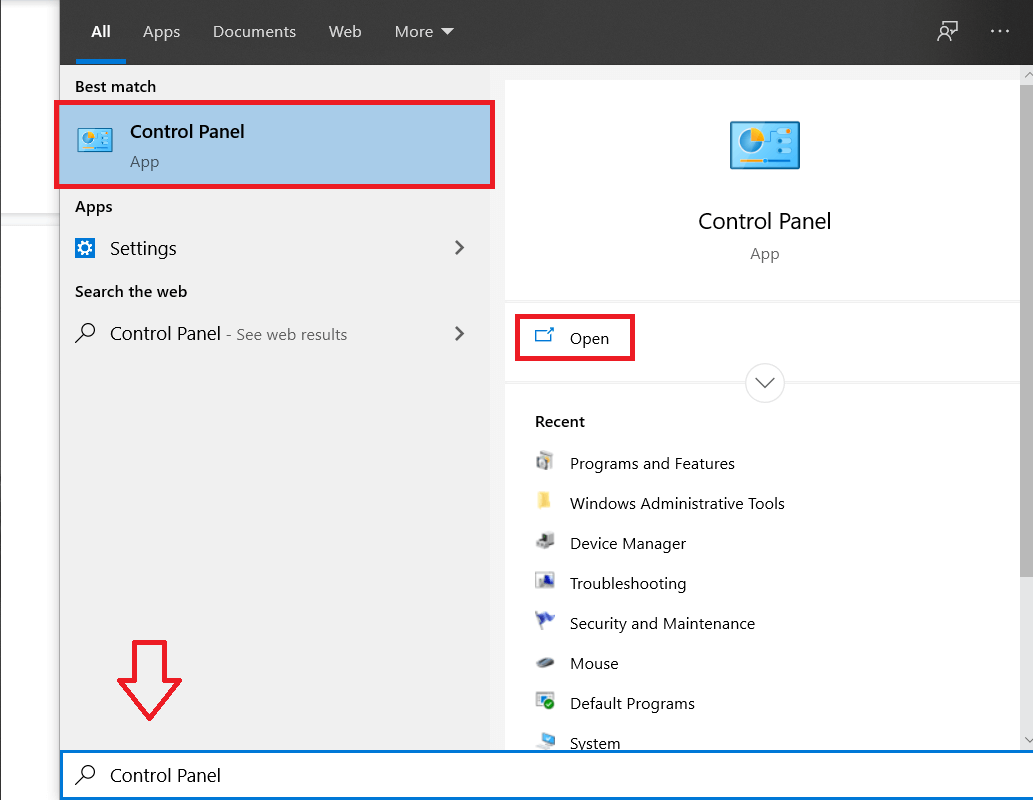
1. Type control in Windows Search then clicks on Control Panel from the search result.
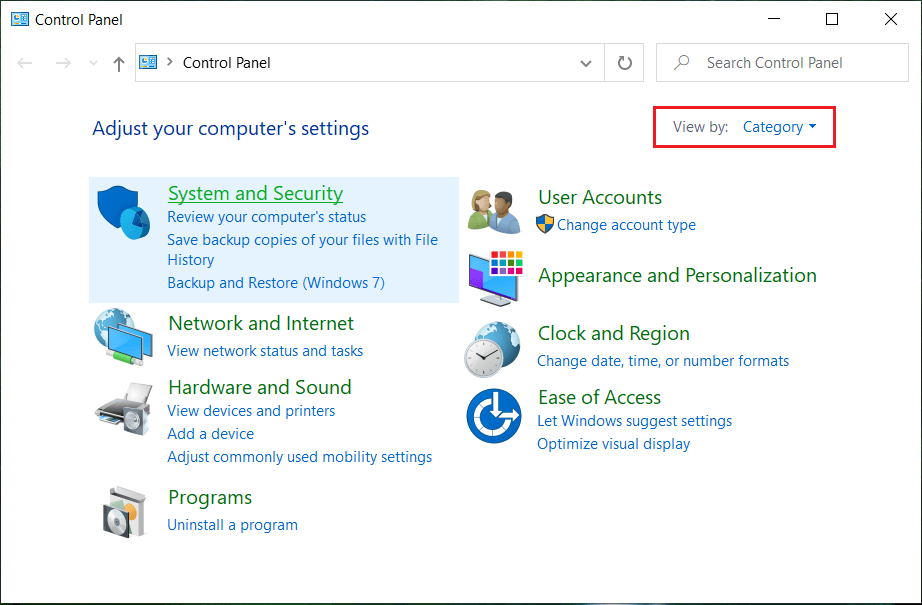
2. Click on System and Security then click on System.
3. Now, from the left-hand side menu, click on “Advanced system settings“.

4. Click on “Settings” under Startup and Recovery in System Properties window.

5. Under System failure, from the “Write debugging information” drop-down select:
None (No dump file created by Windows)
Small Memory Dump (Windows will create a Minidump file on BSOD)
Kernel Memory Dump (Windows will create a Kernel Memory Dump file on BSOD)
Complete Memory Dump (Windows will create a Complete Memory Dump file on BSOD)
Automatic Memory Dump (Windows will create Automatic Memory Dump file on BSOD)
Active Memory Dump (Windows will create an Active Memory Dump file on BSOD)
Note: The complete memory dump will require a page file set to at least the size of physical memory installed plus 1MB (for the header).

6. Click OK then Apply, followed by OK.
This is how you Configure Windows 10 to Create Dump Files on Blue Screen of Death but if you are still facing any problem, then continue to the next method.
Method 2: Configure Dump File Settings Using Command Prompt
1. Open Command Prompt. The user can perform this step by searching for ‘cmd’ and then press Enter.

2. Type the following command into cmd and hit Enter:
No dump file: wmic RECOVEROS set DebugInfoType = 0
Small Memory Dump: wmic RECOVEROS set DebugInfoType = 3
Kernel Memory Dump: wmic RECOVEROS set DebugInfoType = 2
Complete Memory Dump: wmic RECOVEROS set DebugInfoType = 1
Automatic Memory Dump: wmic RECOVEROS set DebugInfoType = 7
Active Memory Dump: wmic RECOVEROS set DebugInfoType = 1

Note: The complete memory dump will require a page file set to at least the size of physical memory installed plus 1MB (for the header).
3. Close command prompt when finished and reboot your PC.
4. To view the current Memory Dump Settings type the following command into cmd and hit Enter:
wmic RECOVEROS get DebugInfoType

5. When finished close command prompt.
Also Read: How to Access Advanced Startup Options in Windows 10
Types of Dump Files in Windows 10
Small Memory Dump: A Small Memory Dump is much smaller than the other two kinds of kernel-mode crash dump files. It is exactly 64 KB in size and requires only 64 KB of pagefile space on the boot drive. This kind of dump file can be useful when space is minimal. However, due to the limited amount of information included, errors that were not directly caused by the thread executing at the time of the crash may not be discovered by analysing this file.
Kernel Memory Dump: A Kernel Memory Dump contains all the memory in use by the kernel at the time of the crash. This kind of dump file is significantly smaller than the Complete Memory Dump. Typically, the dump file will be around one-third the size of the physical memory on the system. This quantity will vary considerably, depending on your circumstances. This dump file will not include unallocated memory, or any memory allocated to user-mode applications. It only includes memory allocated to the Windows kernel and hardware abstraction level (HAL) and memory allocated to kernel-mode drivers and other kernel-mode programs.
Complete Memory Dump: A Complete Memory Dump is the largest kernel-mode dump file. This file includes all of the physical memory that is used by Windows. A complete memory dump does not, by default, include physical memory that is used by the platform firmware. This dump file requires a pagefile on your boot drive that is at least as large as your main system memory; it should be able to hold a file whose size equals your entire RAM plus one megabyte.
Automatic Memory Dump: An Automatic Memory Dump contains the same information as a Kernel Memory Dump. The difference between the two is not in the dump file itself, but in how Windows sets the size of the system paging file. If the system paging file size is set to System managed size, and the kernel-mode crash dump is set to Automatic Memory Dump, then Windows can set the paging file’s size to less than the size of RAM. In this case, Windows sets the paging file size enough to ensure that a kernel memory dump can be captured most of the time.
Active Memory Dump: An Active Memory Dump is similar to a Complete Memory Dump, but it filters out pages that are not likely to be relevant to troubleshooting problems on the host machine. Because of this filtering, it is typically significantly smaller than a complete memory dump. This dump file does include any memory allocated to user-mode applications. It also includes memory allocated to the Windows kernel and hardware abstraction level (HAL) and memory allocated to kernel-mode drivers and other kernel-mode programs. The dump includes active pages mapped into the kernel or userspace that are useful for debugging and selected Pagefile-backed Transition, Standby, and Modified pages such as the memory allocated with VirtualAlloc or page file backed sections. Active dumps do not include pages on the free and zeroed lists, the file cache, guest VM pages and various other types of memory that are not likely useful during debugging.
Source: Varieties of Kernel-Mode Dump Files
Recommended: How to Change Default Operating System in Windows 10
That’s it, you successfully learned How to Configure Windows 10 to Create Dump Files on Blue Screen of Death but if you still have any queries regarding this tutorial then feel free to ask them in the comment’s section.


