The PNP_DETECTED_FATAL_ERROR has a bug check value of 0x000000CA, which indicates that the PNP Manager has encountered a severe error. The main cause of this error must be a problematic Plug and Play driver who might have got corrupted as you know that PNP stands for Plug and Play, which is developed by Microsoft to give users the ability to plug a device into a PC and have that computer recognize the device without users telling the computer to do so.

Now if you’re facing this fatal error, then this means the Plug and Play functionality might not be working, and you may not be able to use USB devices, external hard disk, video cards etc. So without wasting any time let’s see how to actually Fix PNP Detected Fatal Error Windows 10 with the help of below-listed troubleshooting guide.
Fix PNP Detected Fatal Error Windows 10
Make sure to create a restore point just in case something goes wrong.
Method 1: Uninstall Drivers or Software
1.First, you need to boot your PC into Safe Mode using any one of the methods listed here.
2.Press Windows Key + R then type devmgmt.msc and hit Enter to open Device Manager.

3.If you have recently updated any drivers for any devices, locate the exact device.
4.Right-click on it and select Properties.

5.Switch to Driver tab and click on Roll Back Driver.

6.Press Windows Key + R then type appwiz.cpl and hit Enter.

7.If you have recently installed any new program, make sure to uninstall it from your PC using Program and Features.
8.Reboot your PC into normal mode and see if you’re able to Fix PNP Detected Fatal Error.
Method 2: Run System Restore
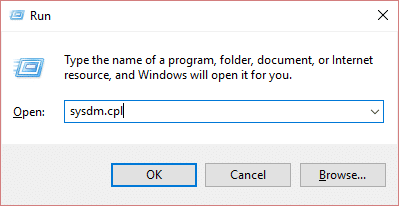
1.Press Windows Key + R and type”sysdm.cpl” then hit enter.
2.Select System Protection tab and choose System Restore.

3.Click Next and choose the desired System Restore point.

4.Follow the on-screen instruction to complete system restore.
5.After reboot, you may be able to Fix PNP Detected Fatal Error Windows 10.
Method 3: Perform a Clean Boot
Sometimes 3rd party software can conflict with System and therefore cause this error. In order Fix PNP Detected Fatal Error Windows 10, you need to perform a clean boot on your PC and diagnose the issue step by step.

Method 4: Run SFC and DISM
1. Open Command Prompt. The user can perform this step by searching for ‘cmd’ and then press Enter.

2. Now type the following in the cmd and hit enter:
Sfc /scannow
sfc /scannow /offbootdir=c:\ /offwindir=c:\windows (If above fails then try this one)

3. Wait for the above process to finish and once done, restart your PC.
4. Again open cmd and type the following command and hit enter after each one:
Dism /Online /Cleanup-Image /CheckHealth
Dism /Online /Cleanup-Image /ScanHealth
Dism /Online /Cleanup-Image /RestoreHealth

5. Let the DISM command run and wait for it to finish.
6. If the above command doesn’t work, then try on the below:
Dism /Image:C:\offline /Cleanup-Image /RestoreHealth /Source:c:\test\mount\windows
Dism /Online /Cleanup-Image /RestoreHealth /Source:c:\test\mount\windows /LimitAccess
Note: Replace the C:\RepairSource\Windows with your repair source (Windows Installation or Recovery Disc).
7. Reboot your PC to save changes and see if you’re able to Fix PNP Detected Fatal Error Windows 10.
Method 5: Run Driver Verifier
This method is only useful if you can log into your Windows normally not in the safe mode. Next, make sure to create a System Restore point.

Method 6: Run CCleaner
1. Download and install CCleaner & Malwarebytes.
2. Now run CCleaner and select Custom Clean.
3. Under Custom Clean, select the Windows tab and checkmark defaults and click Analyze.
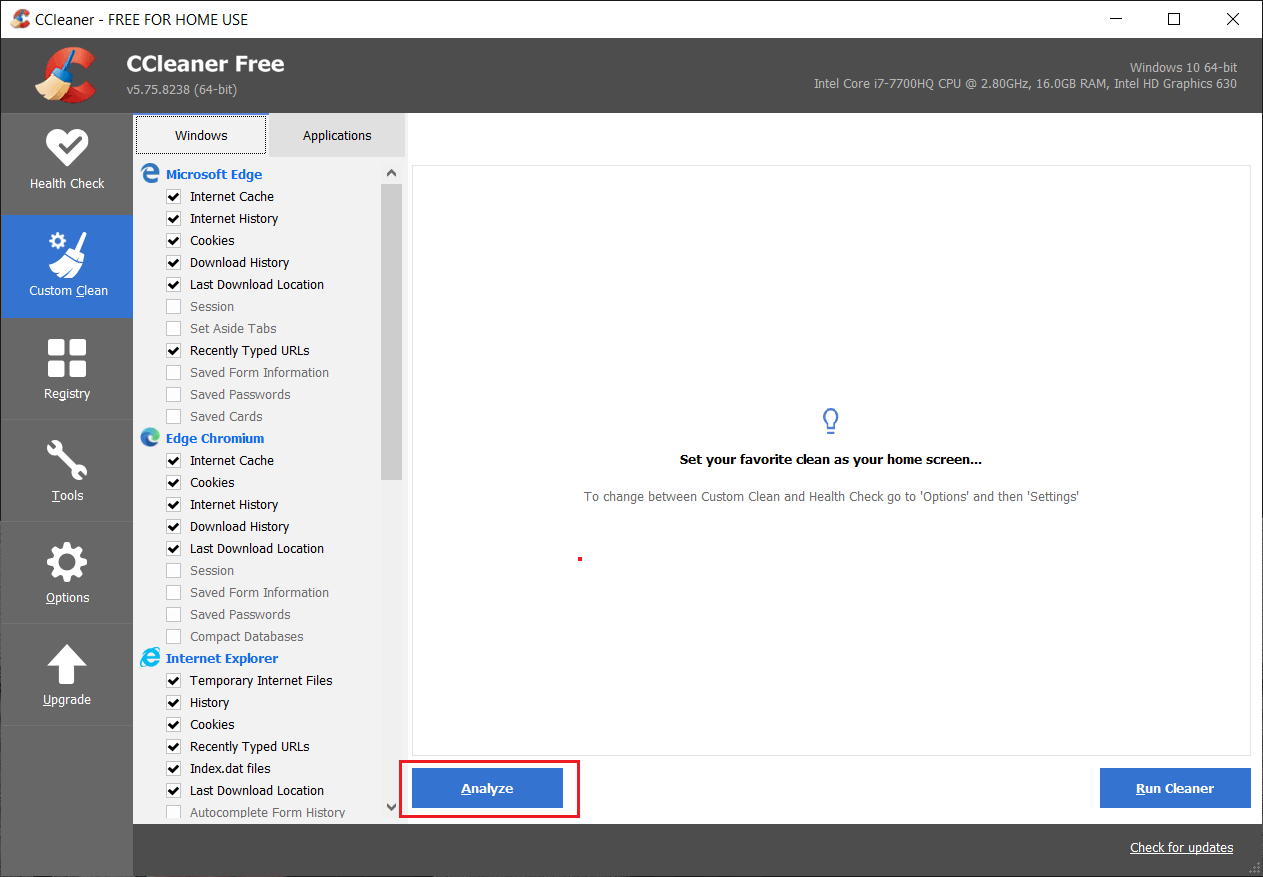
4. Once Analyze is complete, make sure you’re certain to remove the files to be deleted.
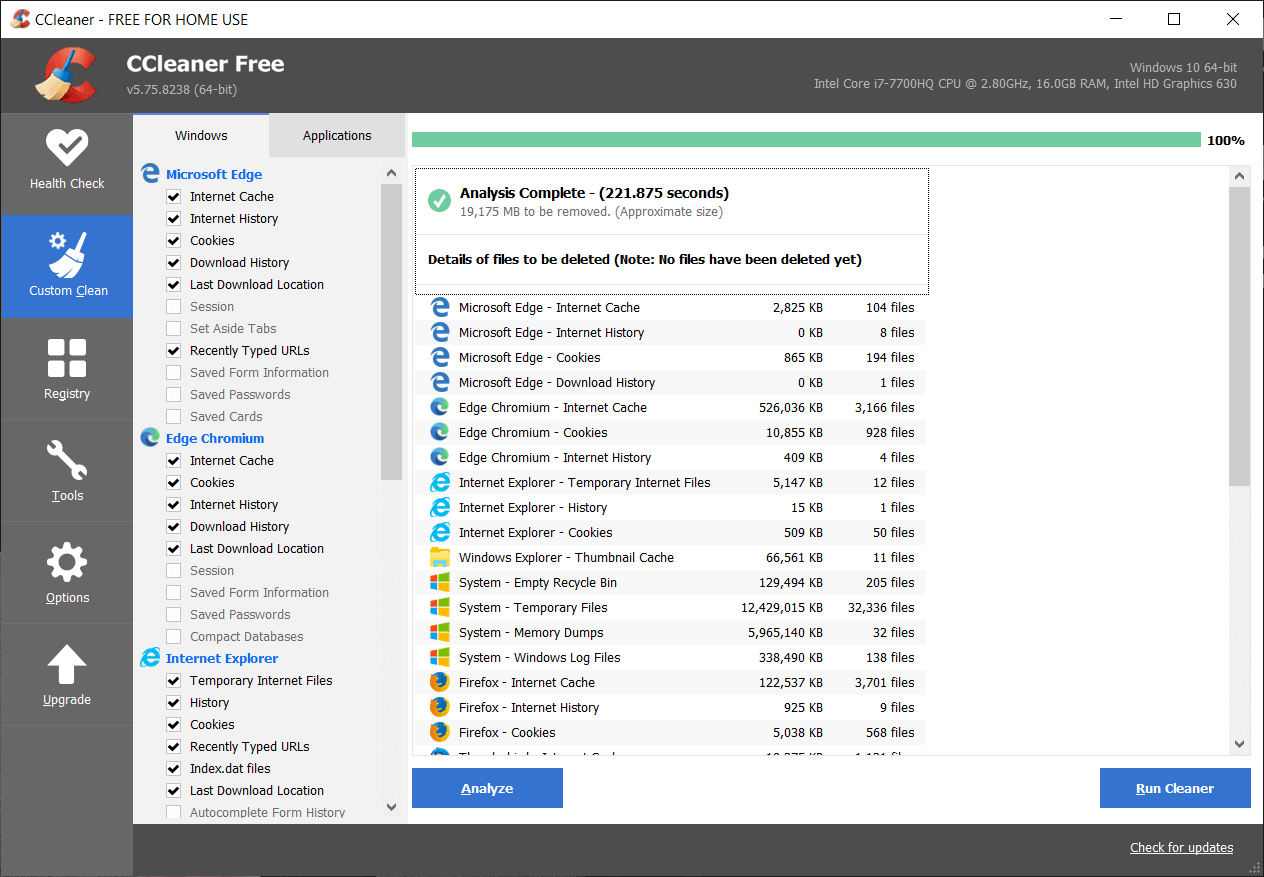
5. Finally, click on the Run Cleaner button and let CCleaner run its course.
6. To further clean your system, select the Registry tab, and ensure the following are checked:
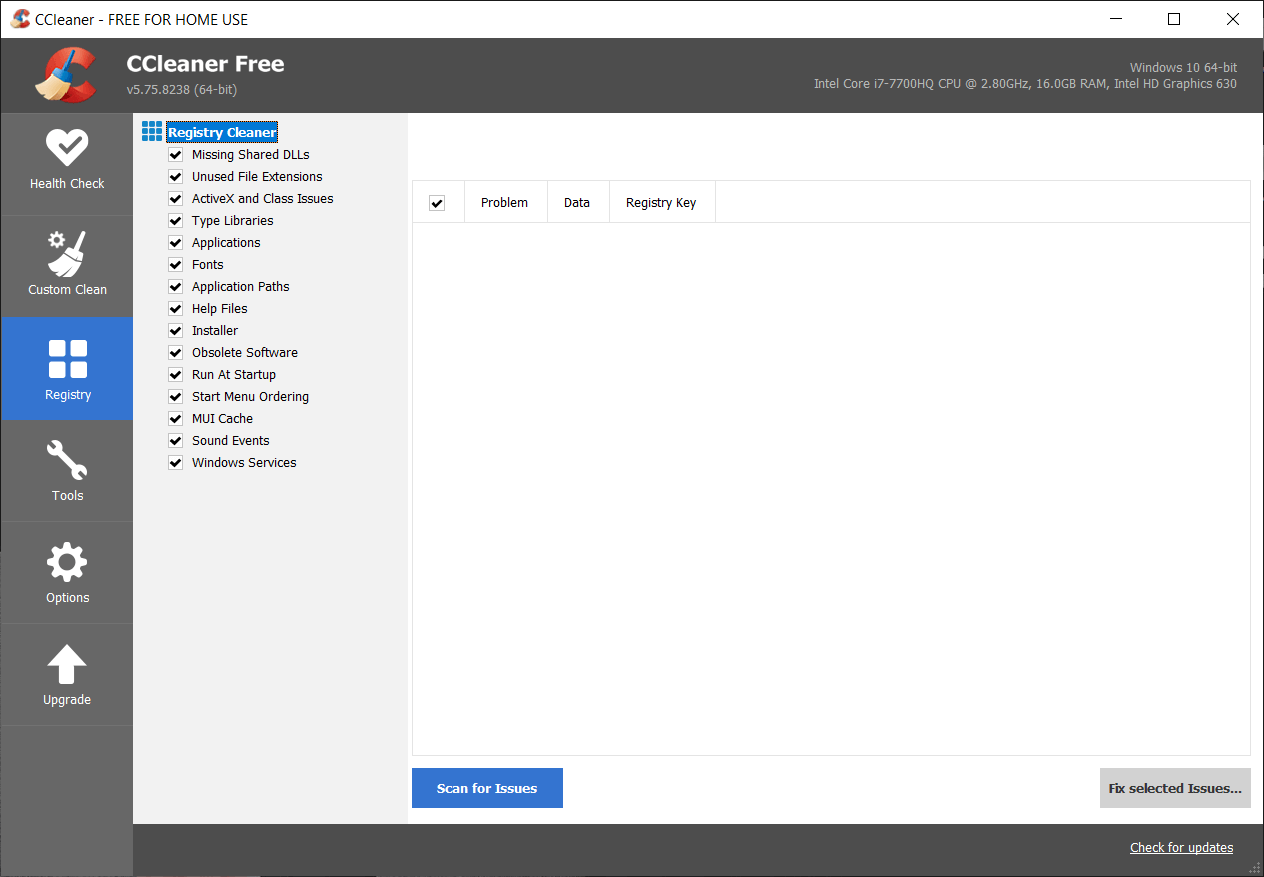
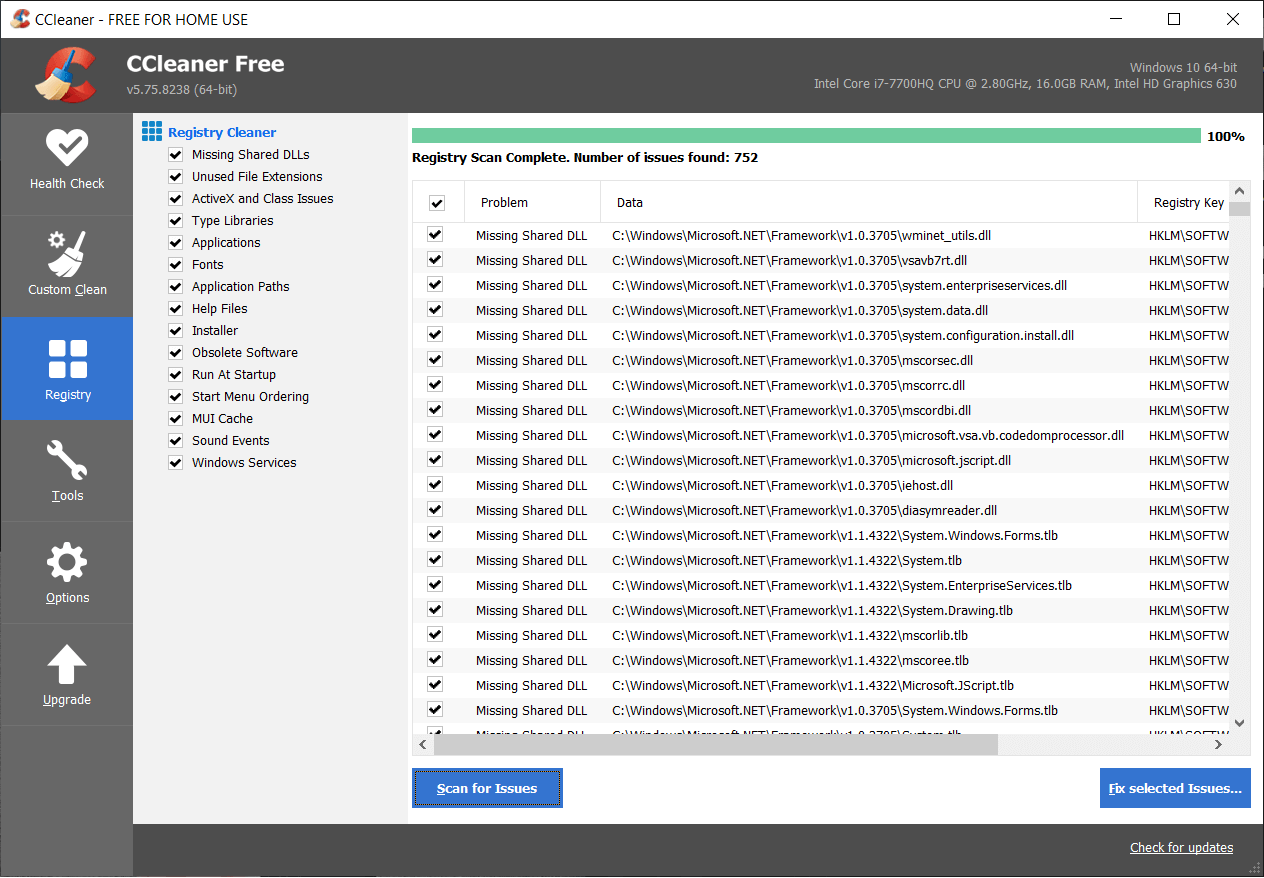
7. Click on the Scan for Issues button and allow CCleaner to scan, then click on the Fix Selected Issues button.
8. When CCleaner asks “Do you want backup changes to the registry?” select Yes.
9. Once your backup has completed, click on the Fix All Selected Issues button.
10. Restart your PC to save changes.
Method 7: Run Automatic Repair
1. Insert the Windows 10 bootable installation DVD and restart your PC.
2. When prompted to Press any key to boot from CD or DVD, press any key to continue.

3. Select your language preferences, and click Next. Click Repair your computer in the bottom-left.

4. On choose an option screen, click Troubleshoot.

5. On Troubleshoot screen, click the Advanced option.

6. On the Advanced options screen, click Automatic Repair or Startup Repair.

7. Wait till the Windows Automatic/Startup Repairs complete.
8. Restart and you have successfully Fix PNP Detected Fatal Error Windows 10, if not, continue.
Also Read: How to fix Automatic Repair couldn’t repair your PC.
Method 8: Temporarily Disable your Antivirus
1. Right-click on the Antivirus Program icon from the system tray and select Disable.

2. Next, select the time frame for which the Antivirus will remain disabled.

Note: Choose the smallest amount of time possible, for example, 15 minutes or 30 minutes.
3. Once done, try to navigate around and check if you’re able to Fix PNP Detected Fatal Error Windows 10.
Method 9: Make sure Windows is up to date
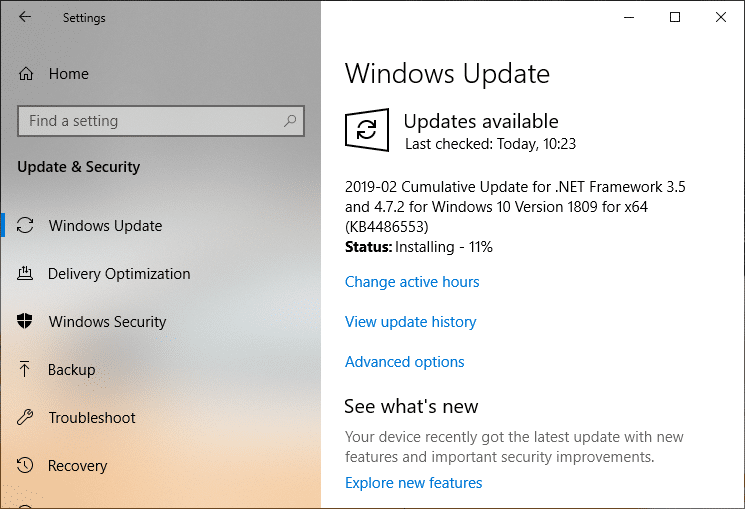
1. Press Windows Key + I to open Settings then click on Update & Security.
![]()
2. From the left-hand side, menu clicks on Windows Update.
3. Now click on the “Check for updates” button to check for any available updates.

4. If any updates are pending, then click on Download & Install updates.
5. Once the updates are downloaded, install them, and your Windows will become up-to-date.
Method 10: Run Disk Cleanup
1. Open Command Prompt. The user can perform this step by searching for ‘cmd’ and then press Enter.
2. Type the following command into cmd and hit Enter:
cleanmgr

3. Select C: Drive first and click OK. Then follow the same step for every other drive letter.
4. Once the Disk Cleanup wizard shows up, checkmark Temporary files from the list and click OK.

5. Restart your PC to save changes.
Recommended:
- Fix BAD_SYSTEM_CONFIG_INFO Error
- How to Fix Windows Experience Index Freezing Issue
- Fix Windows cannot complete the extraction error
- Fix ERR_EMPTY_RESPONSE Google Chrome Error
That’s it you have successfully Fix PNP Detected Fatal Error Windows 10 but if you still have any questions regarding this post then feel free to ask them in the comment’s section.