A computer screen should display sharp visuals, but sometimes unexpected vertical lines appear, disrupting your view. These lines can be caused by hardware issues, loose connections, or even software glitches. While the problem may look serious at first, there are reliable ways to fix it without jumping straight to a costly replacement. Learning how to fix vertical lines on a computer screen helps restore clarity and ensures your device runs smoothly again.
Fix Vertical Lines on Computer Screen
With the right solutions, you can bring your screen back to normal and keep working without distractions.
Method 1: Inspect Hardware Issues
Before you take big steps, ensure that your device does not have physical damage to its skin or around the display.
Method 2: Restart Computer
A quick restart can clear temporary glitches that cause green lines to appear. Reboot your laptop and check if the display returns to normal.
Method 3: Reseat the Cable
Loose or poorly connected display cables can trigger screen line issues. Gently disconnect and reconnect the cable inside your laptop (if accessible) or from the monitor connection.
Method 4: Replace the Cables
If reseating doesn’t work, the cable itself might be faulty. Try replacing it with a new one to see if the green line disappears.
Method 5: Use a Different HDMI or DisplayPort
Sometimes the port you’re using may be damaged. Switch to another HDMI or DisplayPort on your laptop or monitor to test if the problem goes away.
Method 6: Perform a Power Cycle
Turning off your screen for a while can fix any internal glitches. Shut down your Microsoft Surface, disconnect the cable wires, and wait for 5-10 minutes. After that, restart the device.
Method 7: Adjust Screen Resolution
Start by adjusting screen resolution to avoid friction between the Monitor and Windows operating system, as follows:
- Open Settings and click on Display from the left menu.
- Click on the Display Resolution.
- Select Scale.
- Here, select the resolution marked as Recommended.
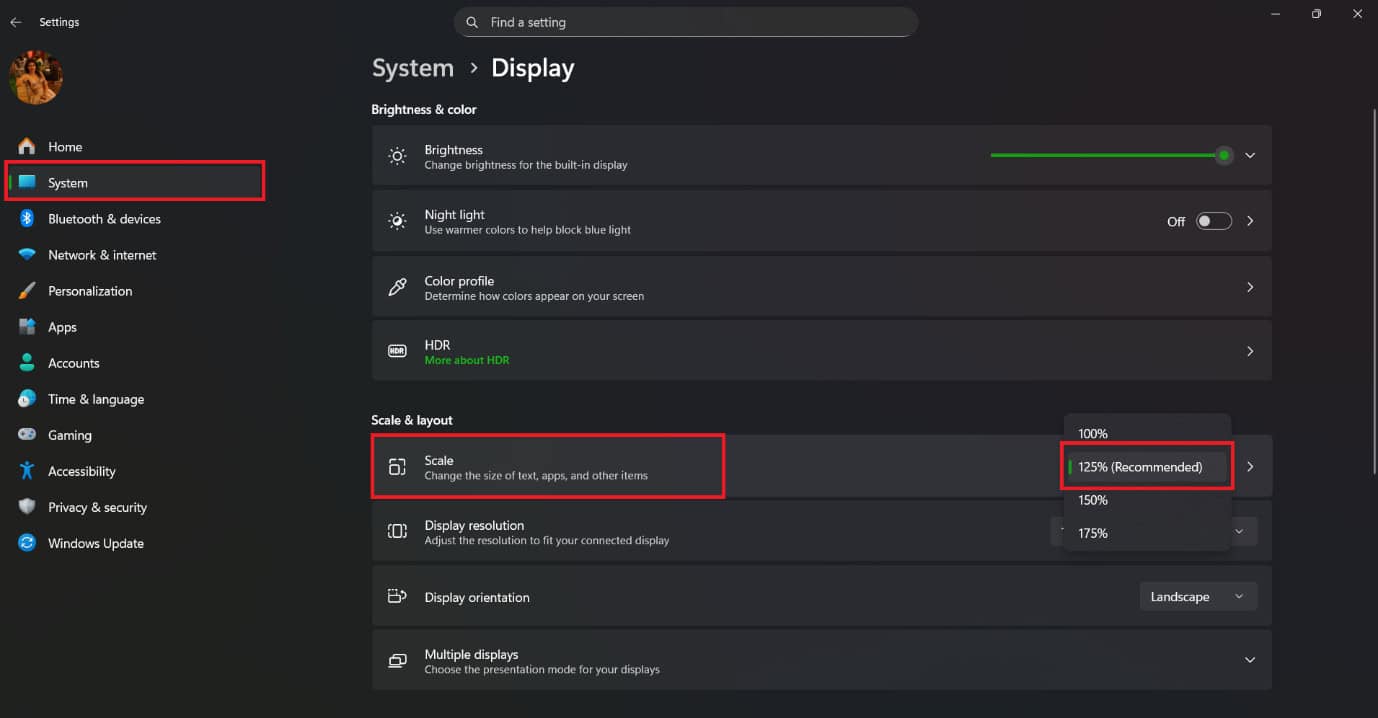
Restart your PC.
Method 8: Run DISM Scan
DISM is essential for fixing issues in Component-Based Servicing or CBS. If you are facing problems with Windows Display files, then this could fix the lines on the laptop screen issue.
- Type & search cmd. Click on Run as administrator to launch Command Prompt with administrative privileges.
- Type DISM /Online /Cleanup-Image /ScanHealth as shown and hit Enter.
- After the first scan is complete, run DISM /Online /Cleanup-Image /RestoreHealth command.
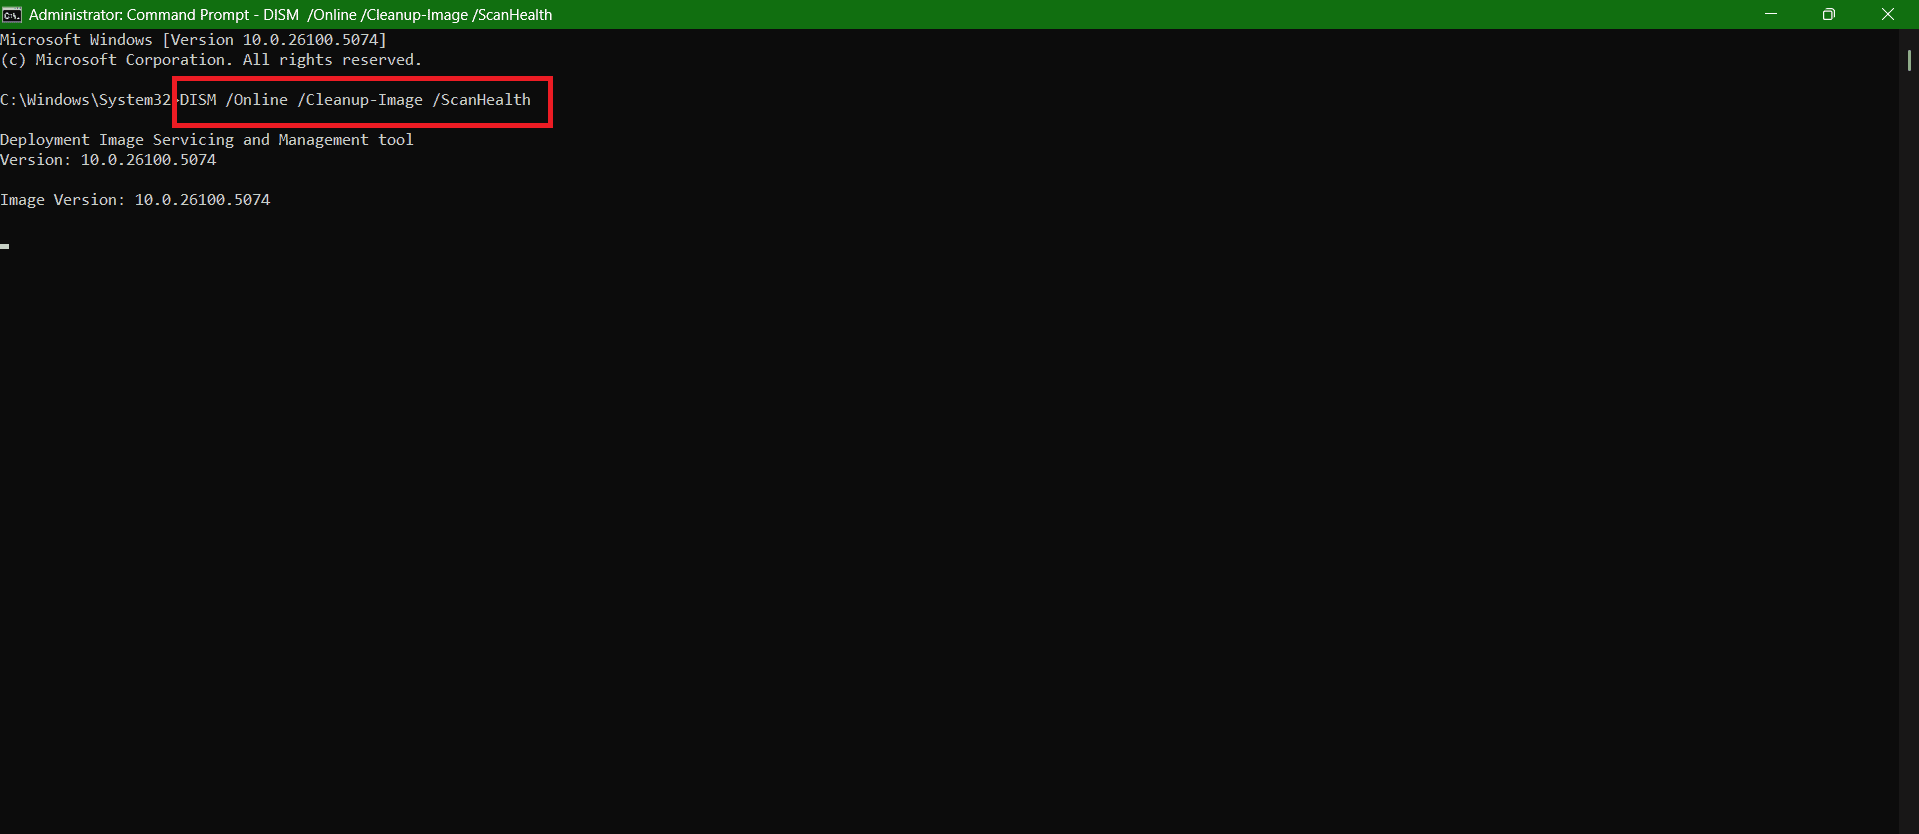
Restart your computer once done.
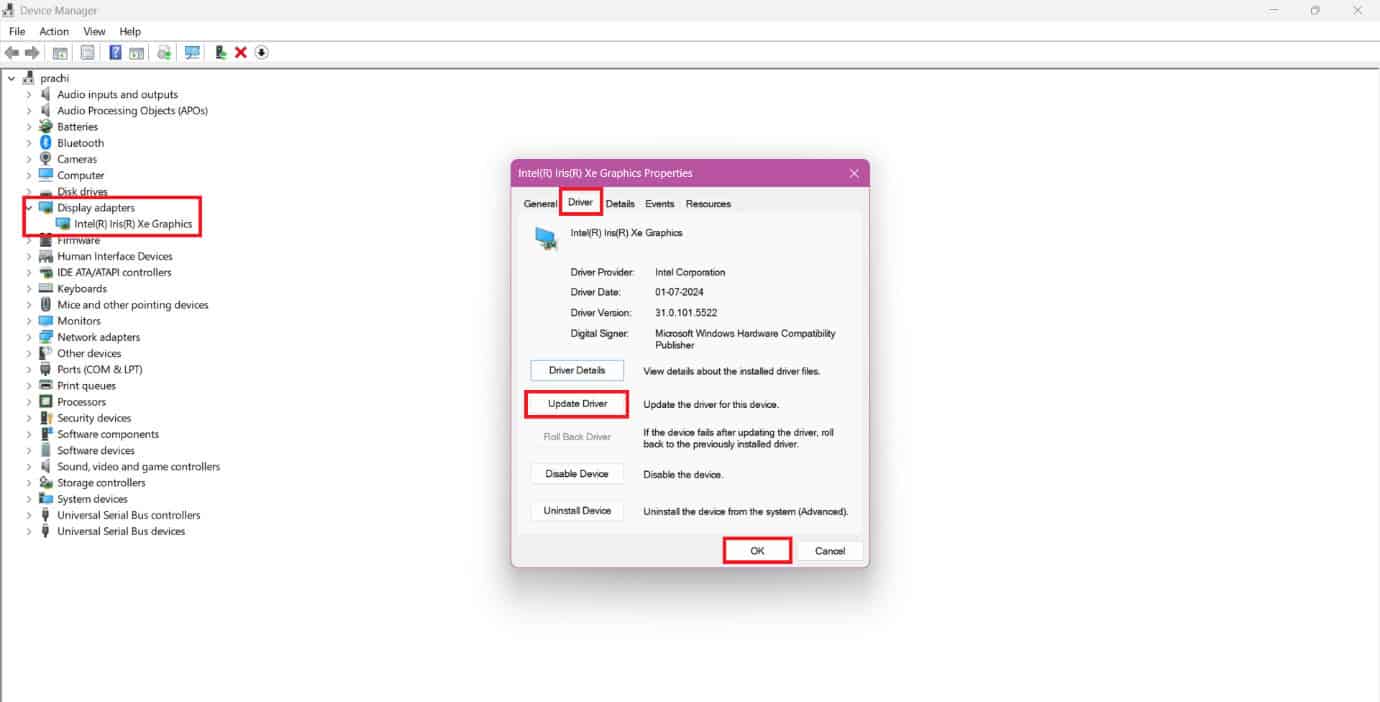
Method 9: Update or Rollback Display Drivers
You can also install the latest version of your display driver.
- Open Control Panel and click on Device Manager.
- Select Display Adapters from the left menu.
- Click on the display software.
- Then, click on Driver from the top ribbon.
- Now, select Update Driver or Roll Back Driver.
- Click on OK.
Your problem should be solved.
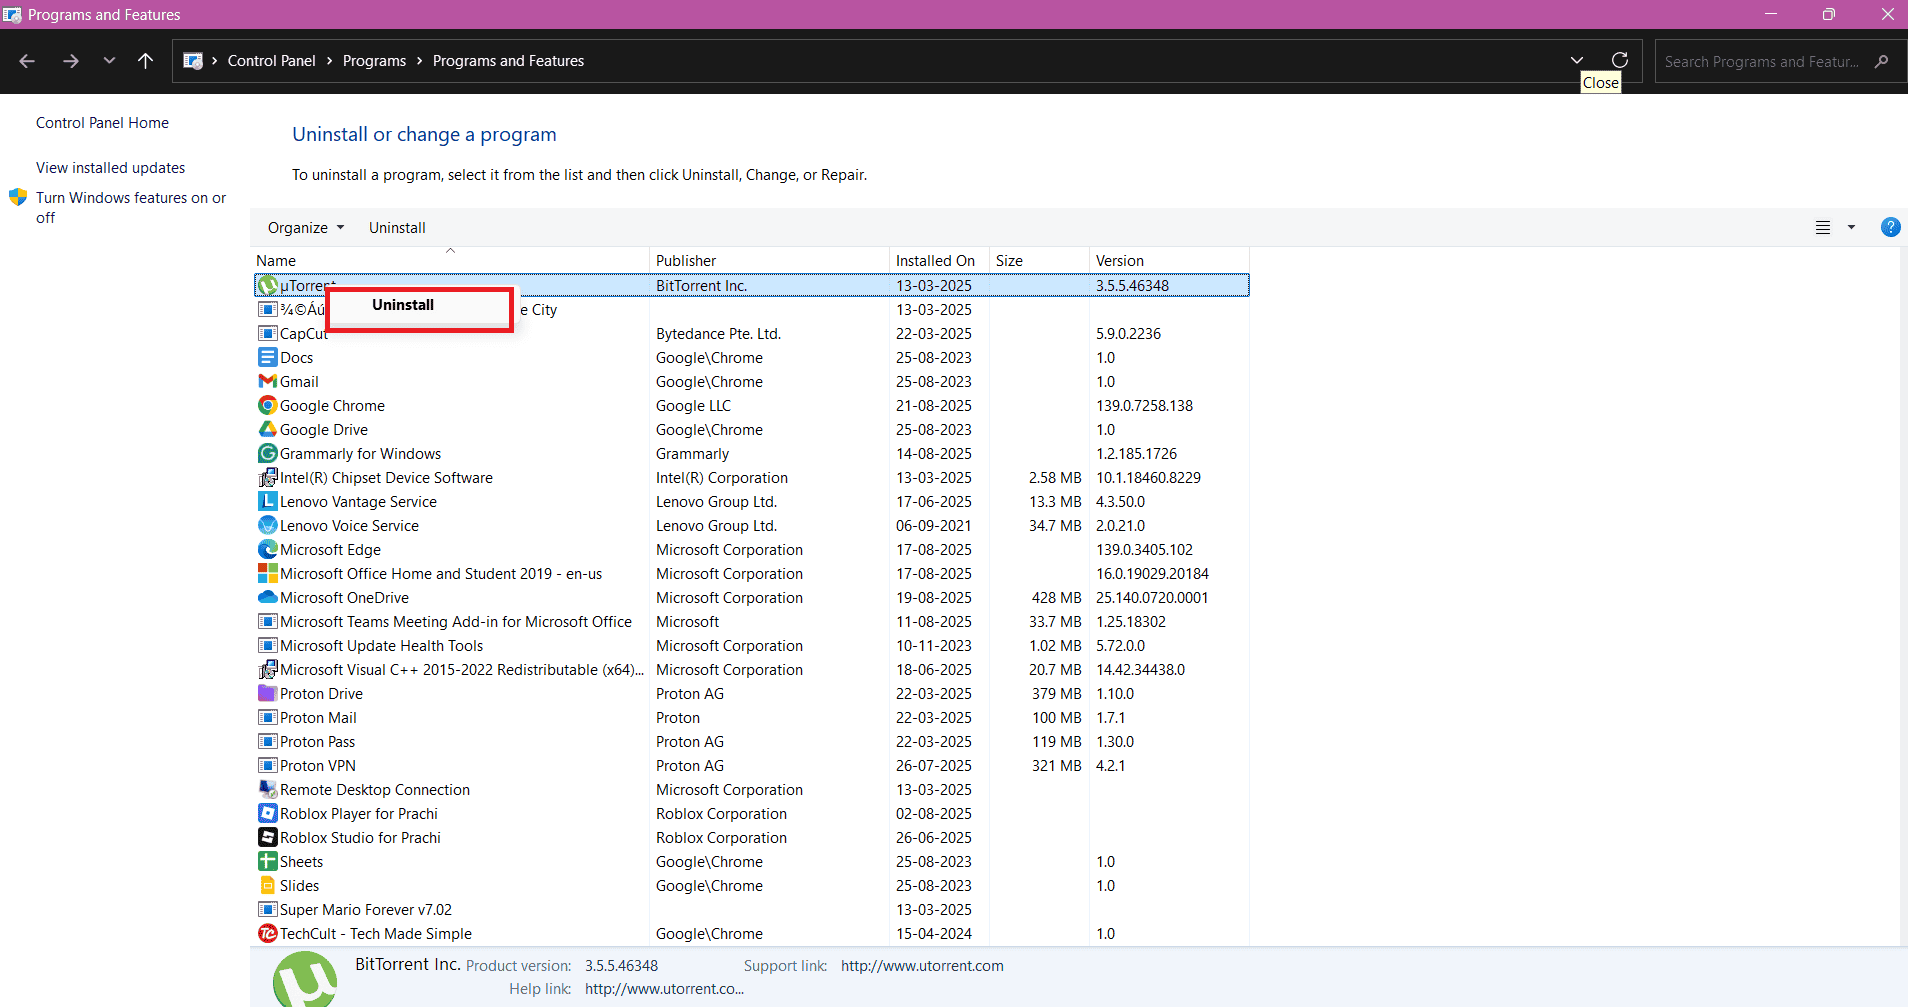
Method 10: Remove New Software Installations
If you have recently installed any new software and started facing display issues, chances are that it may be causing the problem.
- Press the Windows and R keys together to open the Run dialog.
- Type in appwiz.cpl and press Enter.
- Right-click on the software of your choice.
- Then, select Uninstall.
- Click on Yes.
Your issue should be fixed if this is the reason.
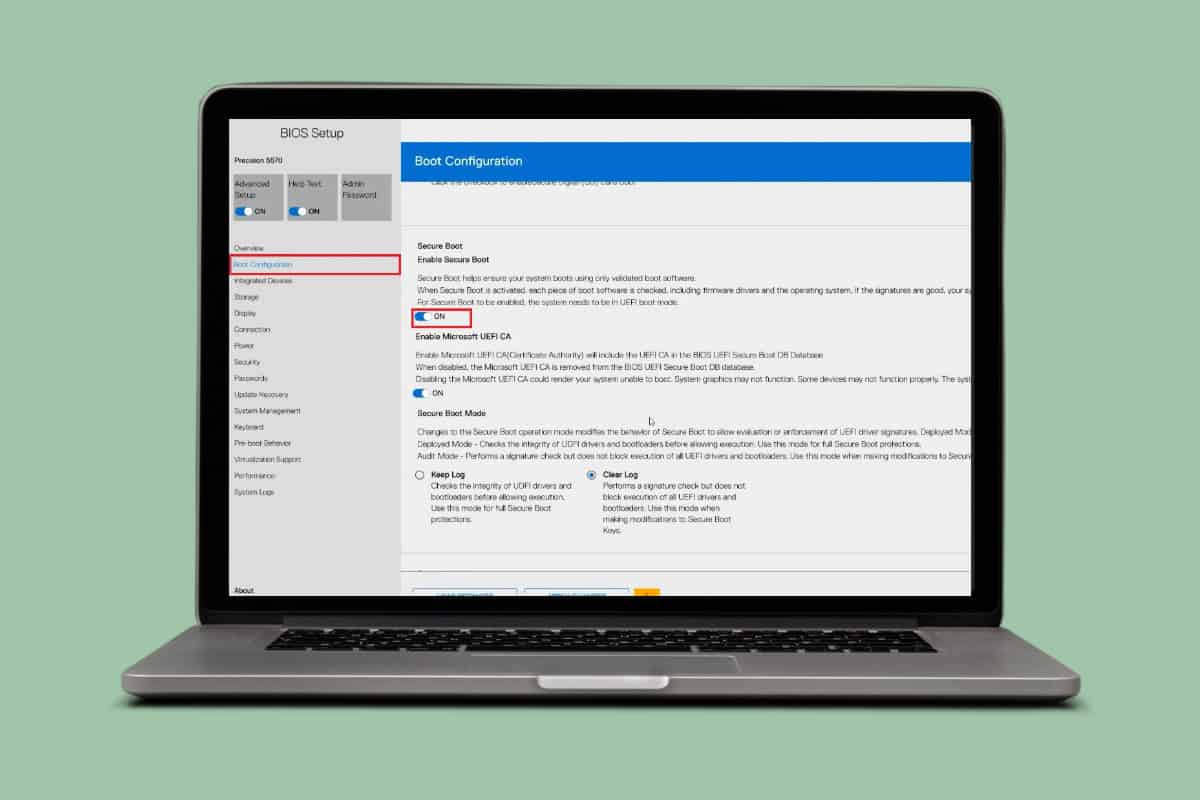
Method 11: Update BIOS
Outdated BIOS firmware can sometimes cause display glitches like green lines on your laptop screen. Visit your laptop manufacturer’s support page, download the latest BIOS update, and follow the instructions carefully. If you are not sure about the steps, take a look at What is BIOS and How to Update BIOS.
Method 12: Run Windows Troubleshooter
If the problem is more widespread and not limited to videos, then running the Hardware and Devices troubleshooter is your best bet.
- Press Windows + R keys simultaneously to launch the Run dialog box.
- Type msdt.exe -id DeviceDiagnostic and click on OK.
- Here, click on the Advanced option.
- Check the box marked Apply repairs automatically and click on Next.
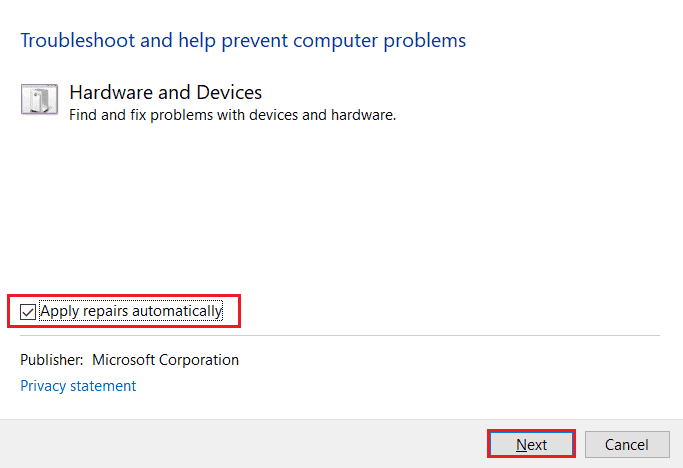
Once the process is completed, restart your PC and check if the issue is resolved.
Method 13: Replace the Laptop Screen
If the green lines remain even after trying software fixes, the screen itself may be damaged. Replacing the laptop screen can solve the issue if it’s caused by a faulty panel. It’s best to get this done at an authorized service center to avoid further damage.
Method 14: Repair or Replace the GPU / Motherboard
When neither software nor screen replacements don’t helps, the problem could be with the GPU or motherboard. A failing graphics chip or board connection can cause persistent lines on the display. In such cases, professional repair or replacement is the only reliable fix.
Also Read: Fix Dell SupportAssist Pre-Boot System Performance Check Stuck
Now you will no longer have a difficult time figuring out how to fix vertical lines on a computer screen after following this guide. For more helpful tips and tricks, stay tuned, and feel free to share your suggestions in the comments below.