Sometimes your Samsung Galaxy A will not turn ON even if it is fully charged. If you are also dealing with the same problem, this article will help you. We bring a perfect guide that will help you fix Samsung Galaxy A won’t turn on issue. You must read till the end to learn various tricks that will help you while using it.

How To Fix Galaxy Tab A Won’t Turn On
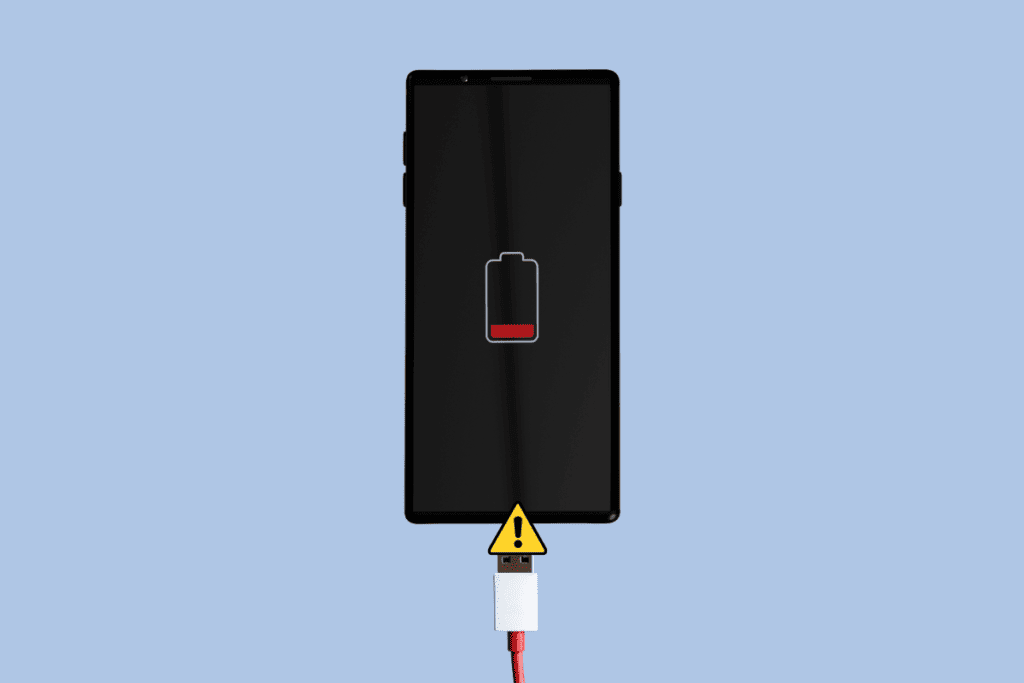
Method 1: Charge your Samsung Galaxy Tab A
Your Samsung Galaxy Tab A may not turn ON if it is not charged enough. Therefore,
1. Connect Samsung Galaxy Tab A to its charger.
2. Ensure your device has stored enough power to switch the device back ON.
3. Wait for half an hour before using it again.
4. Plug your adapter with another cable and try charging it. This tactic will resolve issues caused by a broken or damaged cable.
5. Try to charge your Samsung Galaxy Tab A by connecting the USB cable with the computer. This process is known as the trickle charge. This process is slow but will avoid charging issues with its adapter.
Note: If the Power button is damaged or malfunctioning, long-press the Volume up + Volume down + Power buttons simultaneously to turn ON your Samsung Galaxy Tab A.
Method 2: Try Other Charging Accessories
If your Samsung Galaxy Tab A does not turn on, even after 30 minutes of charging, there may be problems with the charging accessories.

1. Ensure the adapter and USB cable are in good working condition.
2. Check if there is a problem with your adapter or cable by trying the brand-new Samsung accessories method.
3. Plug the device with a new cable/adapter and charge it.
4. Wait for the battery to be completely charged and then turn ON your device.
Method 3: Malfunctioning Charging Port
Your Samsung Galaxy Tab A will not turn ON if your device is not getting charged to optimum levels. The most common reason may be that the charging port is damaged or jammed by foreign objects like dirt, dust, rust, or lint. This would lead to no charging/slow charging problems and render your Samsung device incapable of turning ON again. Here’s how to check for issues with the charging port:
1. Analyze the charging port with the help of some magnifying instrument.
2. If you find any dust, dirt, rust, or lint in the charging port, blow them out of the device with the help of compressed air.
3. Check if the port has a bent or damaged pin. If yes, visit the Samsung Service Center to get it checked.
Also Read: Fix Camera Failed Error on Samsung Galaxy
Method 4: Hardware Glitches
Your Galaxy Tab A will not turn on if it is facing hardware-related issues. This might happen when you accidentally drop and damage your Tab. You can perform these checks to rule out such issues:

1. Check for scratches or damaged marks in your hardware.
2. If you find any hardware damage, try contacting the Samsung Support Center near you.
If your Samsung Galaxy Tab A is not physically damaged, and you have tried different charging accessories, you can implement any succeeding methods to rectify Galaxy Tab A won’t turn on the issue.
Method 5: Restart your Device
When Samsung Galaxy Tab A freezes or wouldn’t turn on, the best way to fix it is to reboot it. Follow the instructions given below to do so:
1. Turn Samsung Galaxy Tab A to OFF state by simultaneously holding the Power + Volume down buttons simultaneously.
2. Once Maintenance Boot Mode appears on the screen, release the buttons and wait for some time.
3. Now, select the Normal Boot option.
Note: You can use the Volume buttons to navigate the options and the Power button to select from these options.
Now, the reboot of Samsung Galaxy Tab A is complete, and it should turn ON.
Method 6: Boot in Safe Mode
If nothing works then try to reboot your device to safe mode. When OS is in Safe Mode, all additional features are disabled. Only the primary functions are in an active state. Simply put, you can only access those applications & features that are inbuilt, i.e., when you initially bought the phone.
If your device enters safe mode after booting, it means that your device has an issue with third-party applications installed on your device.
1. Power OFF your Samsung Galaxy Tab A. the device you are facing the issue with.
2. Press and hold the Power + Volume down buttons until the device logo appears on the screen.
3. When the Samsung Galaxy Tab A symbol displays on the device, release the Power button but continue pressing the Volume down button.
4. Do so until Safe mode appears on the screen. Now, let go of the Volume down button.
Note: It will take almost 45 seconds to display the Safe mode option at the bottom of the screen.
5. The device will now enter Safe mode.
6. Now, uninstall any unwanted applications or programs that you feel might be preventing your Samsung Galaxy Tab A from turning ON.
The Galaxy Tab A won’t turn on; the issue should be fixed by now.
Exiting Safe Mode
The easiest way to exit Safe Mode is by restarting your device. It works most of the time and switches your device back to normal. Or you can directly check whether the device is in Safe Mode or not through the notification panel. You can also disable it from here as:
1. Swipe down the screen from the top. Notifications from your OS, all subscribed websites, and installed applications are displayed here.
2. Check for Safe Mode notification.
3. If a Safe Mode notification is present, tap on it to disable it.
The device should be switched to Normal Mode now.
Also Read: 12 Ways to Fix Your Phone Won’t Charge Properly
Method 7: Factory Reset of Samsung Galaxy Tab A
Factory reset of Galaxy Tab A is usually done to remove the entire data associated with the device. Hence, the device would need re-installation of all of the software afterward. It makes the device function fresh like that of a new one. It is usually carried out when a device’s software gets updated.
A Galaxy Tab A hard reset is usually carried out when device settings need to be altered due to improper functionality. It deletes all the memory stored in the hardware and updates it with the latest version.
Note: After Factory Reset, all the data associated with the device gets deleted. Therefore, it is recommended to back up all the files before you undergo a reset.
1. Power OFF your mobile.
2. Now, hold the Volume up and Home buttons together for some time.
3. While continuing step 2, press-hold the Power button too.
4. Wait for Samsung Galaxy Tab A to appear on the screen. Once it appears, release all the buttons.
5. Recovery screen will appear. Select Wipe data/factory reset as shown.
Note: You can use the Volume buttons to navigate the options and the Power button to select from these options.
6. Tap Yes on the next screen as highlighted.
7. Now, wait for the device to reset. Once done, tap Reboot system now.
Factory reset of Samsung Galaxy Tab A will be completed once you finish all the steps mentioned above. So wait for a while, and then you can begin using your phone.
Method 8: Wipe Cache Partition in Recovery Mode
All the cache files present in the device can be wiped off using an option called Wipe Cache Partition in the Recovery Mode. This will help resolve minor issues with your device, including Galaxy Tab A won’t turn on issue. Here’s how to do it:
1. Power OFF your device.
2. Press and hold the Power + Home + Volume up buttons at the same time. This reboots the device in Recovery Mode.
3. Here, tap on Wipe Cache Partition, displayed below Wipe data/factory reset option. Refer to the previous method to implement this.
4. Wait for the OS to reboot and check if the Samsung Galaxy Tab A turns ON.
Also Read: 9 Reasons why your smartphone battery is charging slowly
Method 9: Visit the Service Center
If all the methods mentioned above do not provide you a solution for Samsung Galaxy Tab A won’t turn on the issue, try contacting a nearby Samsung Service Center and seek help.
Recommended:
- How to Factory Reset Samsung Galaxy S6
- How to Fix Slow Charging on Android
- How to Reset Samsung Galaxy S8+
- How does Wireless Charging work on Samsung Galaxy S8/Note 8?
We hope this guide was helpful, and you were able to fix Galaxy Tab A won’t turn on issue. Let us know which method worked for you the best. If you have any queries/comments regarding this article, then feel free to drop them in the comments section.